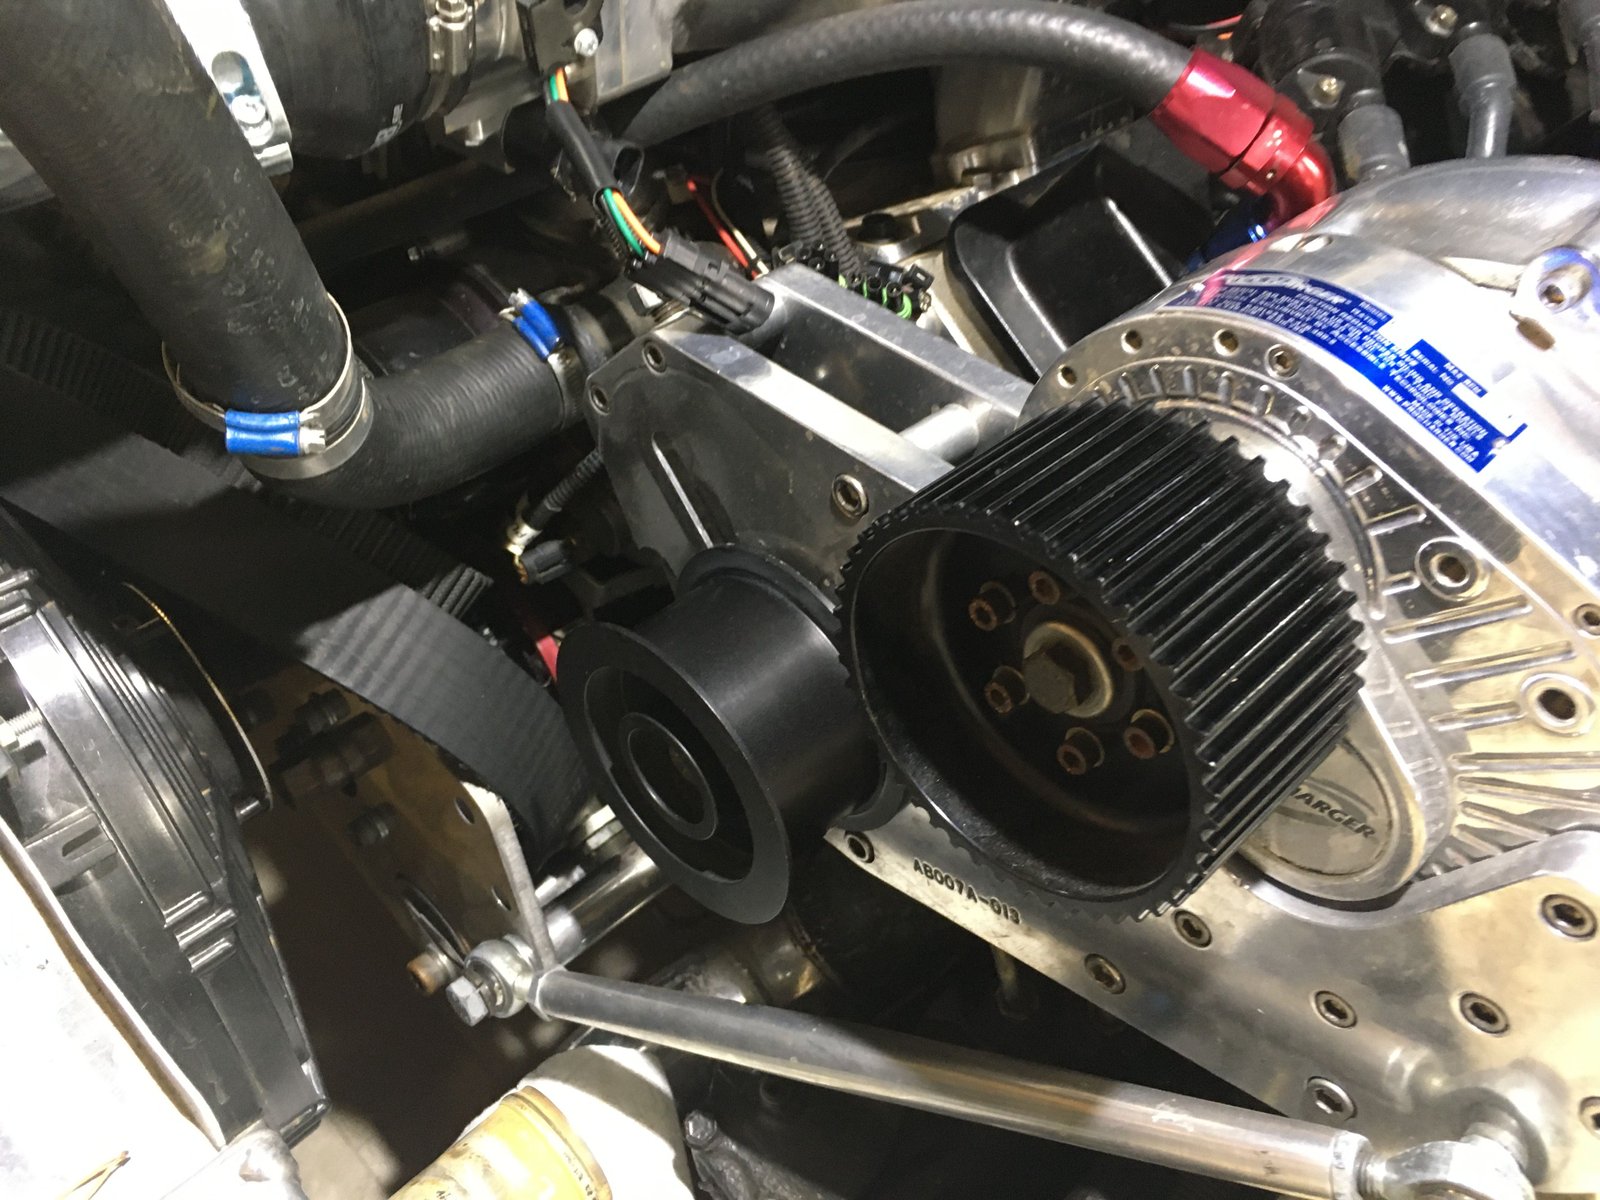
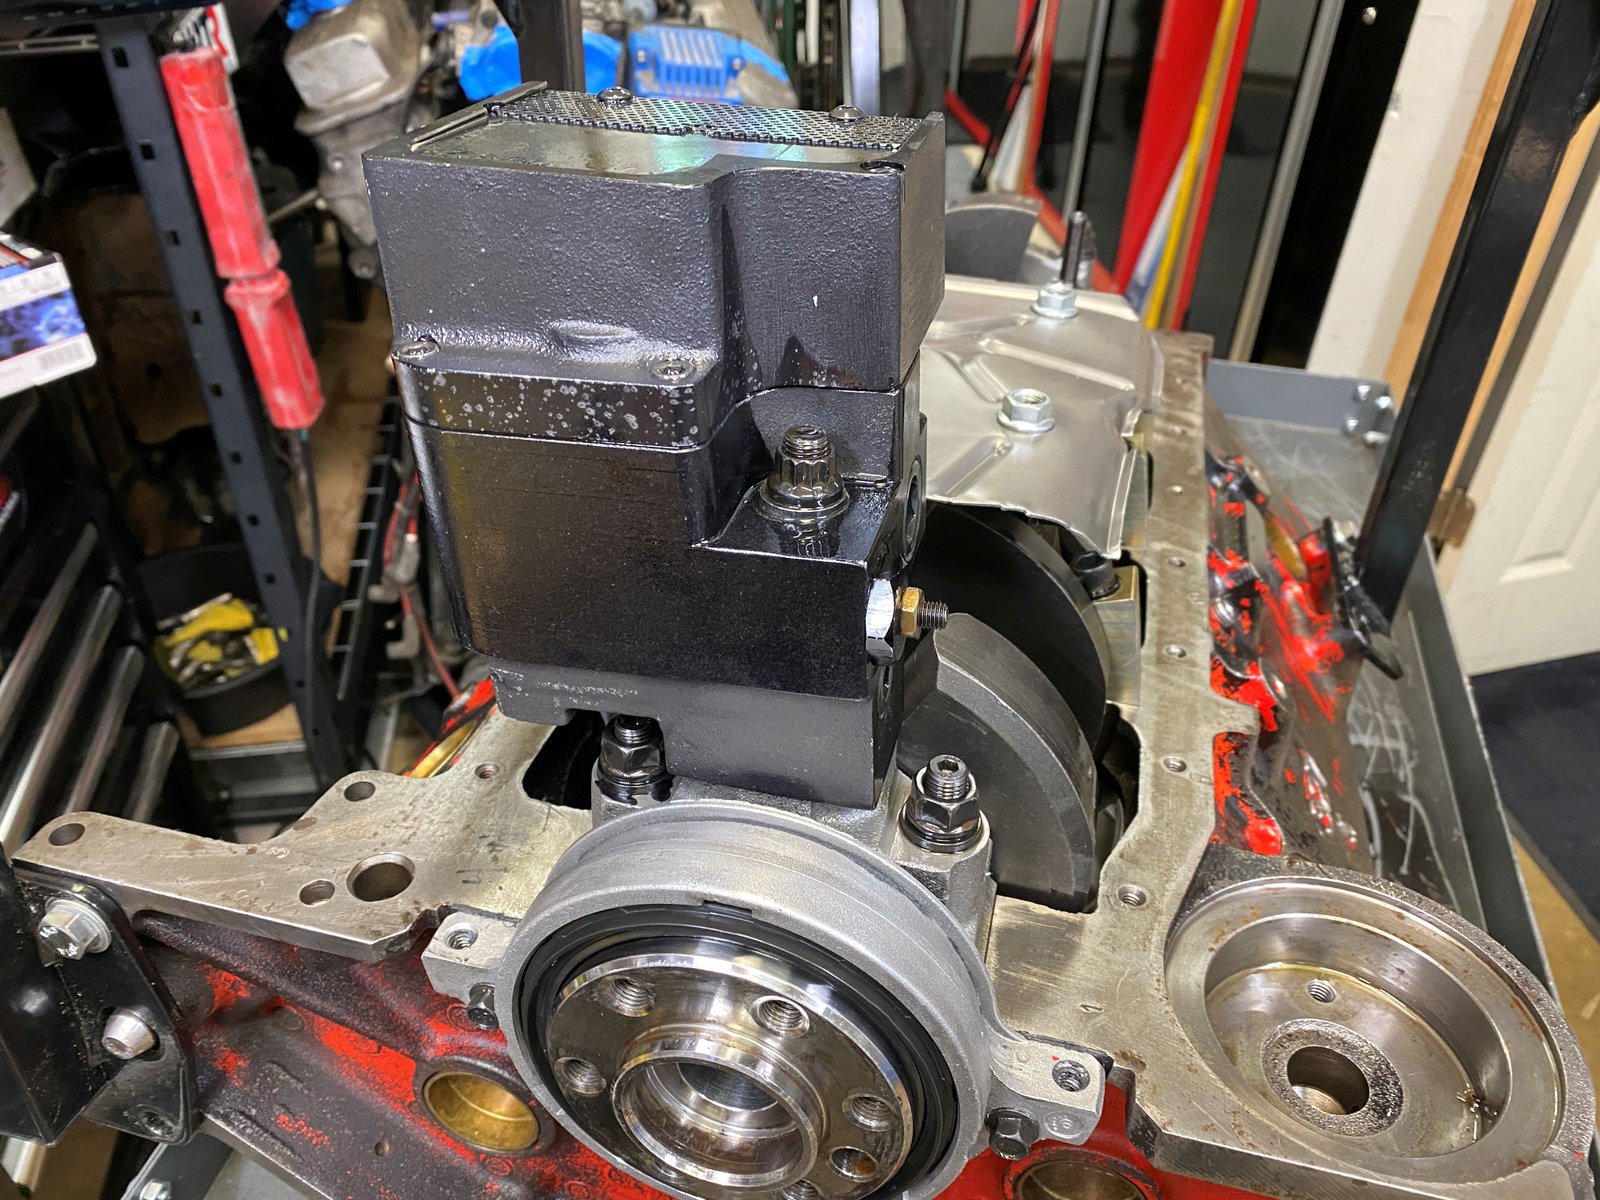
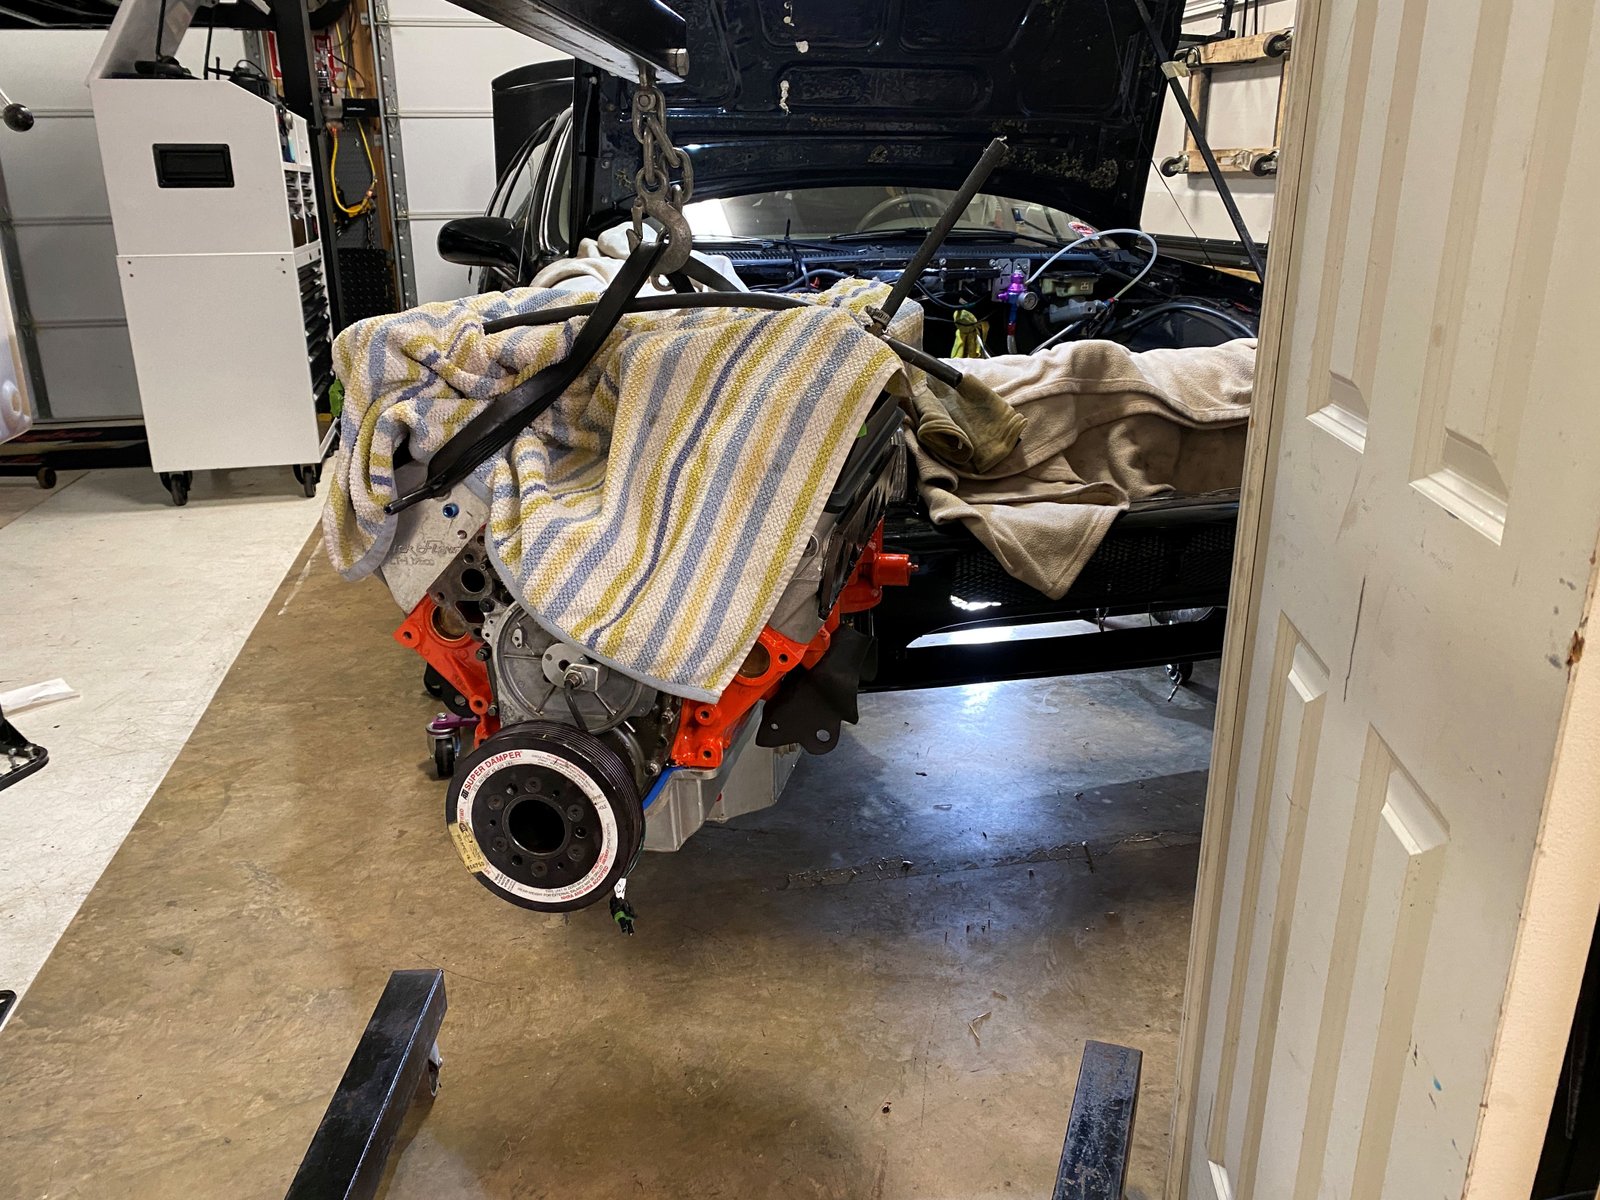
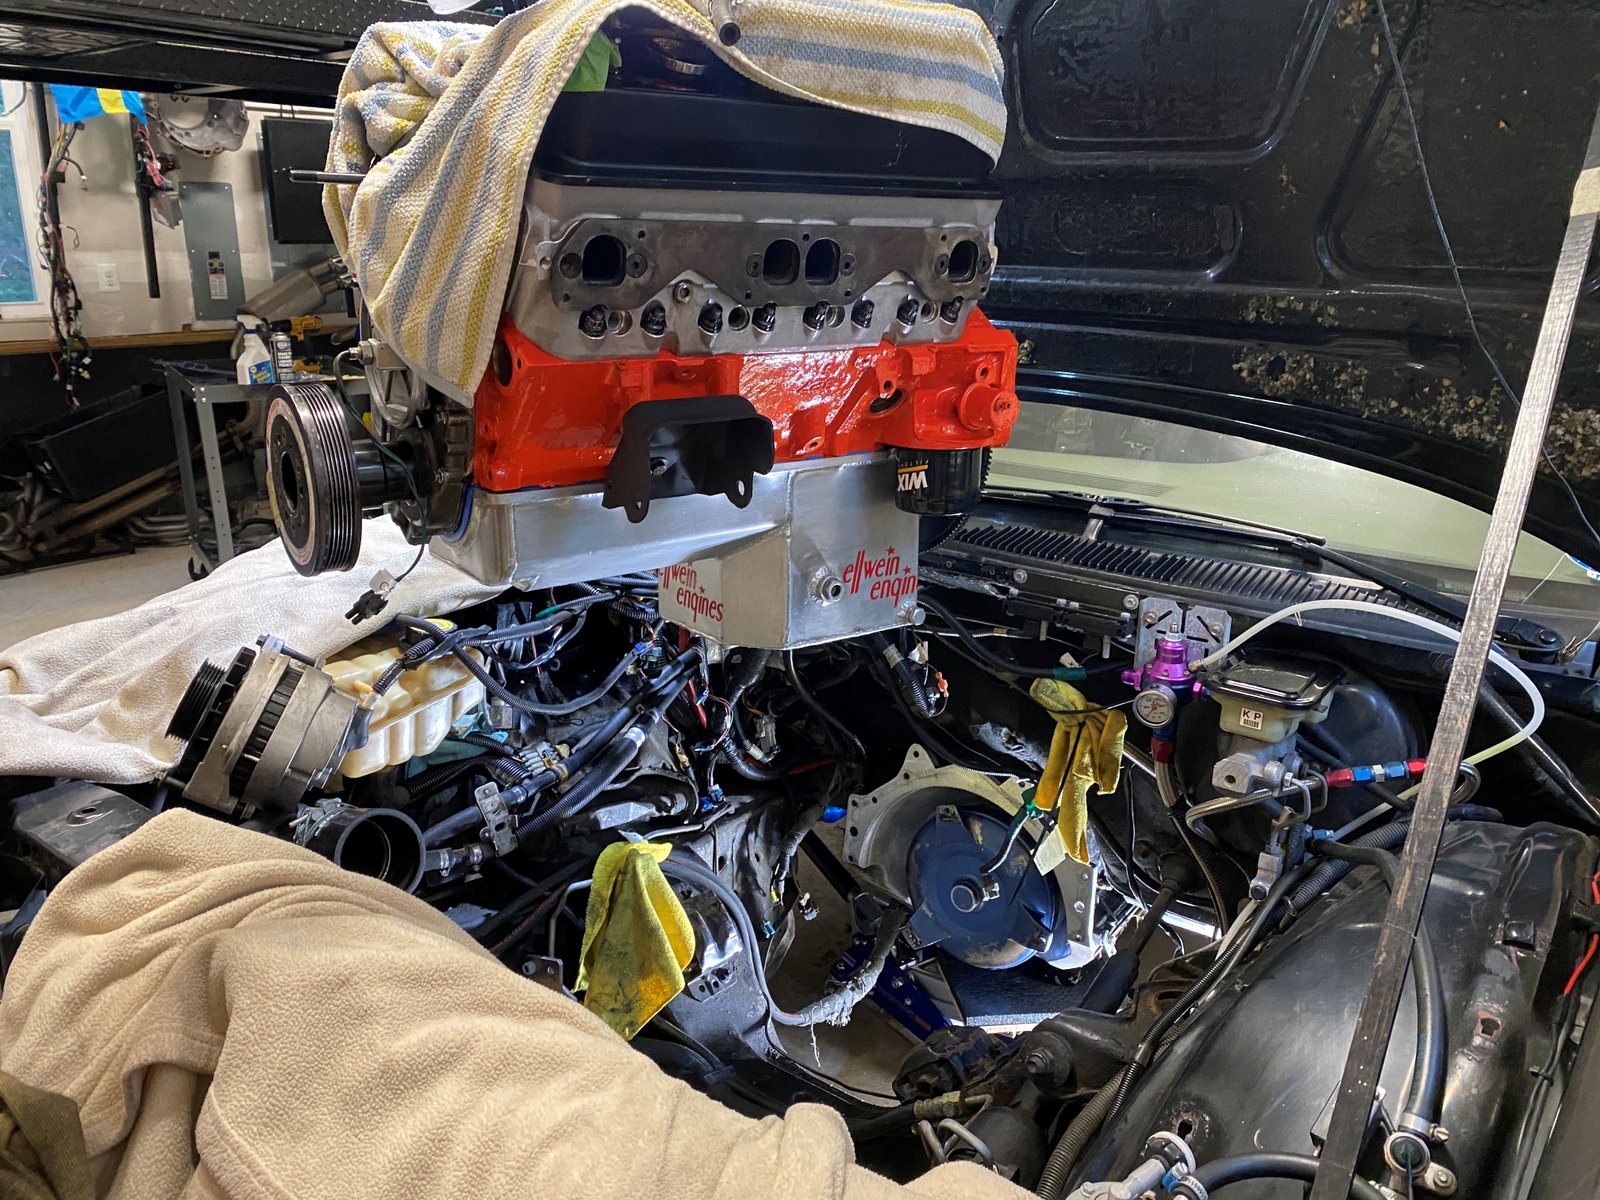
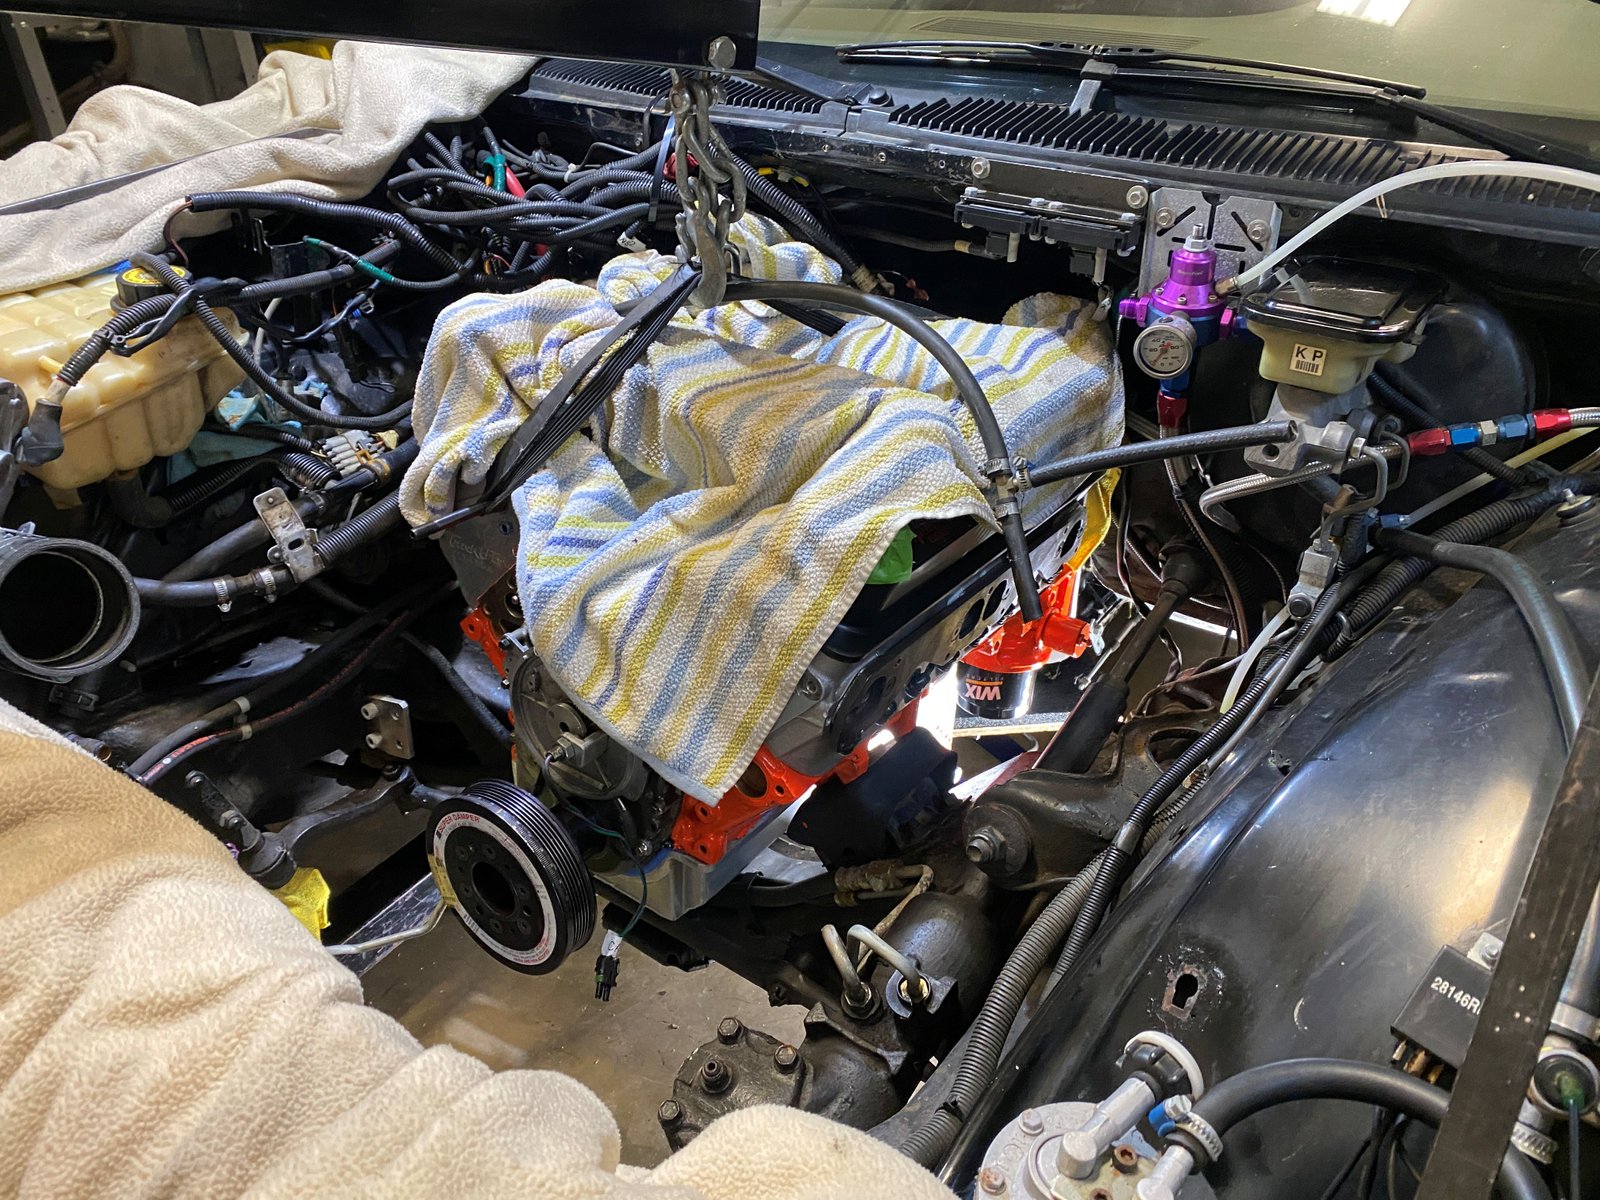
Photos for my reference to know where everything goes during
installation. This is the Bostic ProMod crankshaft
support...(of which I have one brand new in box for sale).
|

Here is the passenger side front motor support.
|

Driver's side front motor support.
|

|

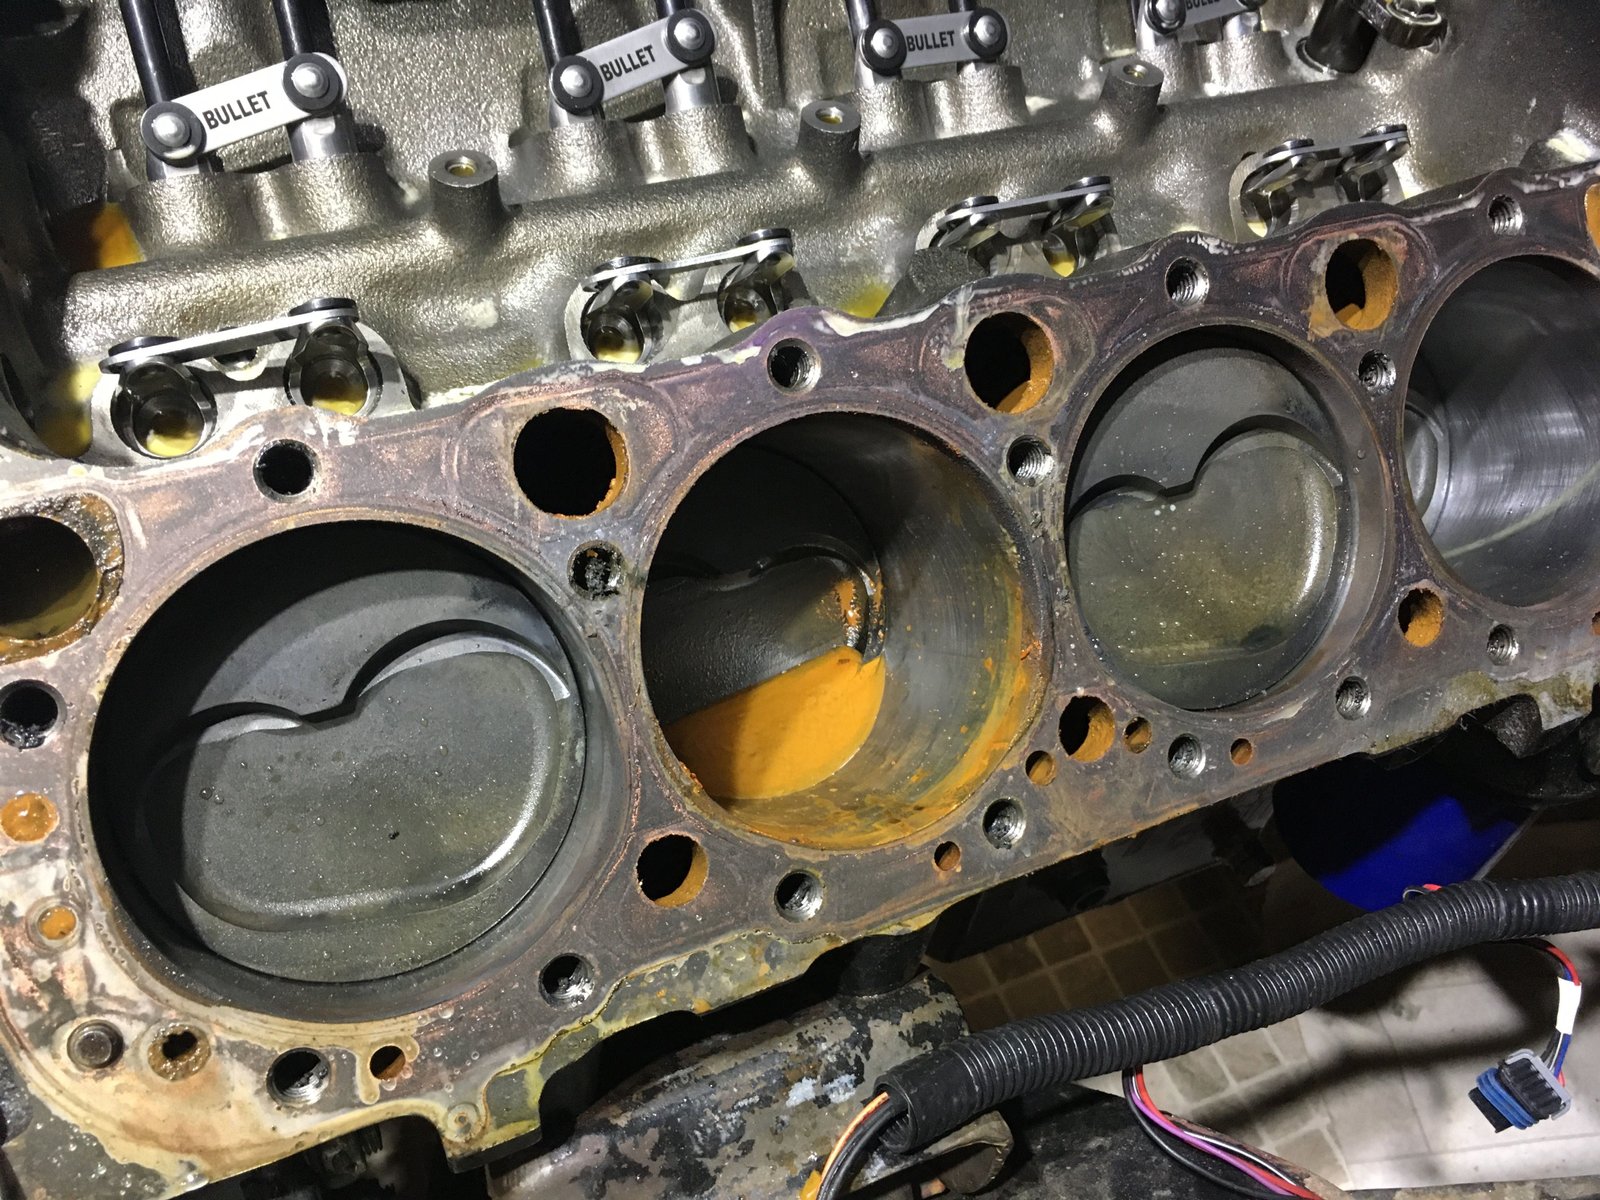
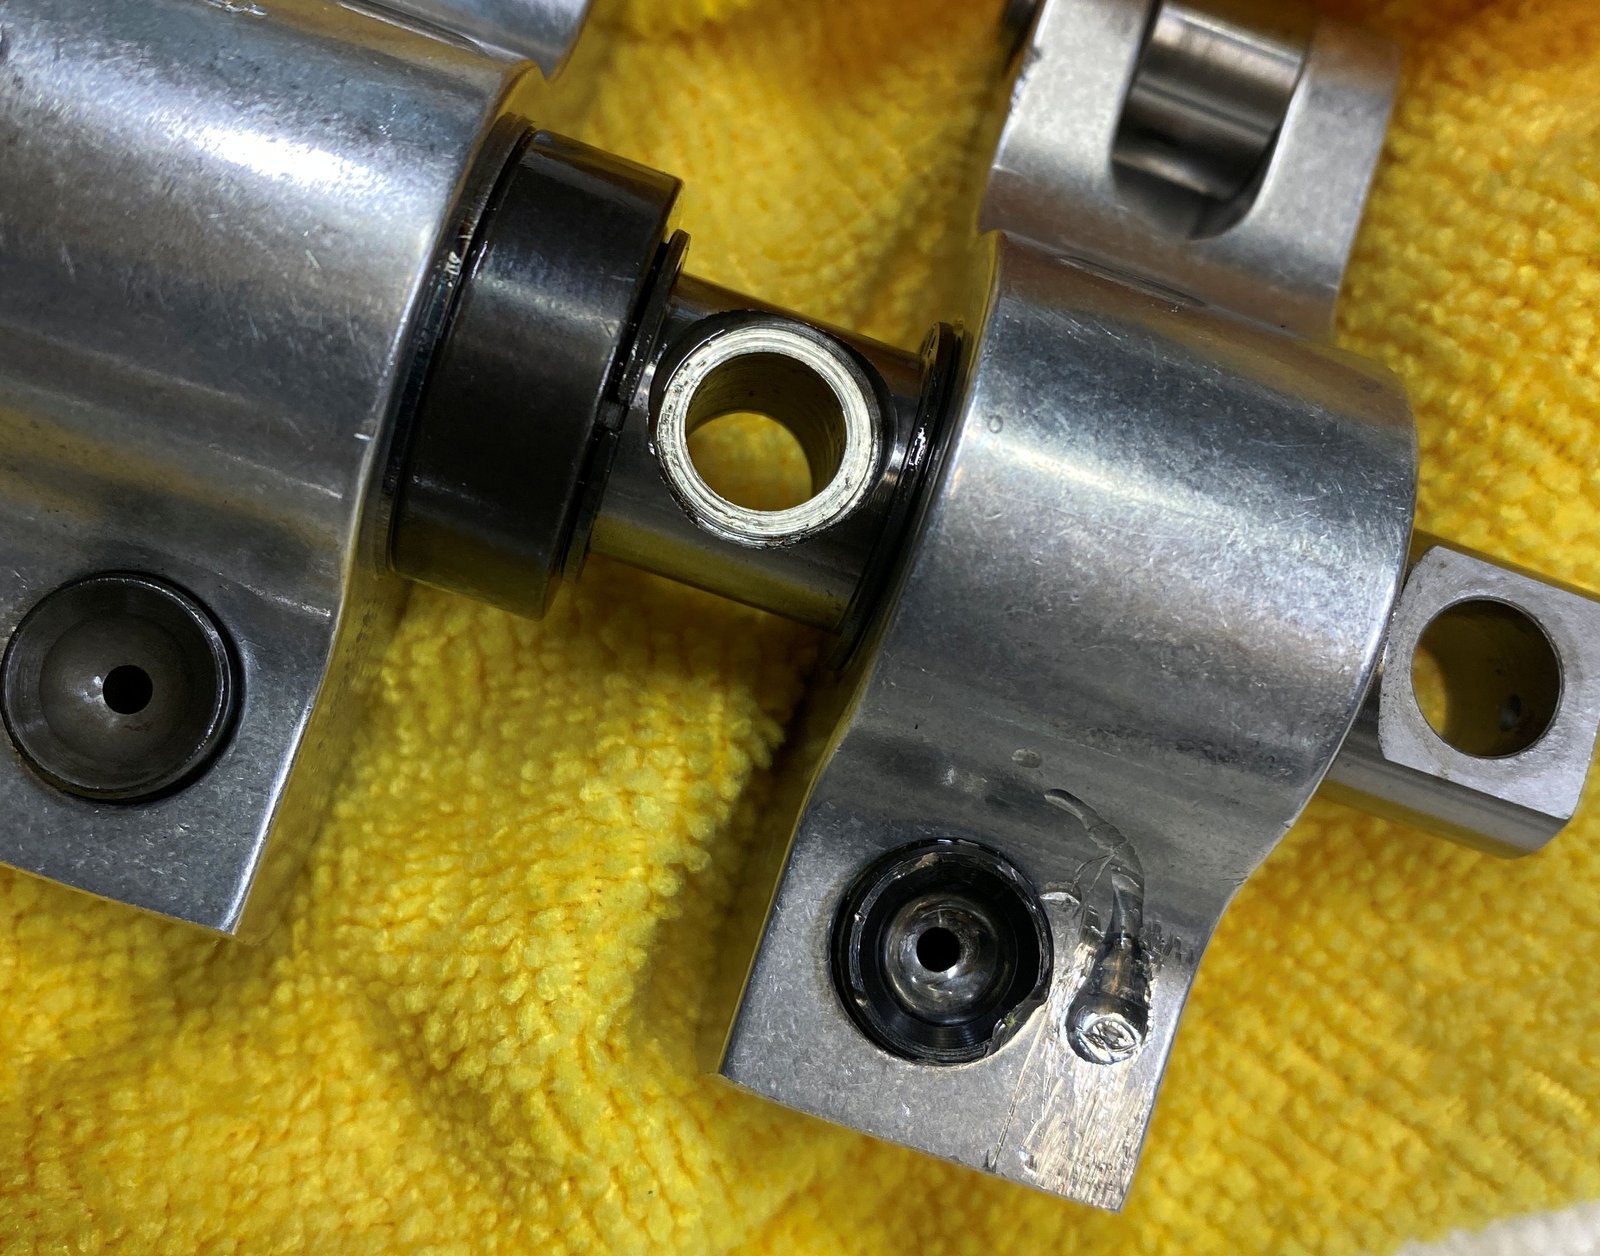
The engine was spitting water out of the exhuast.
|

Looks like I found the reason.
|

Cracked block. 1st time I've seen one of my LT1 engines
with a cracked block. I'm sure it's not all too uncommon for
high boost engines.
|

|

|

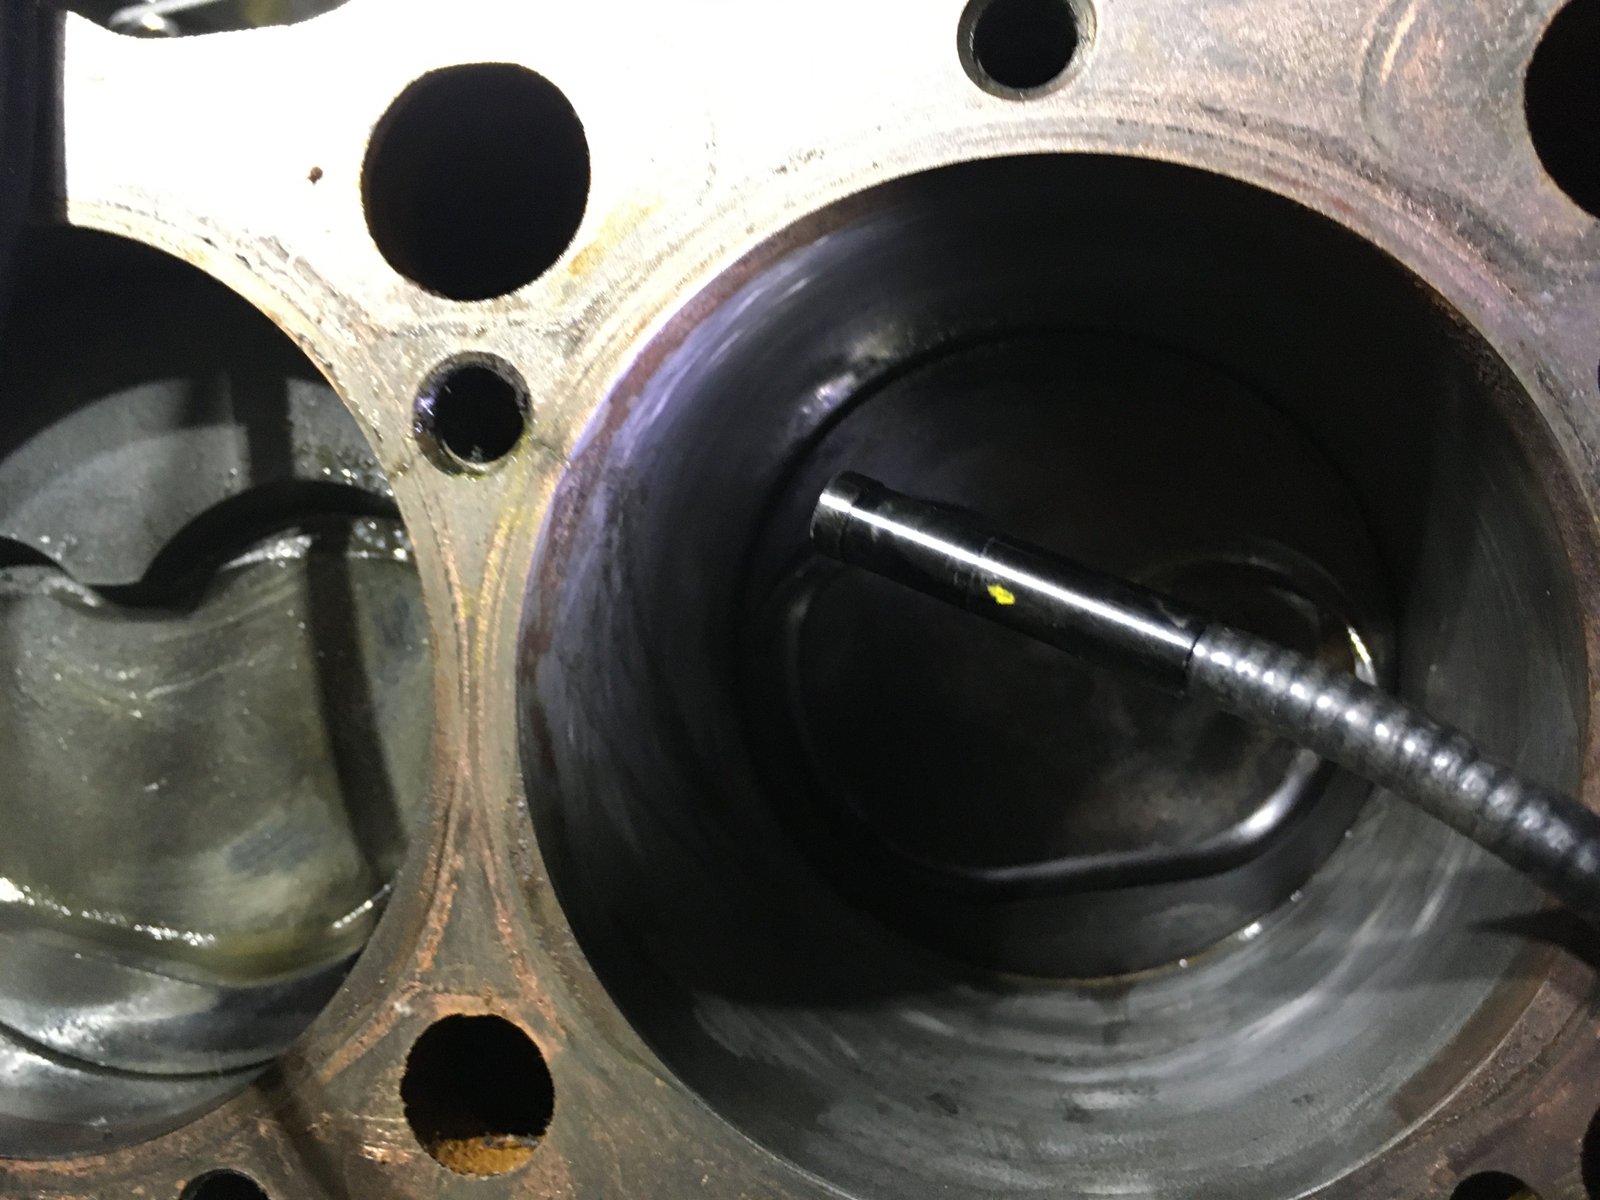
I also do not like that there is so much piston skirt thrust
after only a few runs down the track.
|

But the crank and rods are perfect.
|

I think this will be the very last use of this particular custom
Ross piston. I'm going to replace them with a shelf stock
Wiseco forced induction piston.
|

Many months later:
New Callies Ultra Rods (6")
|

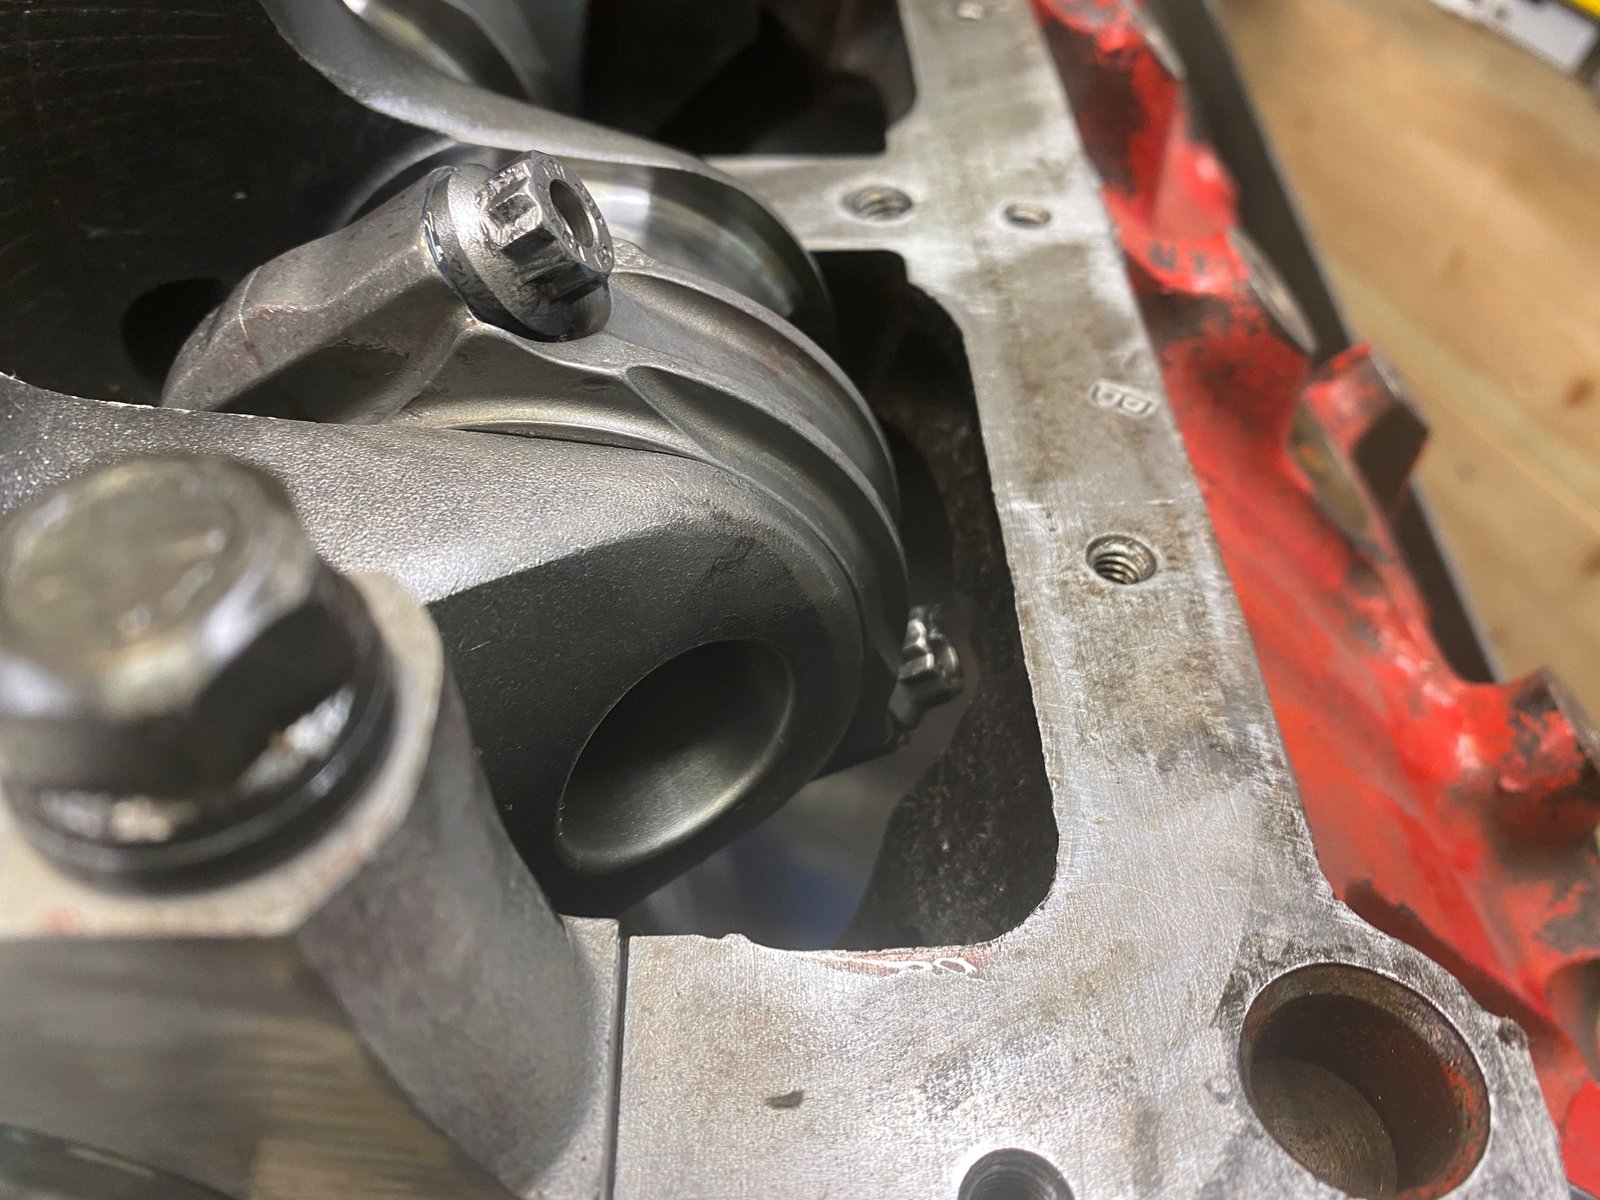
Off camera I spent about 1/2 a day clearancing this
"new" block. It's been laying around for many years
and I think I used it as a 355 LT1 for a few years too. It is
now .040" over and 3/4 full of concrete.
|

Clearanced for rod stroke.
|

I think this is the cam that came out of Kent's motor. It
is the only one I had laying around the shop that "might"
be the cam. I cannot find info and specs in my records of
ERE#9 (Kent's motor). I'll keep looking but for now this is
it.
|

|

I found the cam card and the folder with
all the other details, (from rebuild #91) The cam is
243/251/110 duration and .620" lift mechanical roller by
Advanced Induction.
|

Crank end play is .004"
I'll show the rods and pistons in a
few days when I assemble them and do the ring gap.
|

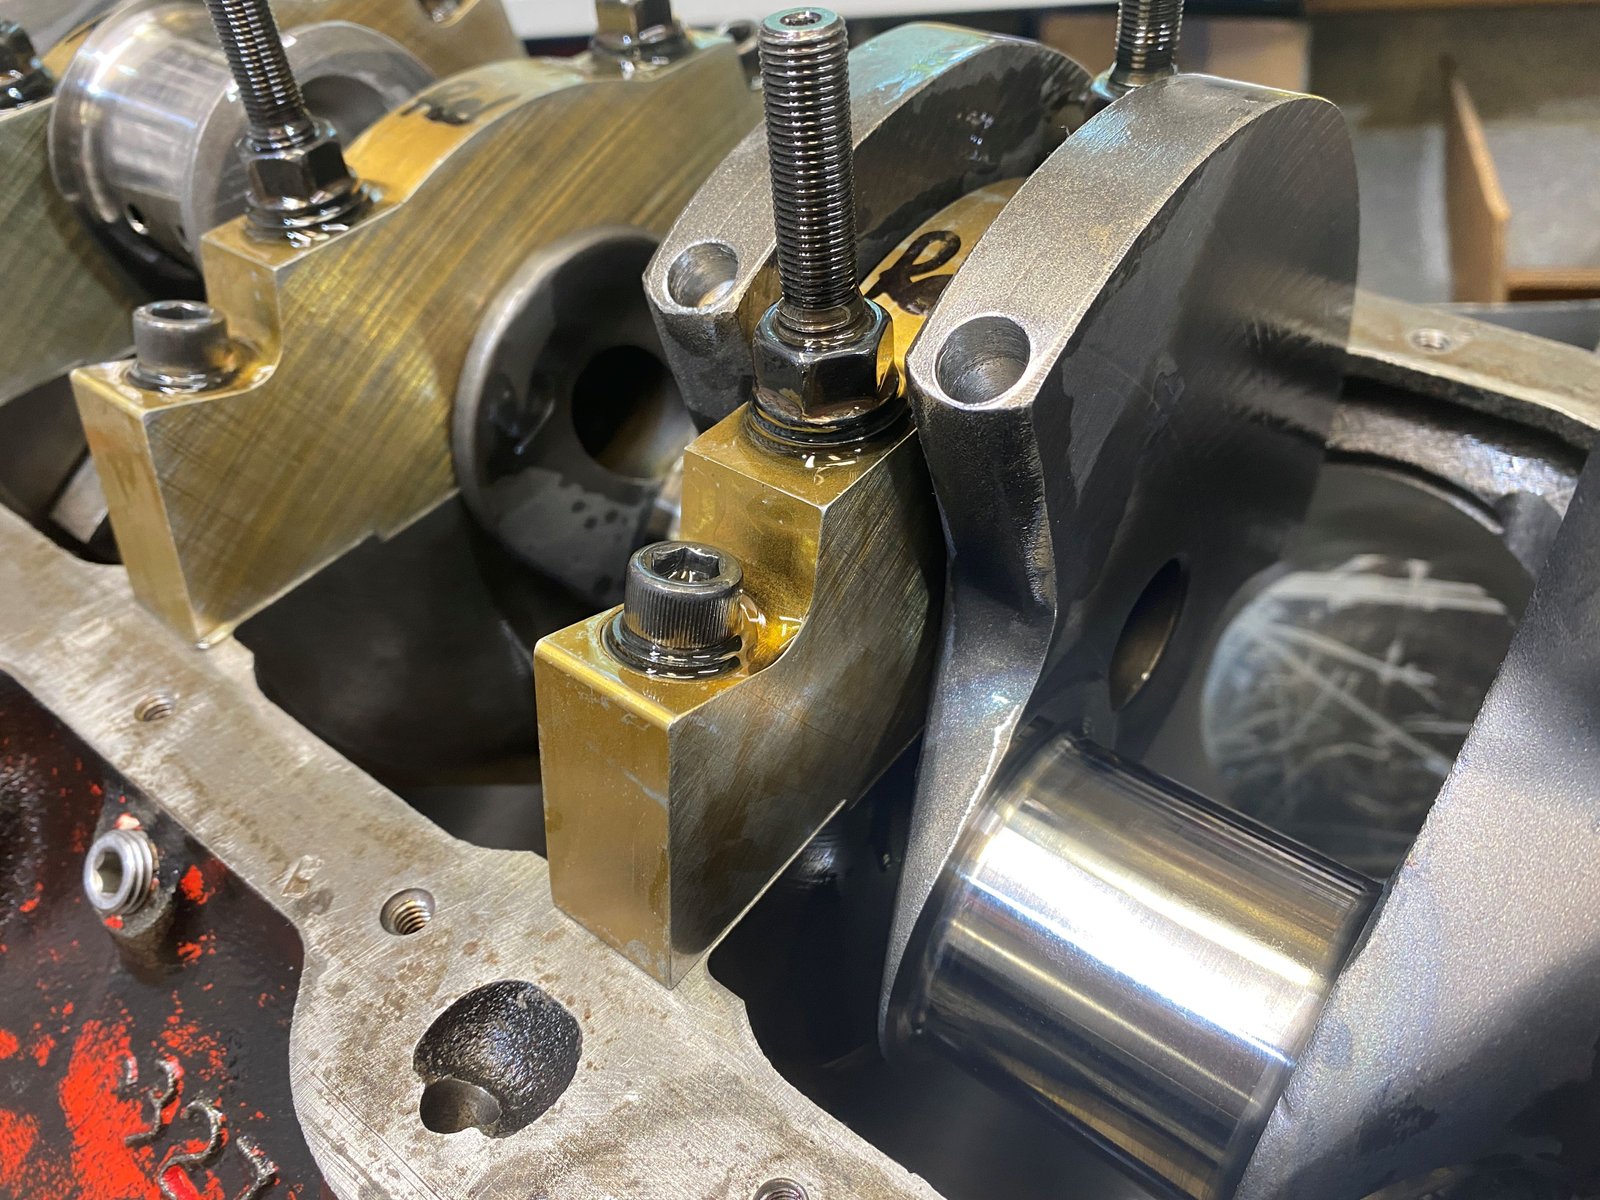
Main bearings are a mix of King and FM that I had laying around
and I set things on the large side as far as clearance. .0045
for rear main and .003 to .0035" for the rest of them.
Mostly because these were the bearings I had and less so for
shooting for any exact number. It will be interesting to see
what loose clearance does for oil pressure.
|

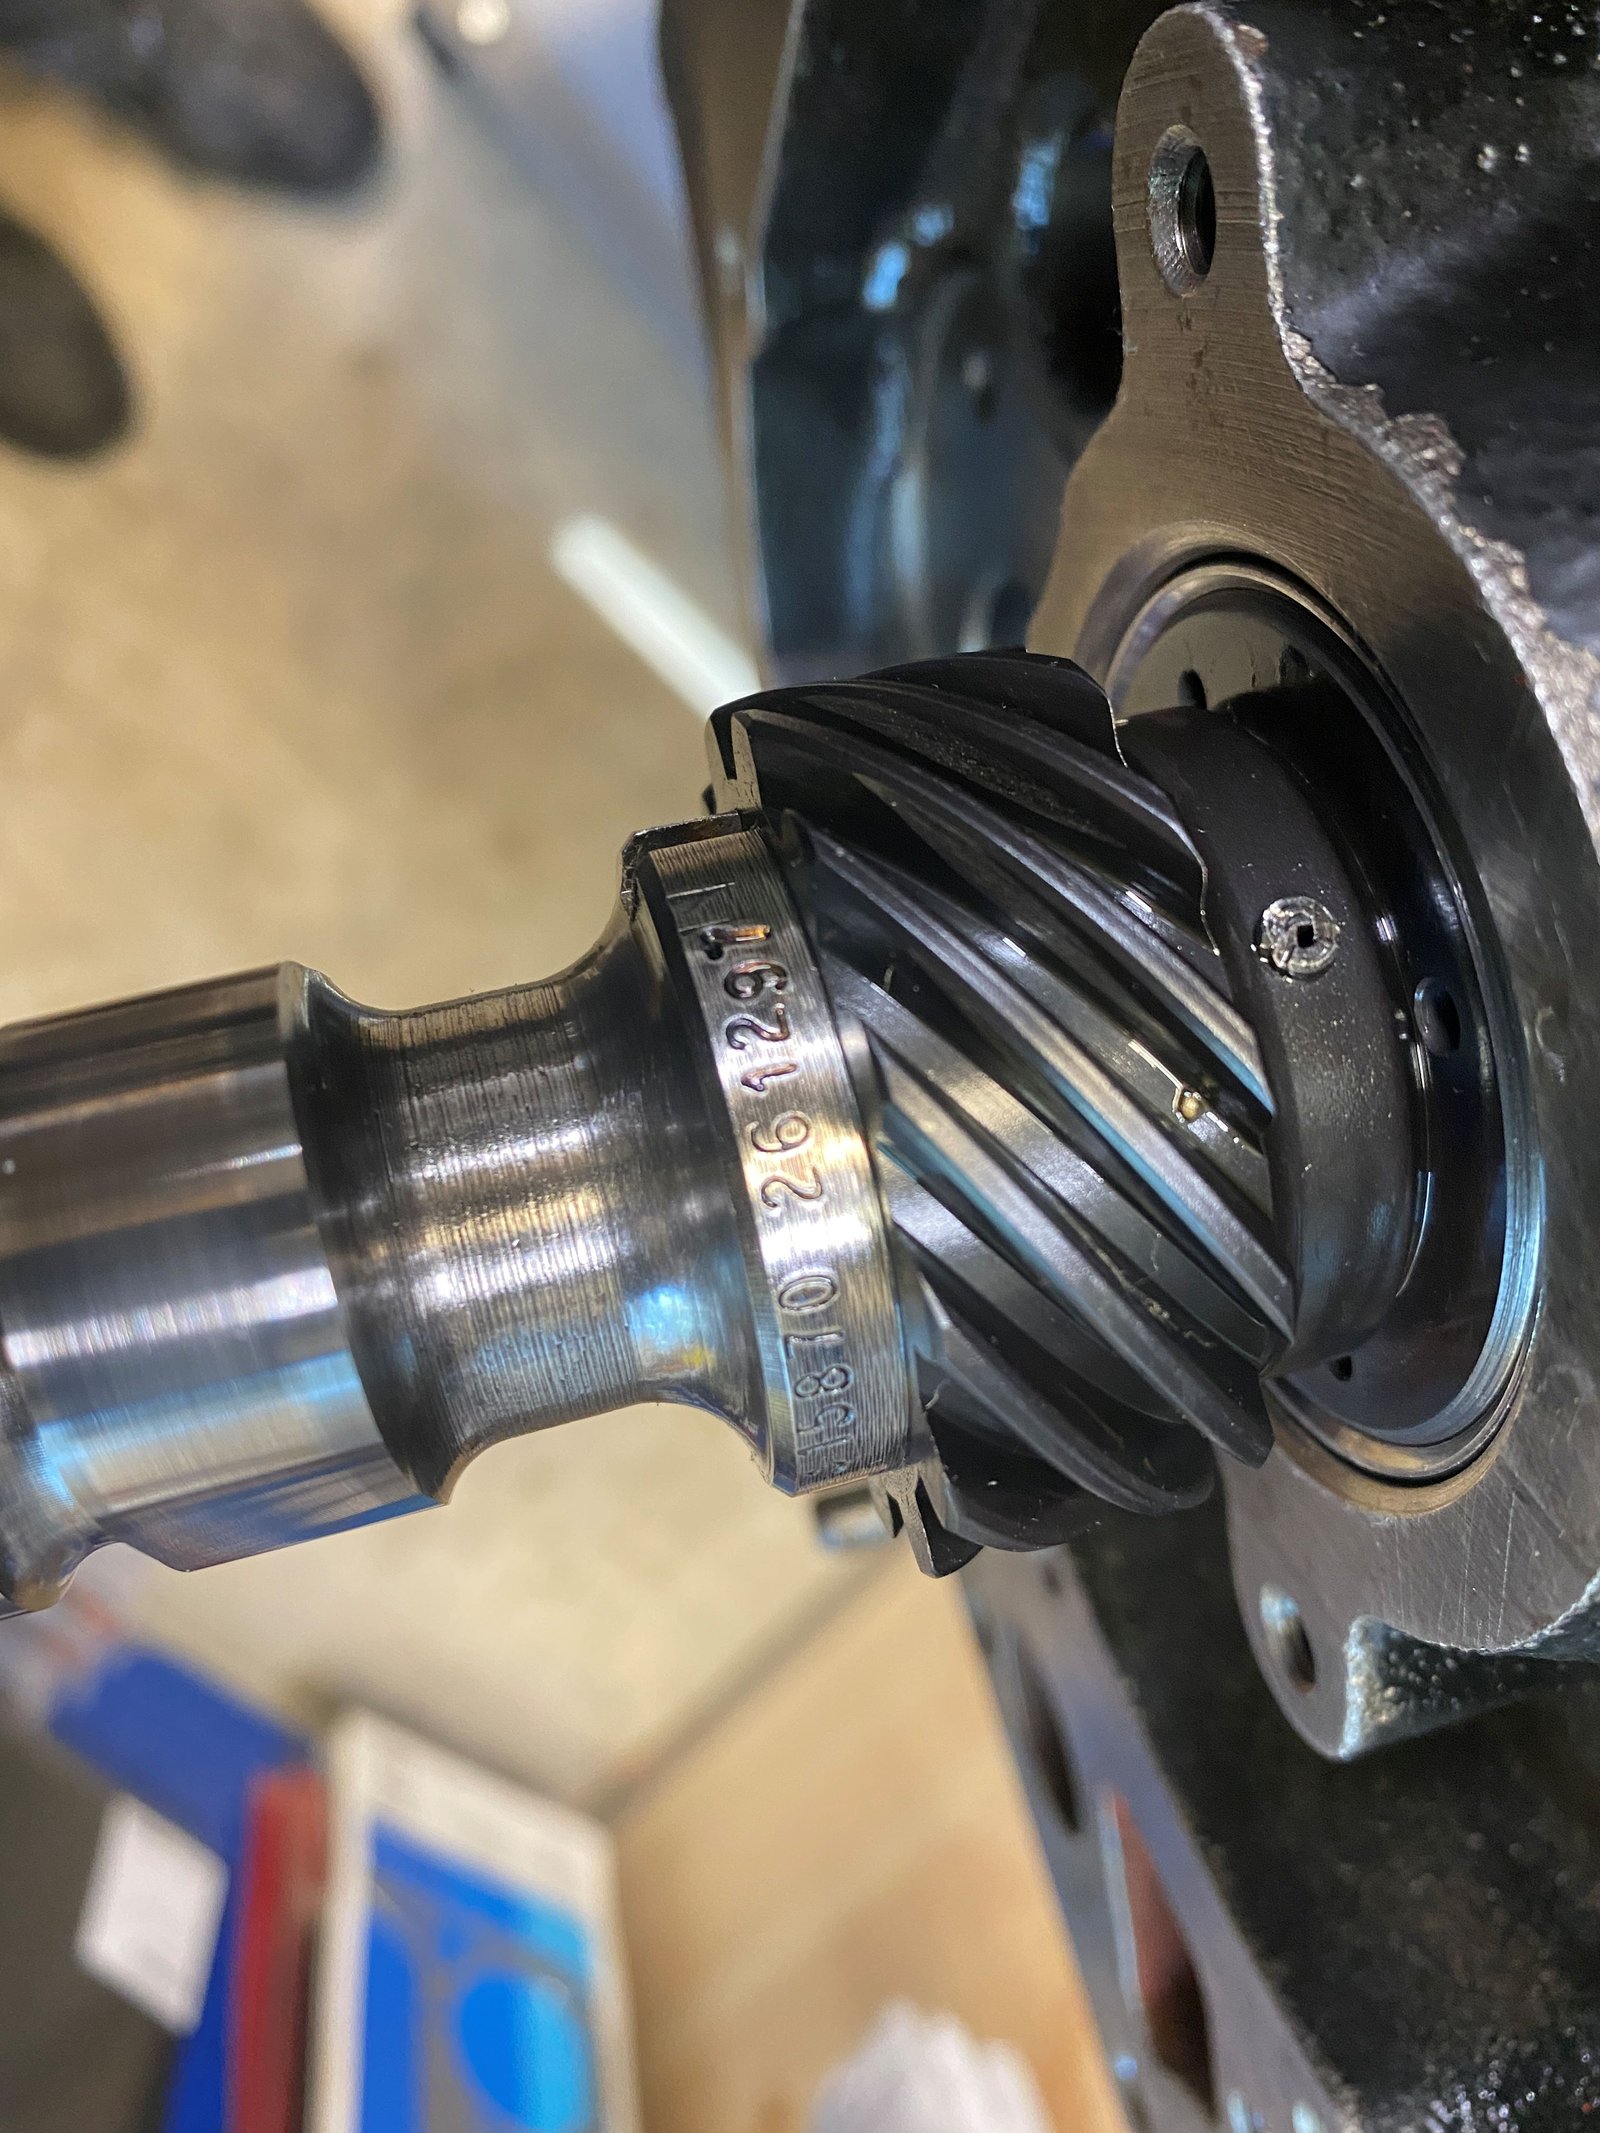
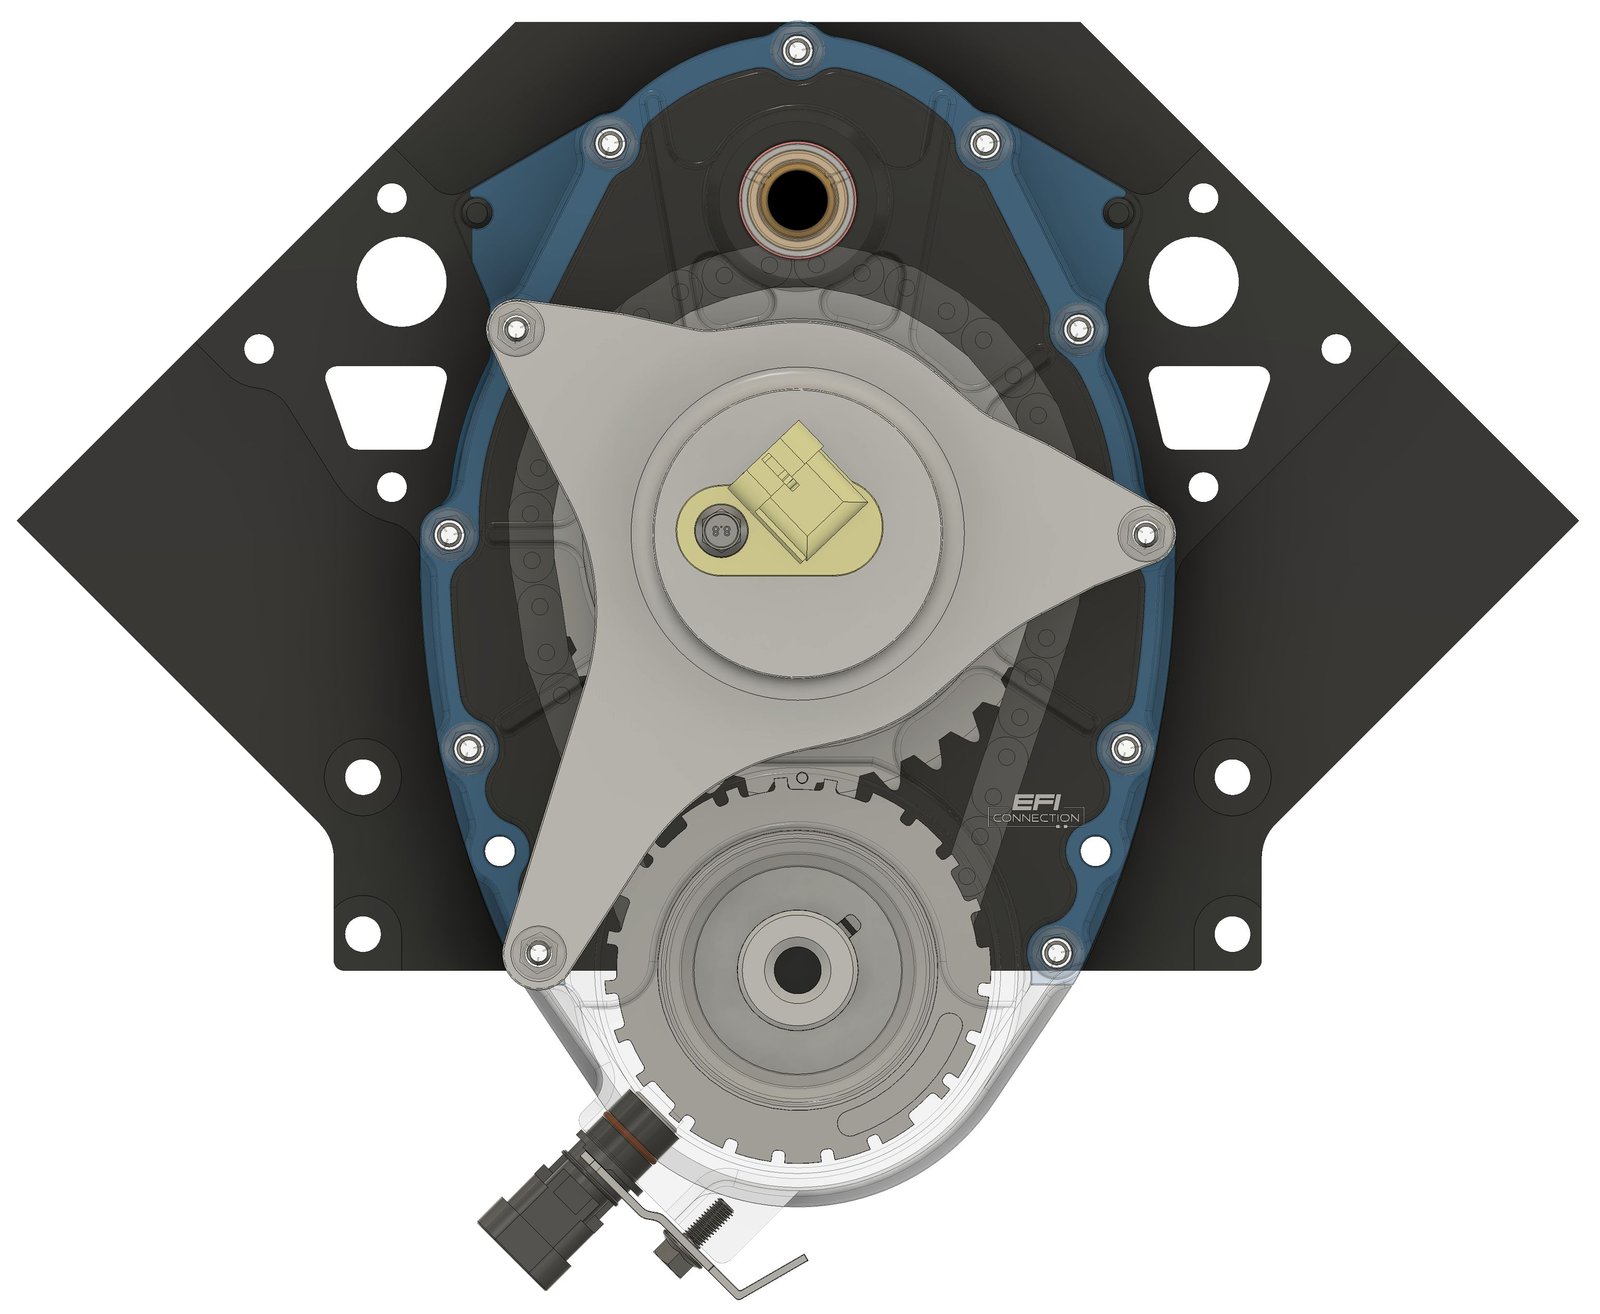
Mike Noonan of EFI Connection sent me this .png of the 24X crank
reluctor and in this photo it is at top dead center. I can
verify that my reluctors are the proper phasing.
|

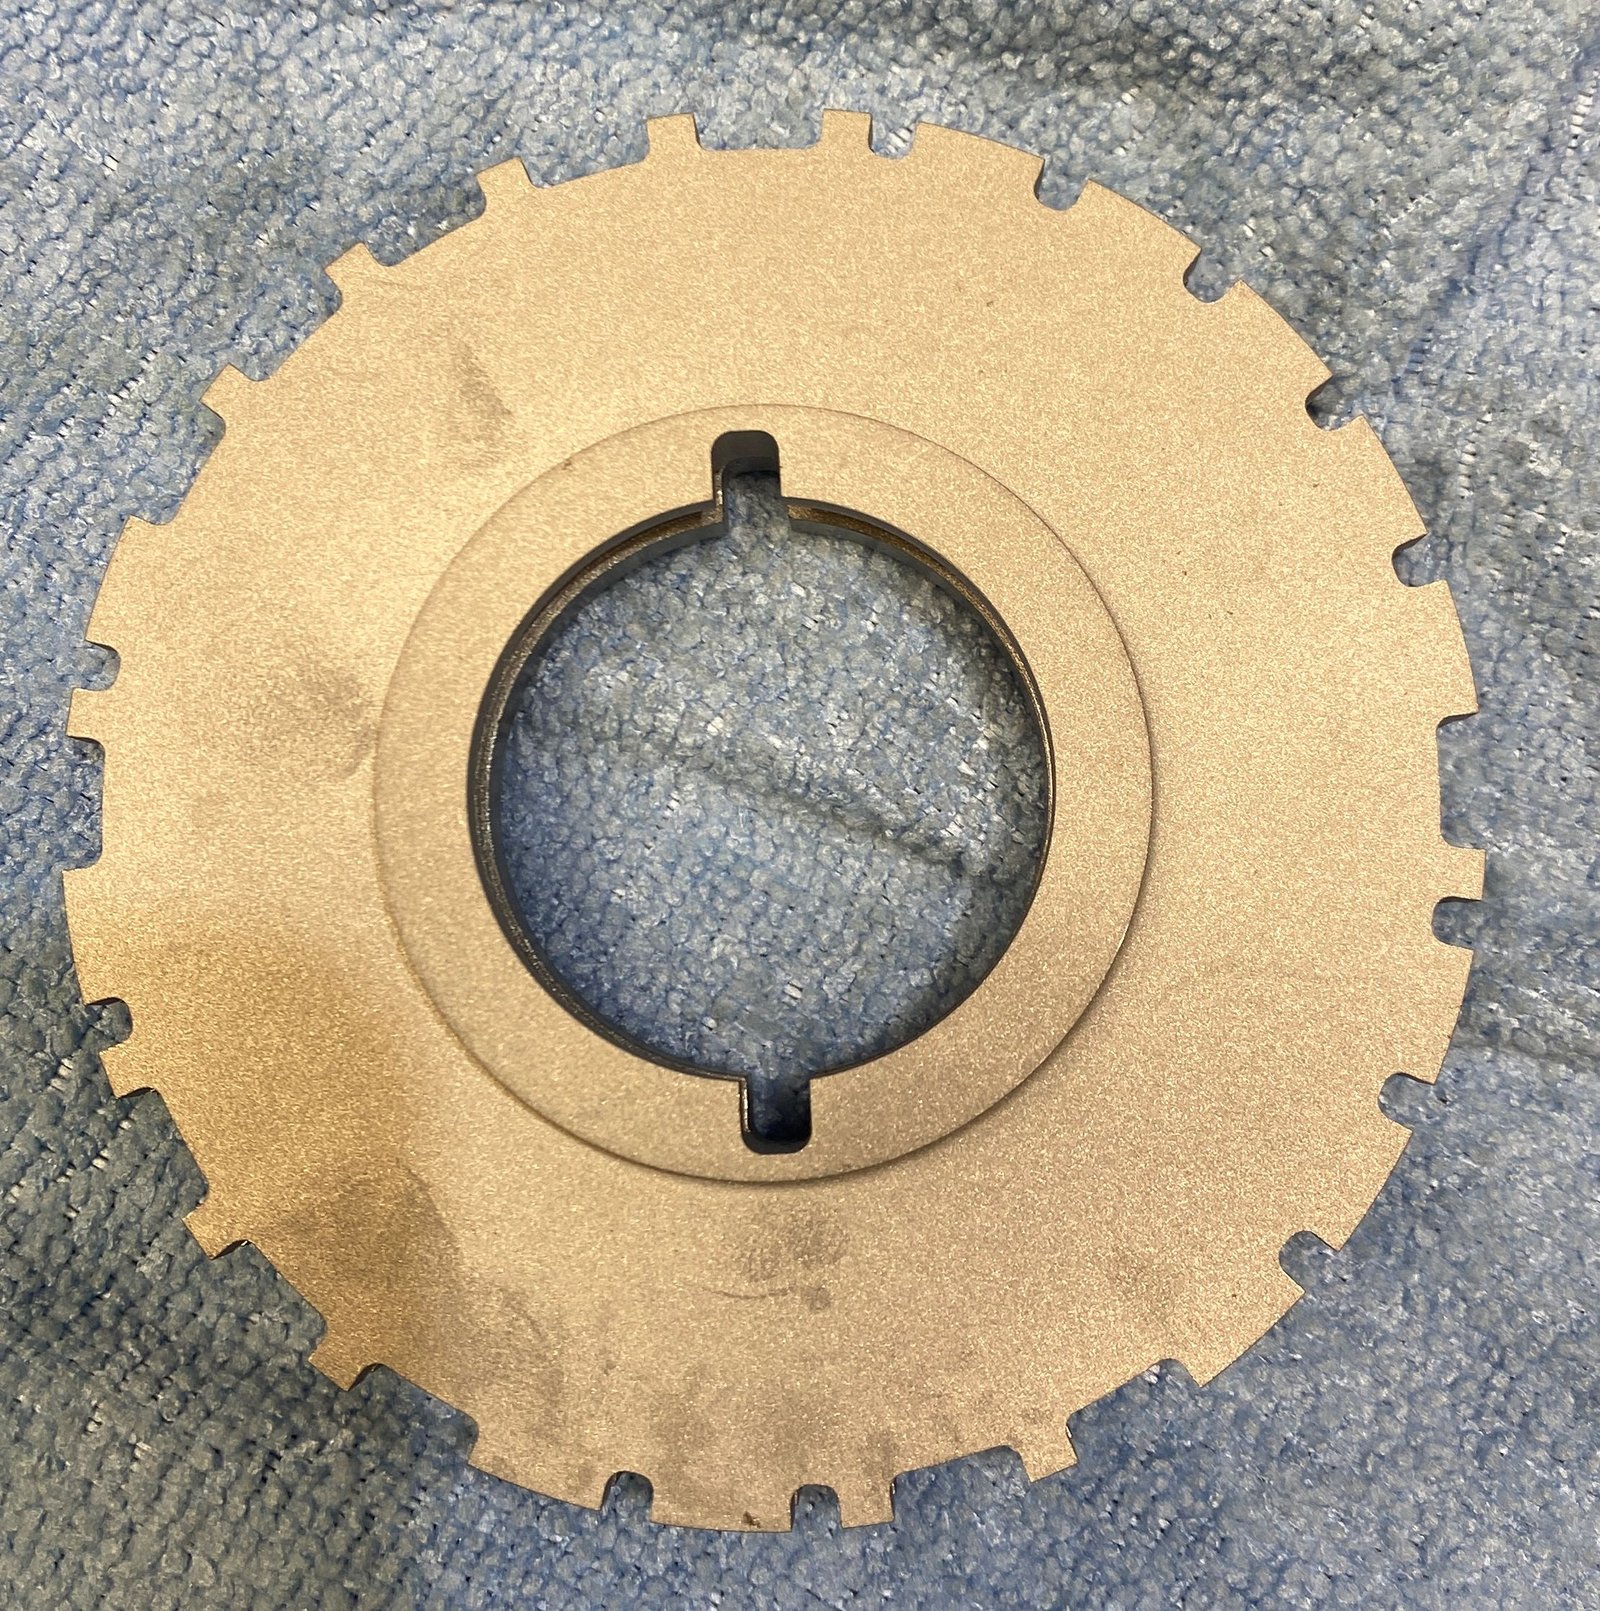
Here are 2 reluctors that I had in my parts drawer. They
are for big block Chevy crankshaft nose. Mike told me the one
on the left will interfere with the timing chain and the one on the
right is the correct one to use. I will have my ATI damper
machined so that it will nestle right tight into that inner recess.
|

I stacked the 2 reluctors on top of each other to see if the
key-ways match. I'll be using this for my crank signal to the
Holley HP EFI that I have on order.
|

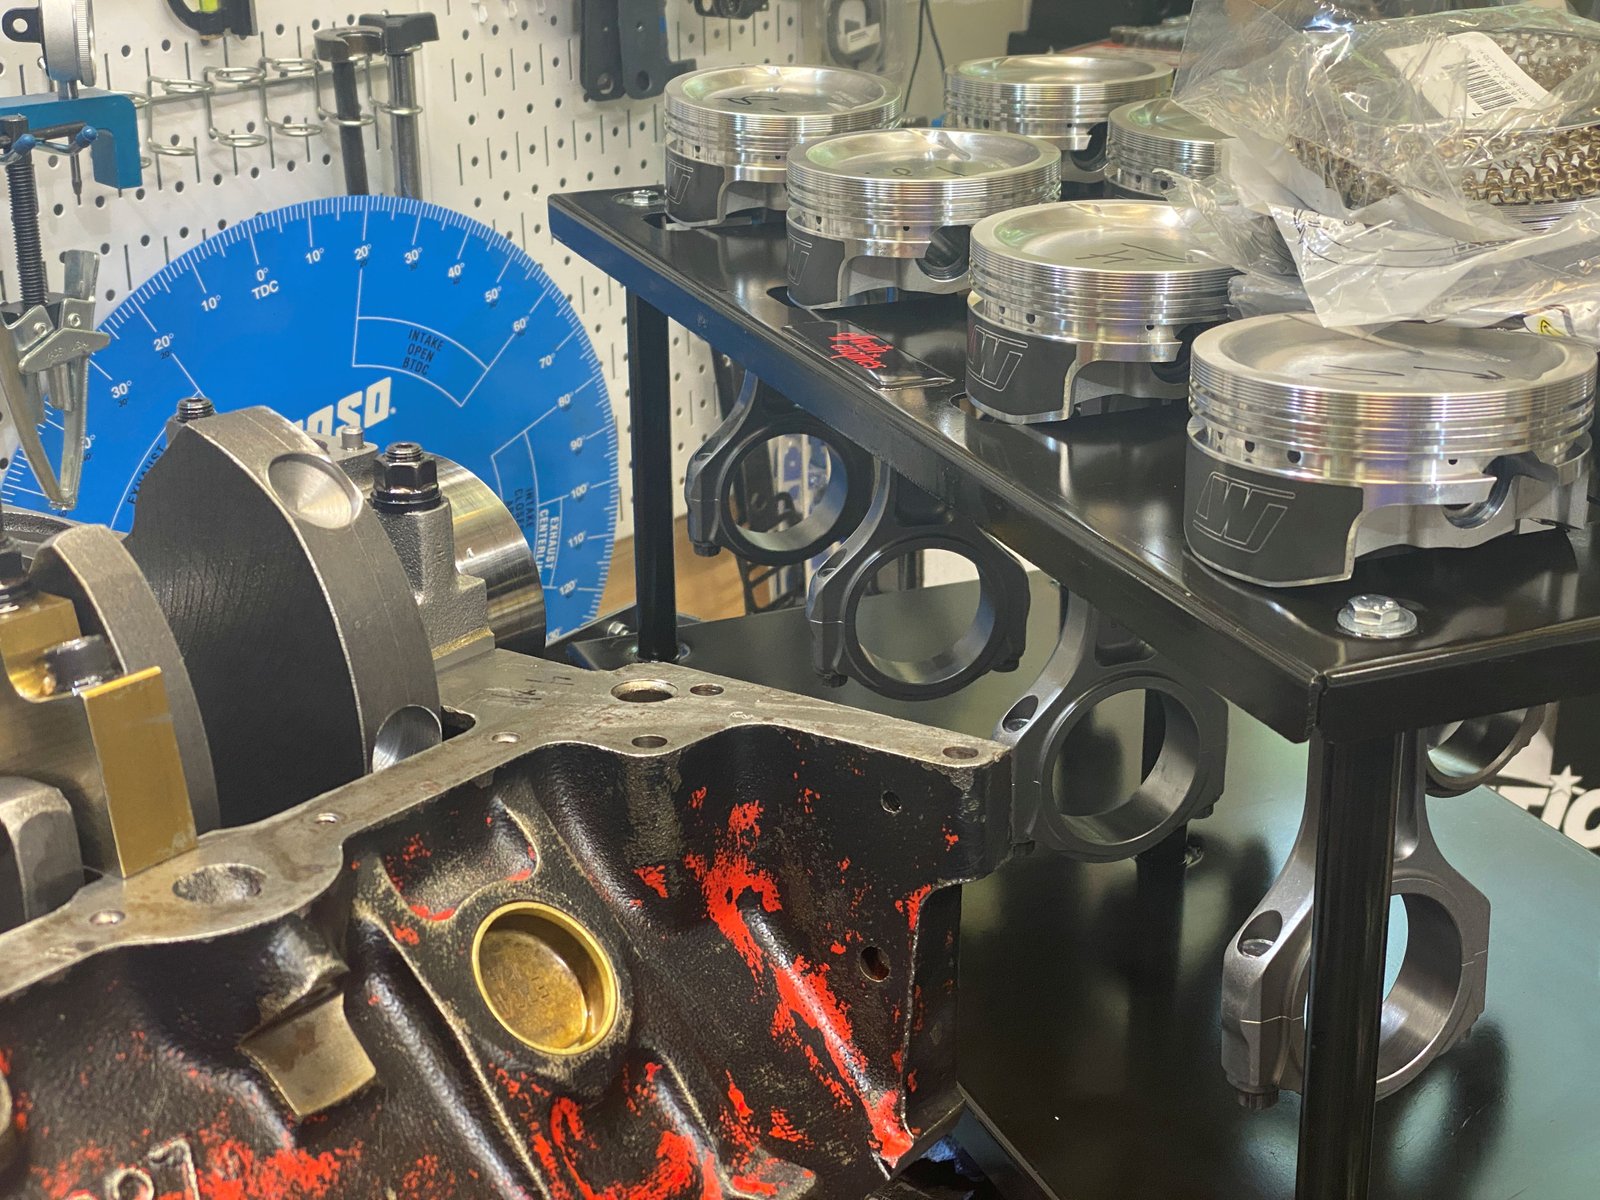
Here is another photo of the Callies Ultra I-beam connecting
rod. In this photo I'm taking a break from installing the
spiro-lox. See the pieces of my glove laying there.
|

Pistons assembled onto rods...
I decided to go with Wiseco K0067A4 pistons 4.040" and the
Callies 6" ultra rod. New balance has the crankshaft at
1838g
|

Next step is to file the ring gap. I'm going with
.030" / .032"
|

Ok, a couple of months later. All rings filed and all
piston/rods installed. These file fit total seal rings are
#CSL3690-45 and the oil rings are high tension 23lb.
1/16" top ring C-33 steel, Napier 2nd ring,
|

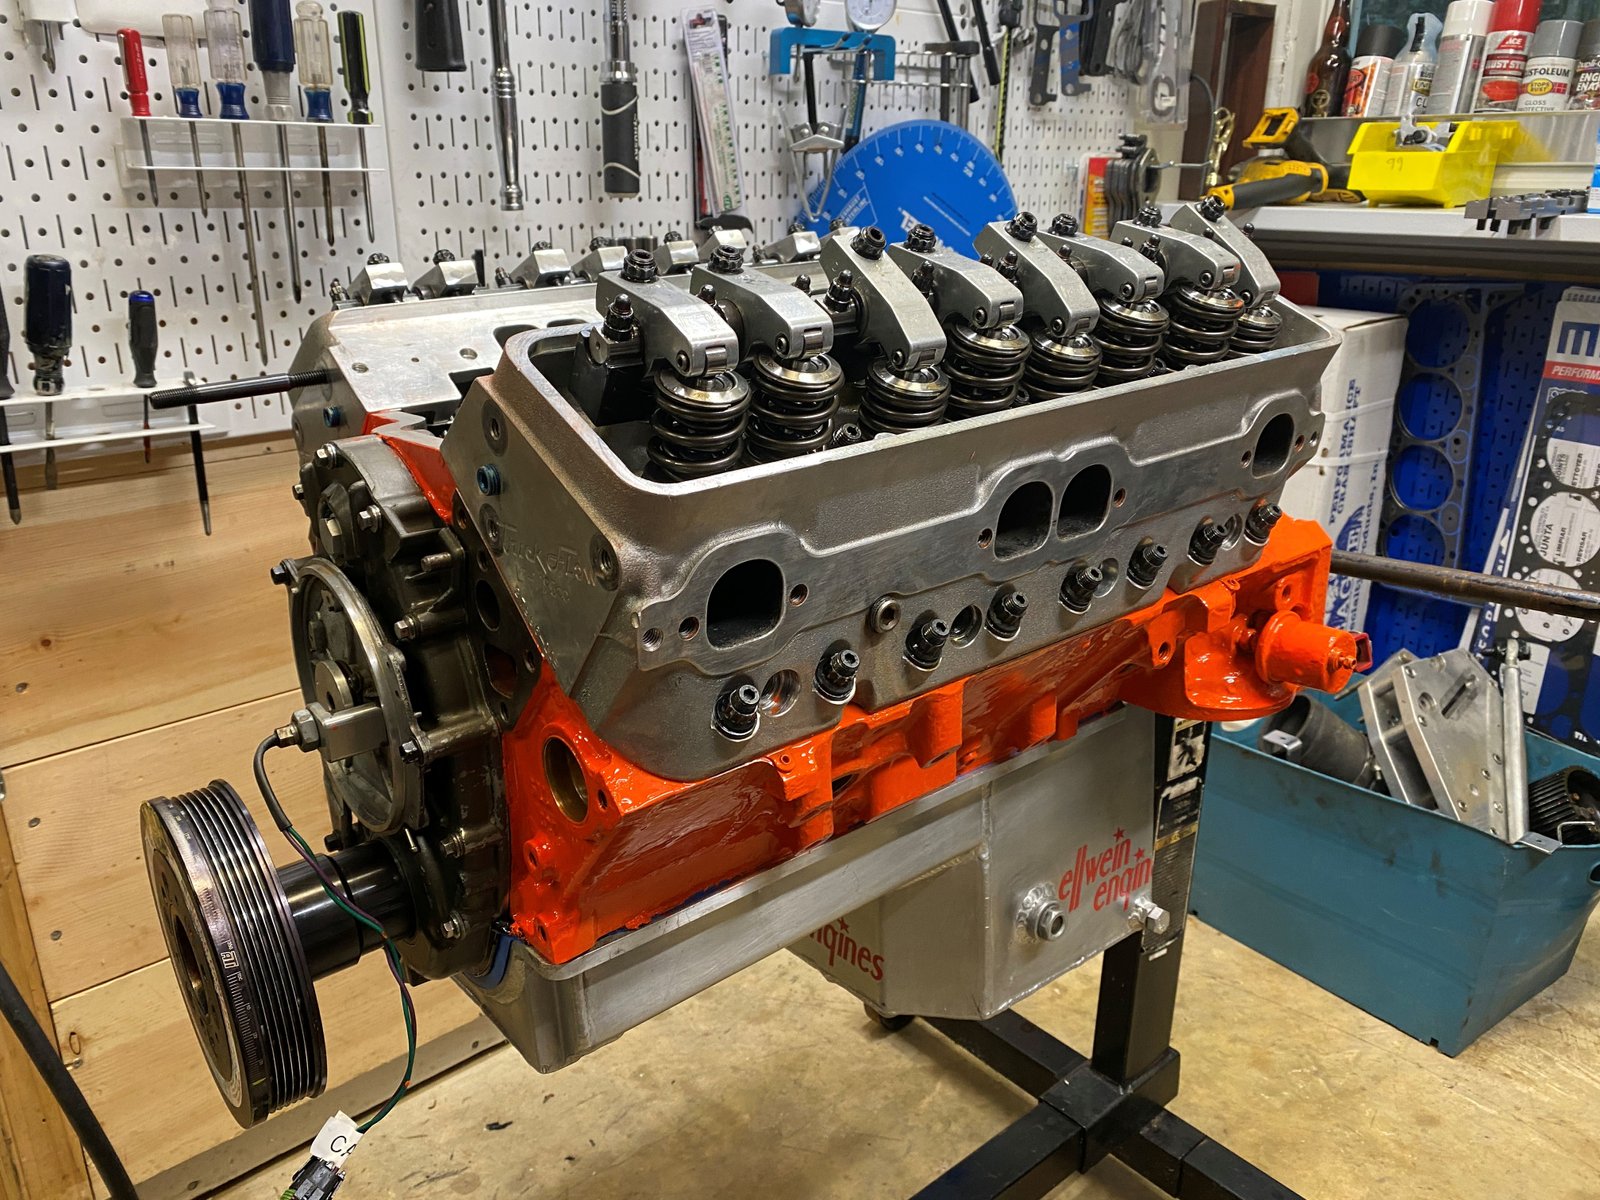
Another view. Block painting will be last.
|

I re-used the windage tray that has been trimmed to fit around
the big oil pump.
|

Titan oil pump. This is a gearotor and not a spur gear design.
|

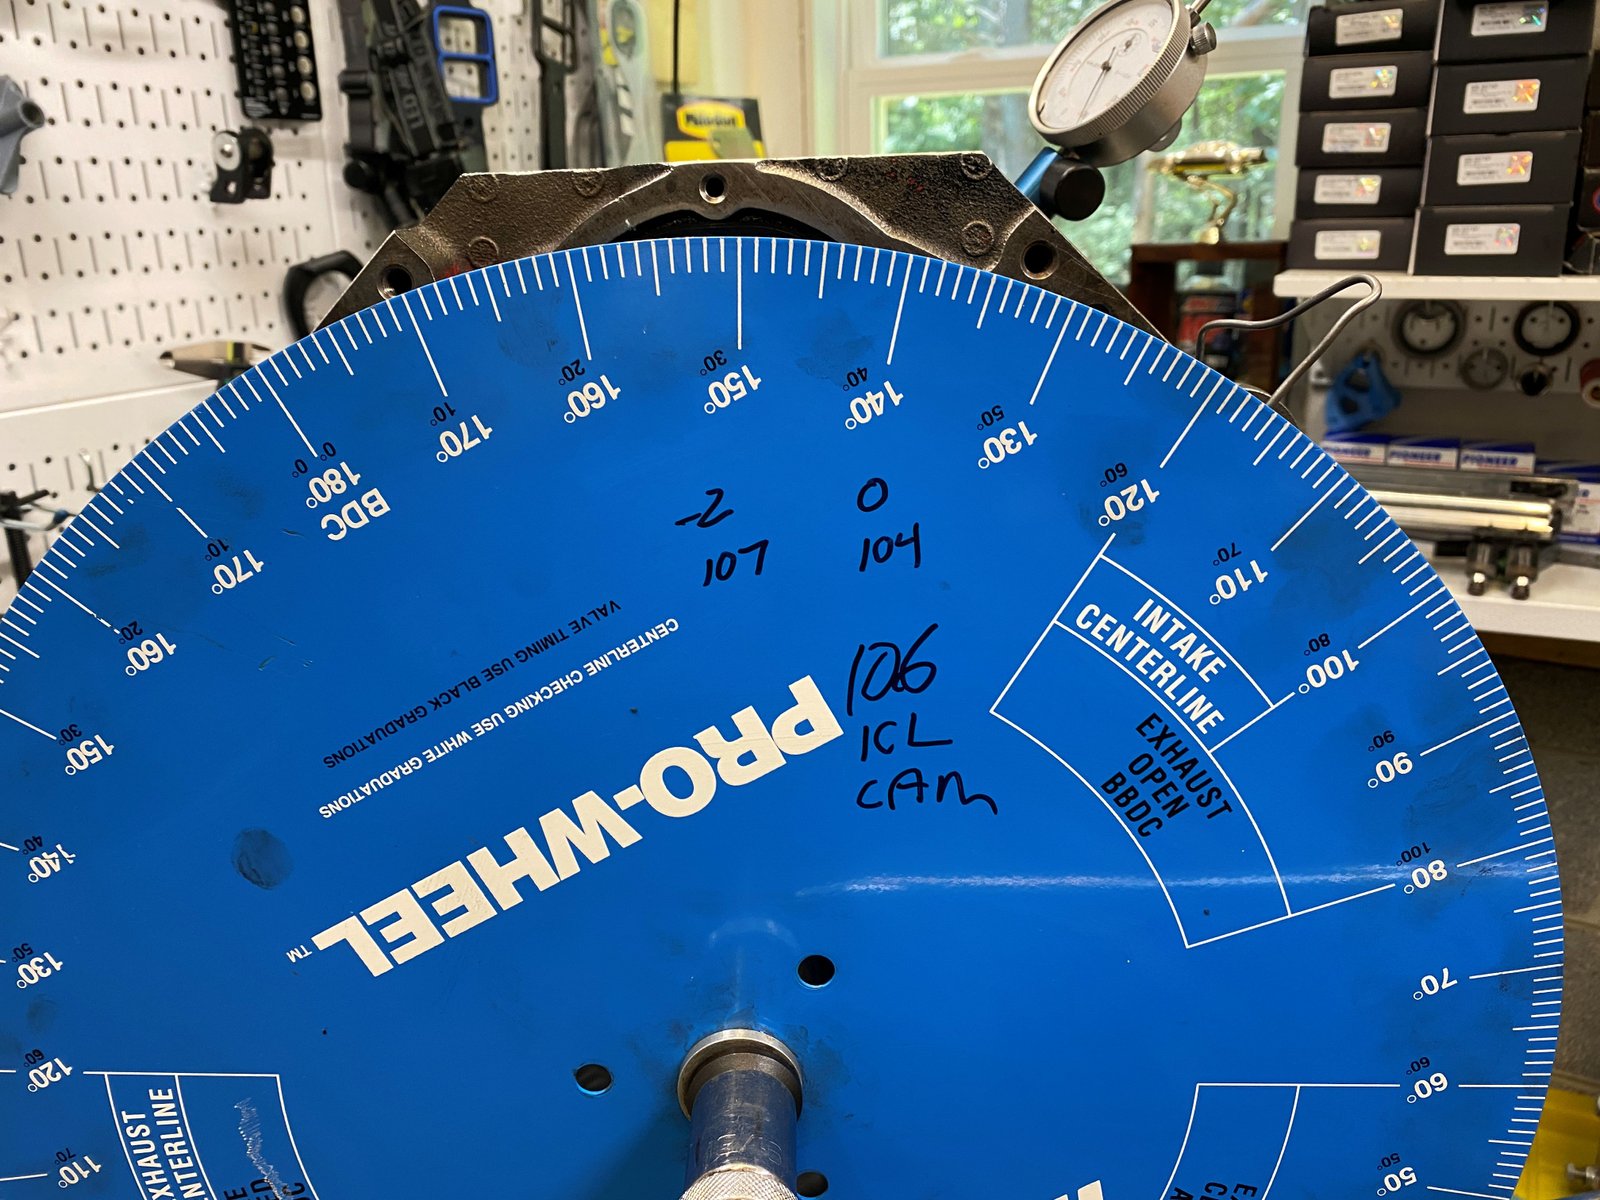
Cam degree check. It's never "perfect". I
tried the zero crank sprocket position and got 2 deg retarded so I
pried on the cam sprocket clockwise while tightening down the cam
bolts and got 105 intake centerline. (1 deg retarded).
|

Never mind that +1 mark. It should be -1.
Anyway...the cam is installed with the crank sprocket at 0 and it is
1 deg retarded. 105 intake centerline instead of 106 (cam card
spec).
|

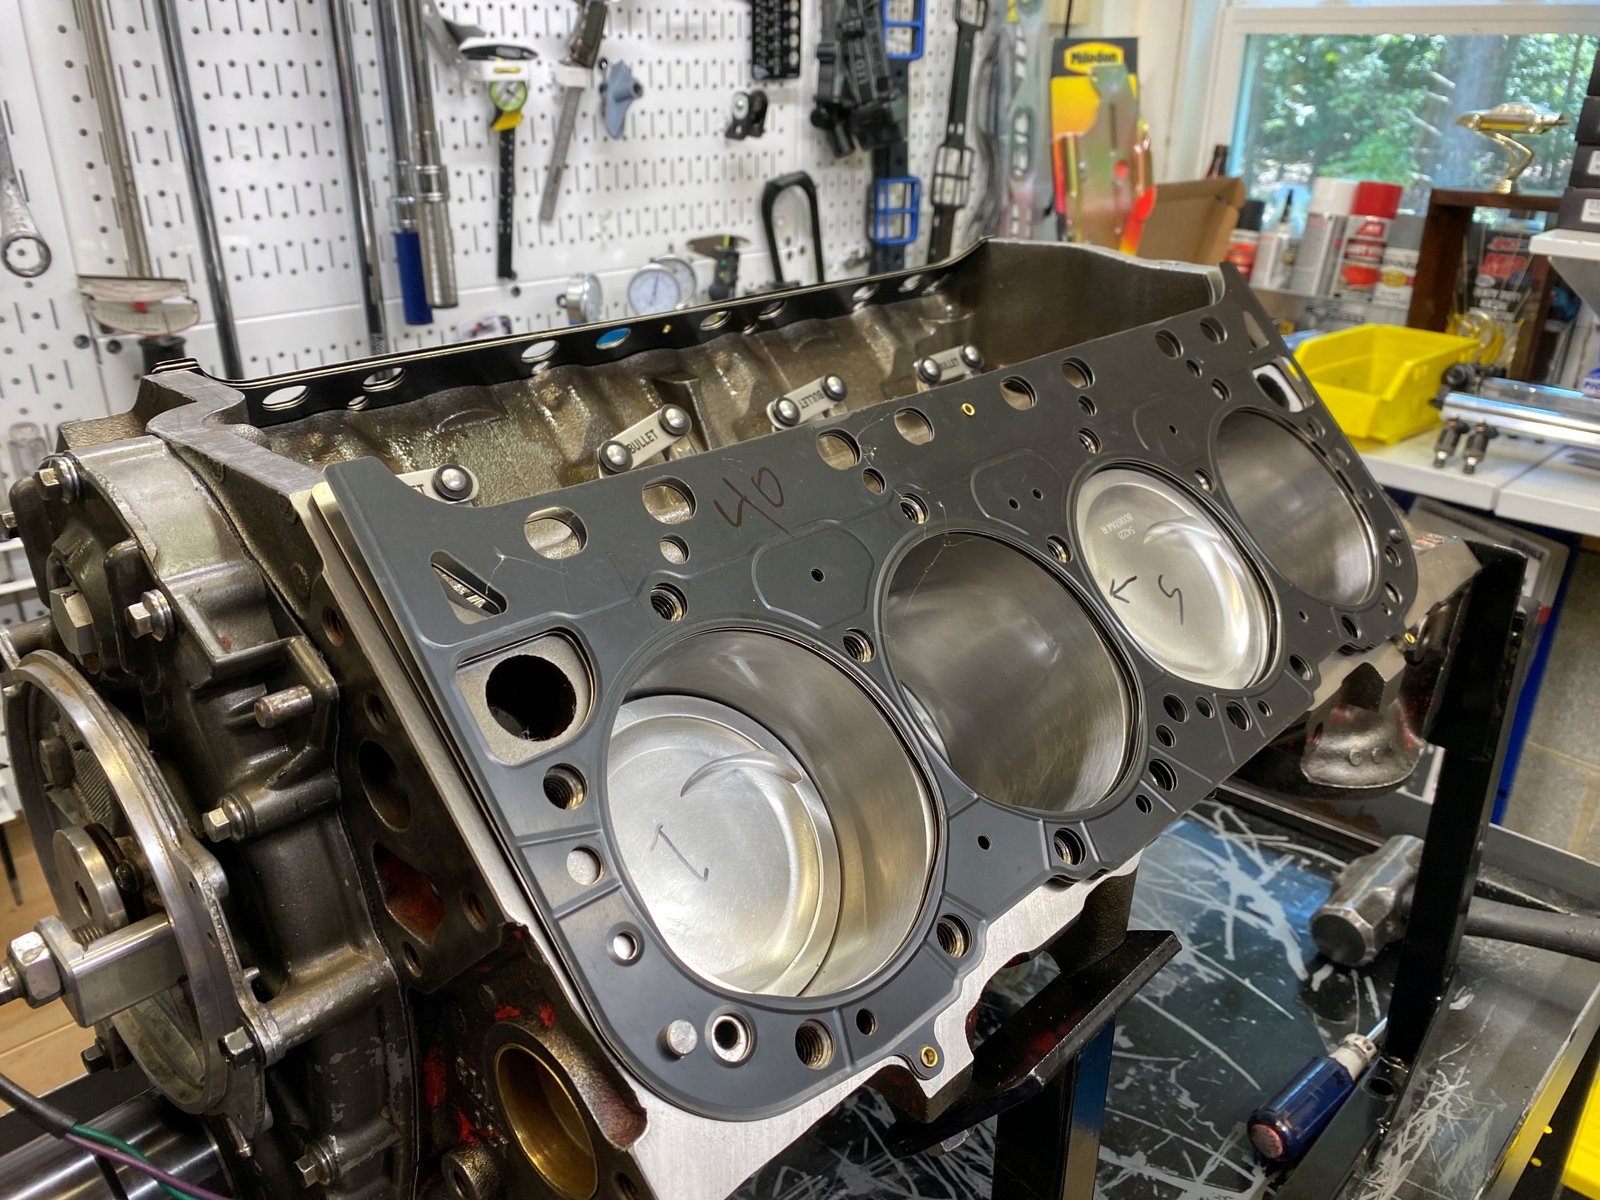
.040" thick Cometic head gasket. The pistons are zero
in the hole.
|

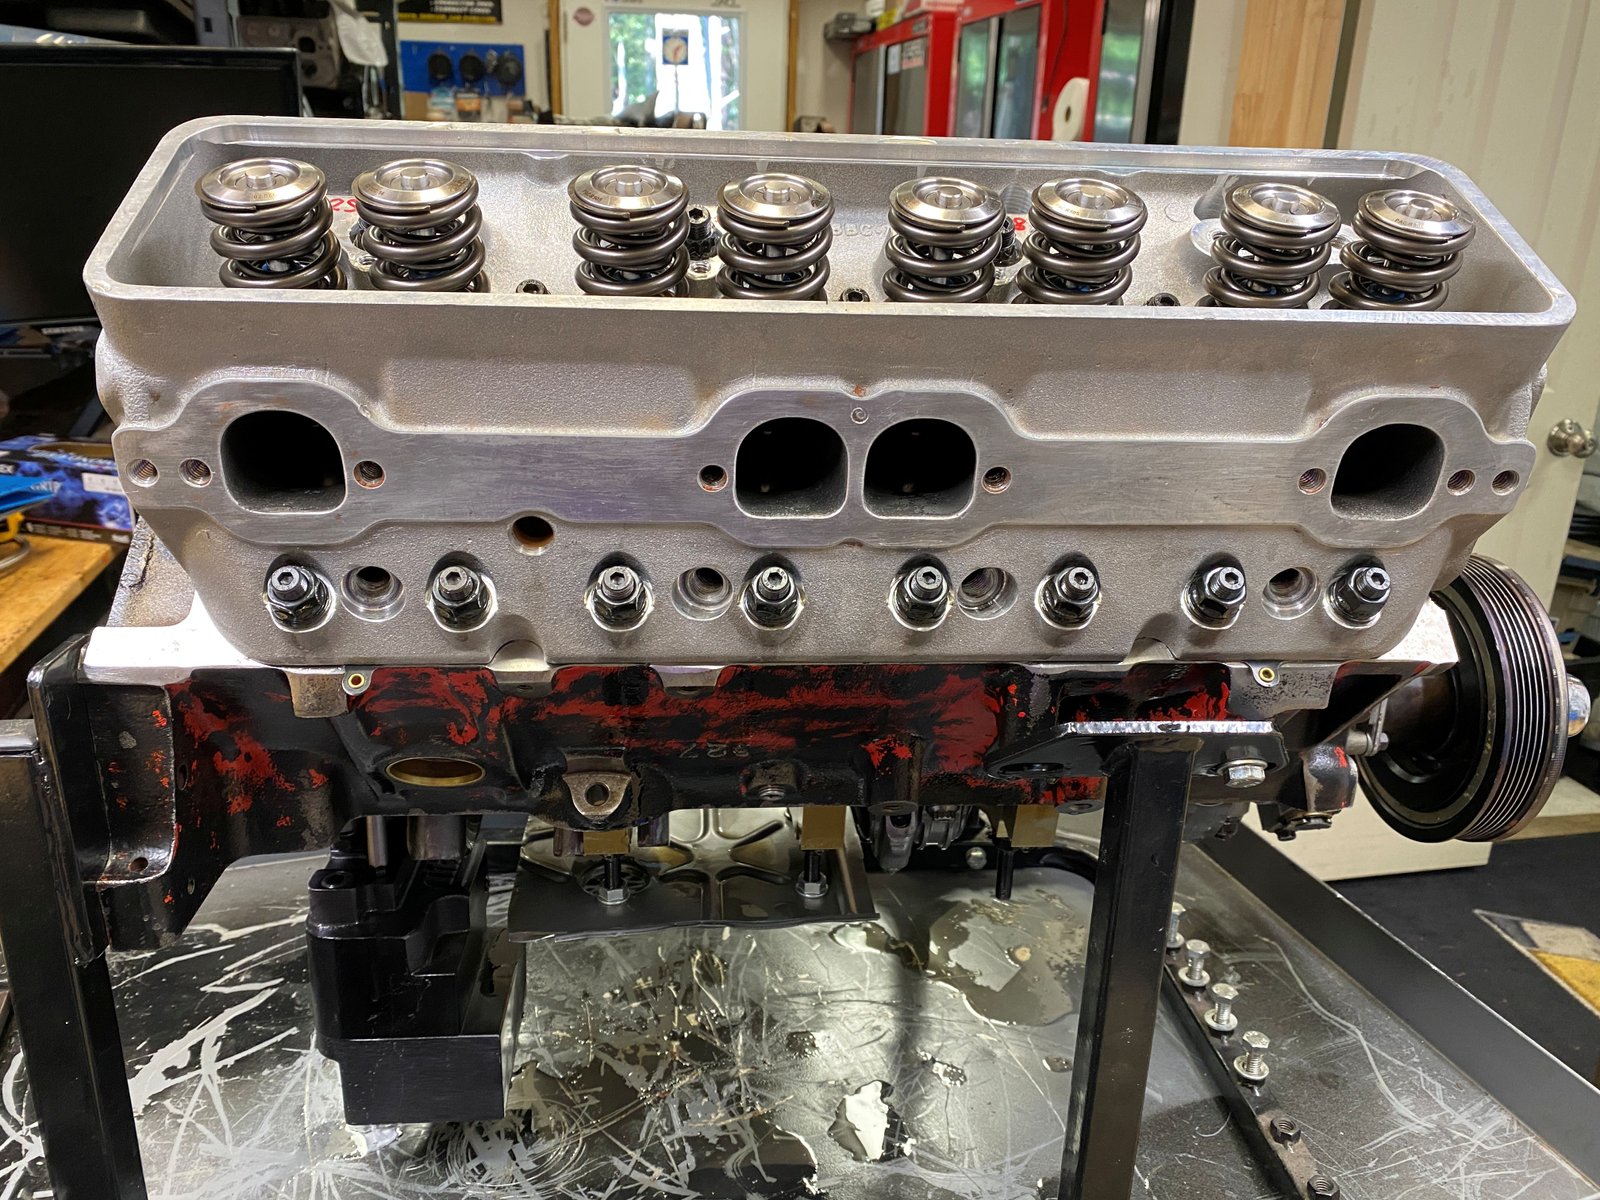
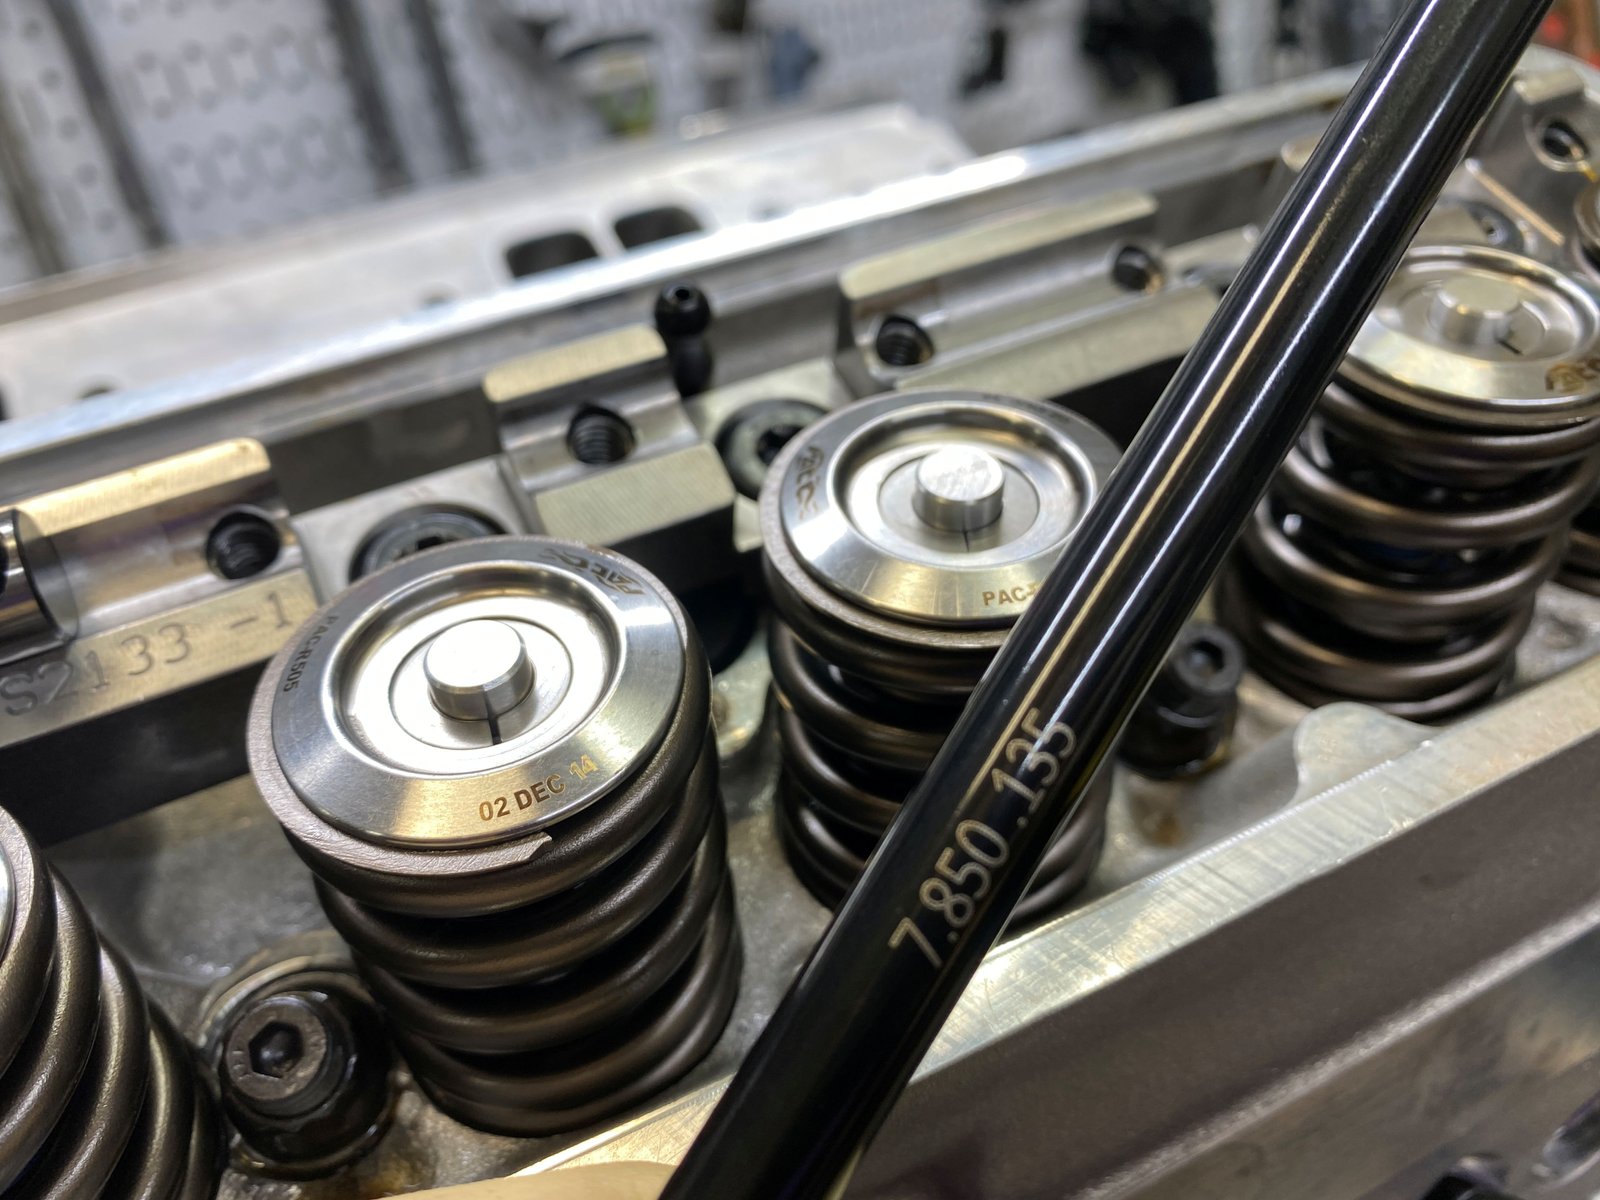
Refurbished heads. New valve job, valve spring check,
decking, seals, honed the valve guides, etc. Dennis Staff of
Fast-Cat porting did the work.
|

|

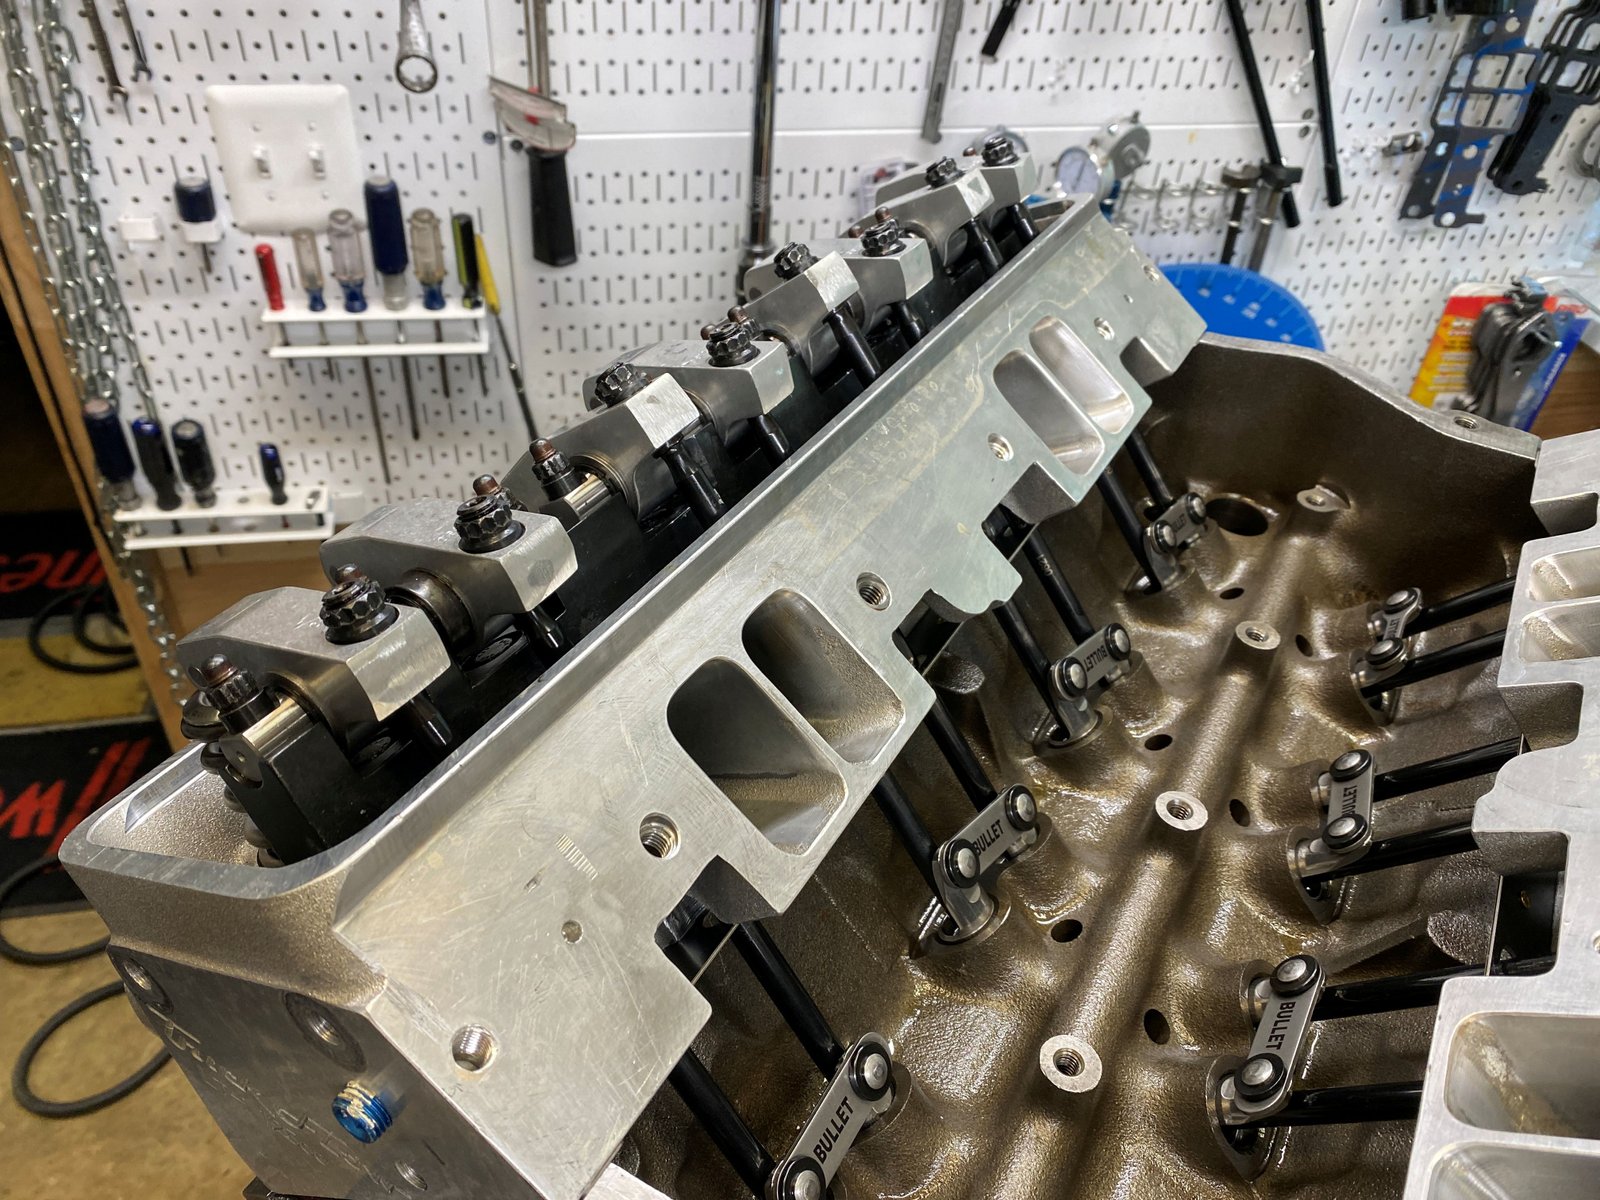
Jesel shaft rockers do not allow for head studs at the top 4
positions since they interfere with the rocker shaft stand. I
wish I had a set of Crower (but I'm not made of money). I put
.100" shims under the shaft stand and that gives good rocker
tip to valve tip geometry.
|

0.100" shims under the shaft rocker stand.
|

Pushrods required are 7.850" long as opposed to the
previous build which was 7.900" The head decking and
block decking has moved things down a tad and the 7.900"
pushrods ALMOST fit but are just a tick too long.
|

I only had 8 of the 7.850" pushrods and I tried using a few
7.900". I could only use them in 2 spots so I have a set
of 7.850" on order. All pushrods will be the 7.850"
and the lash will be .010" cold.
|

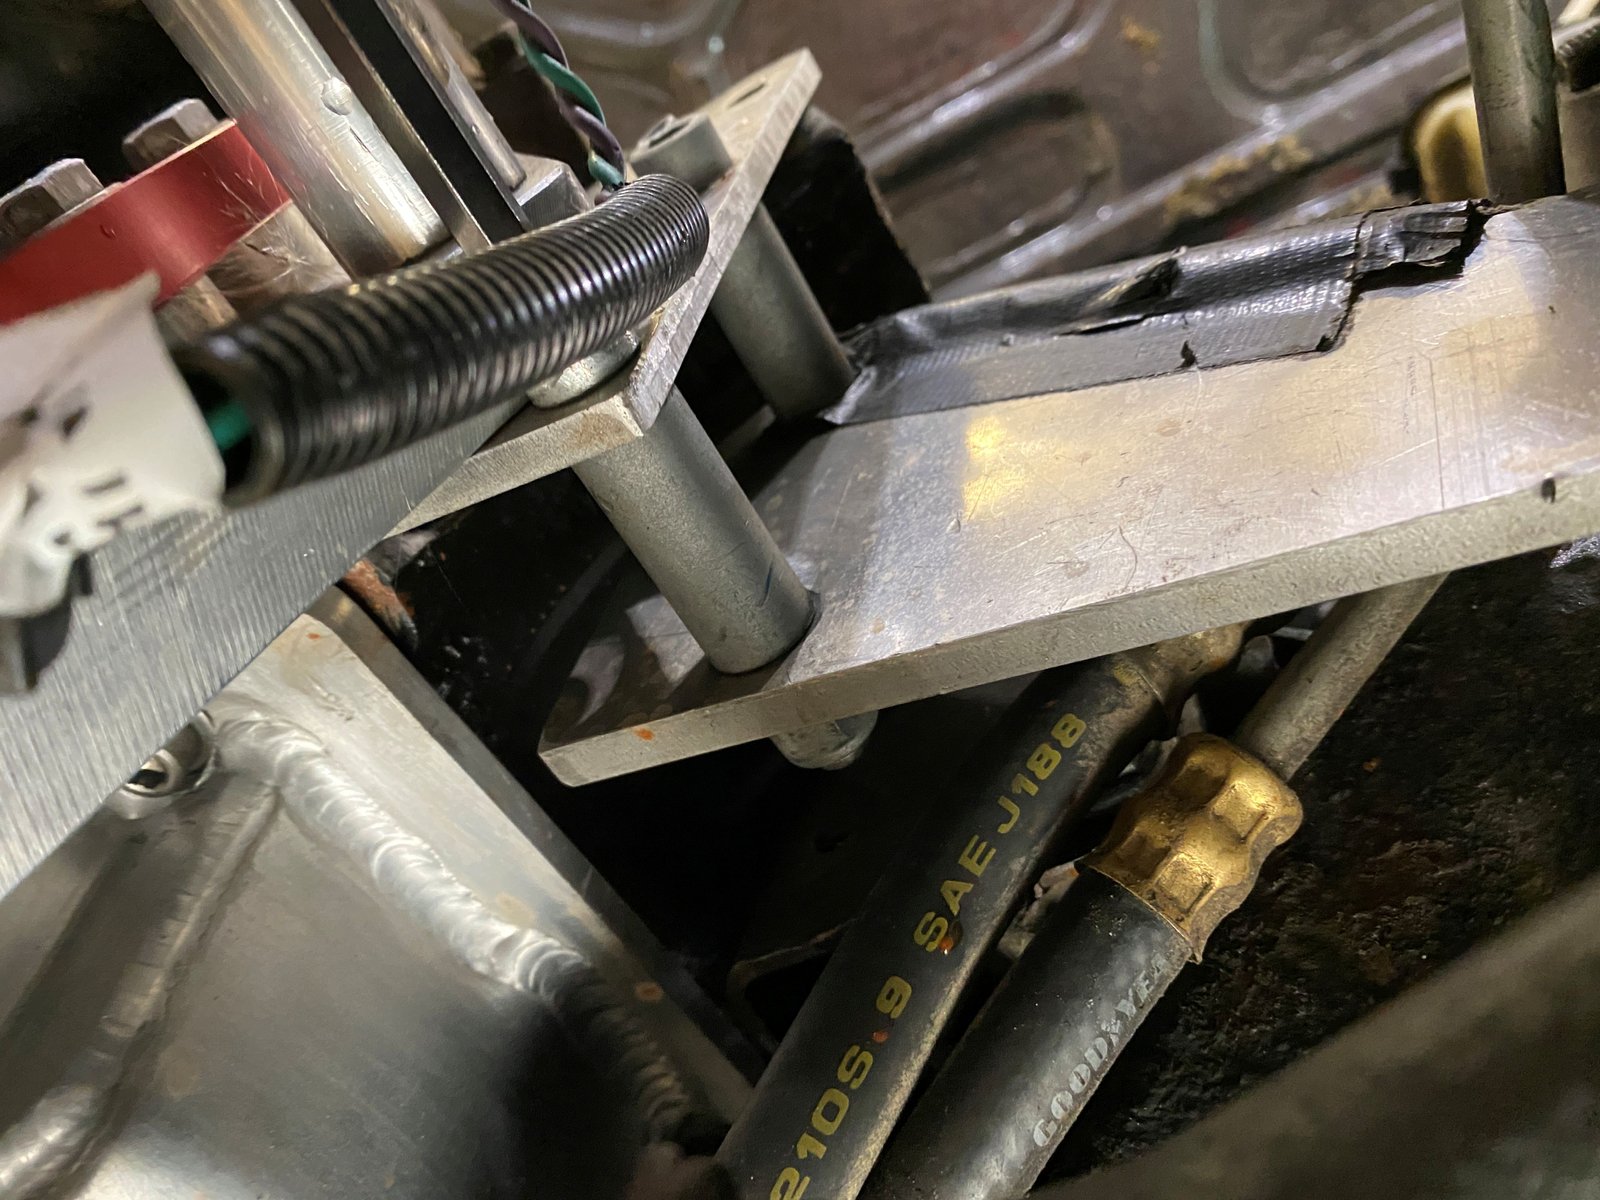
Here is a photo of the cam sensor set up by
Jan-Åke
Norberg
|

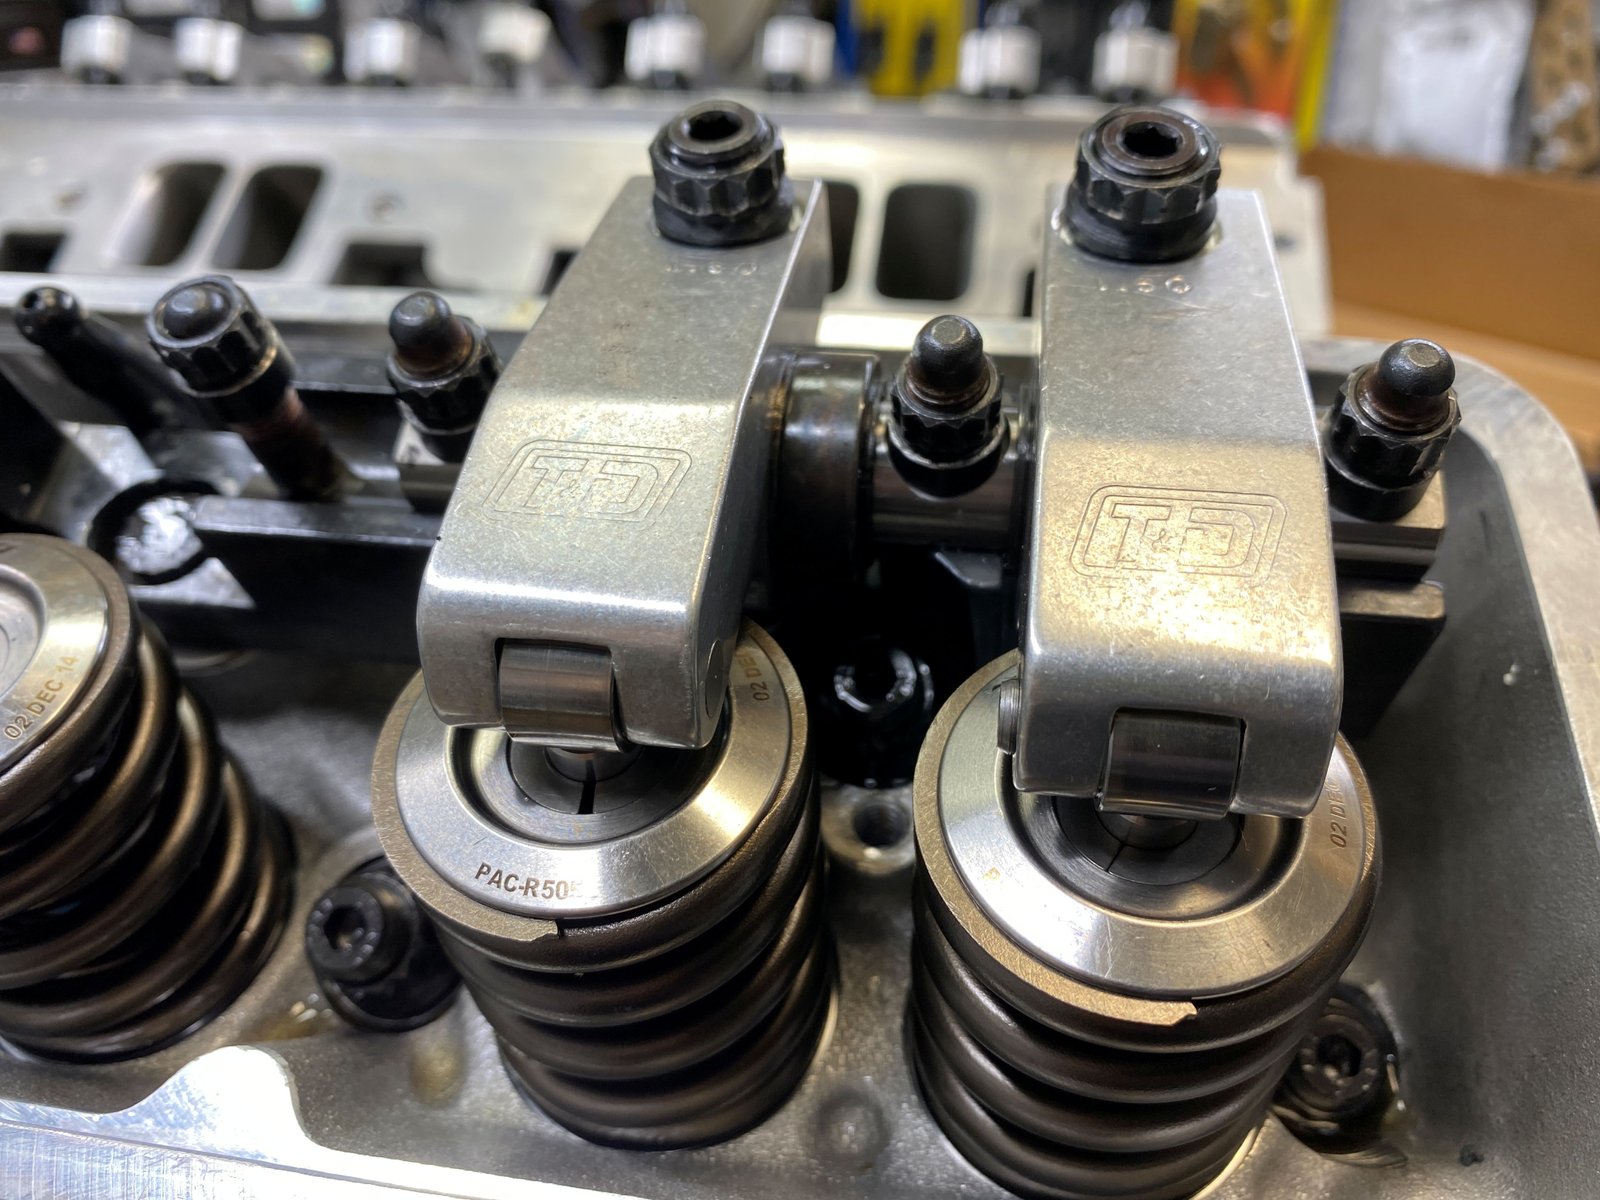
News Flash! I remembered I had an old set of T&D shaft
rockers from way way back. I had these in The Black Wolf
engine ERE-383 #3. The Jesel Sportsman shaft rockers were
bugging me that I had to use head bolts under the shaft stand.
|

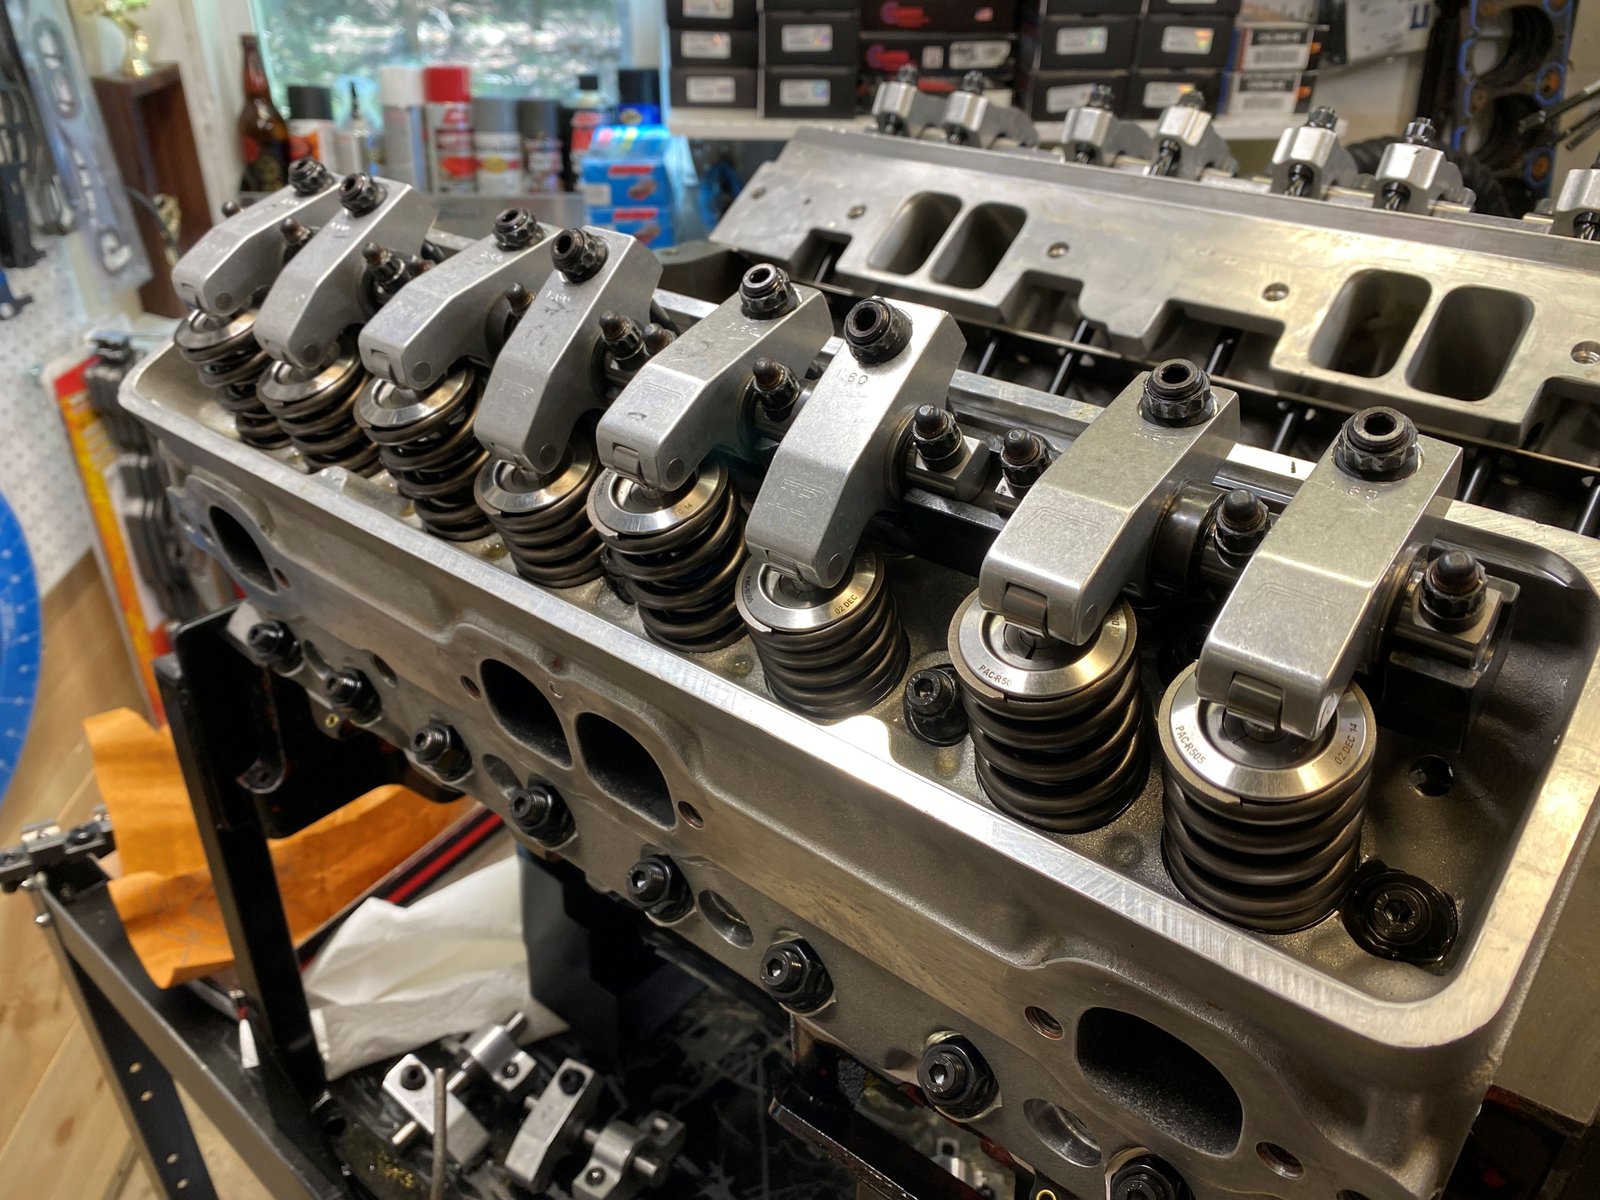
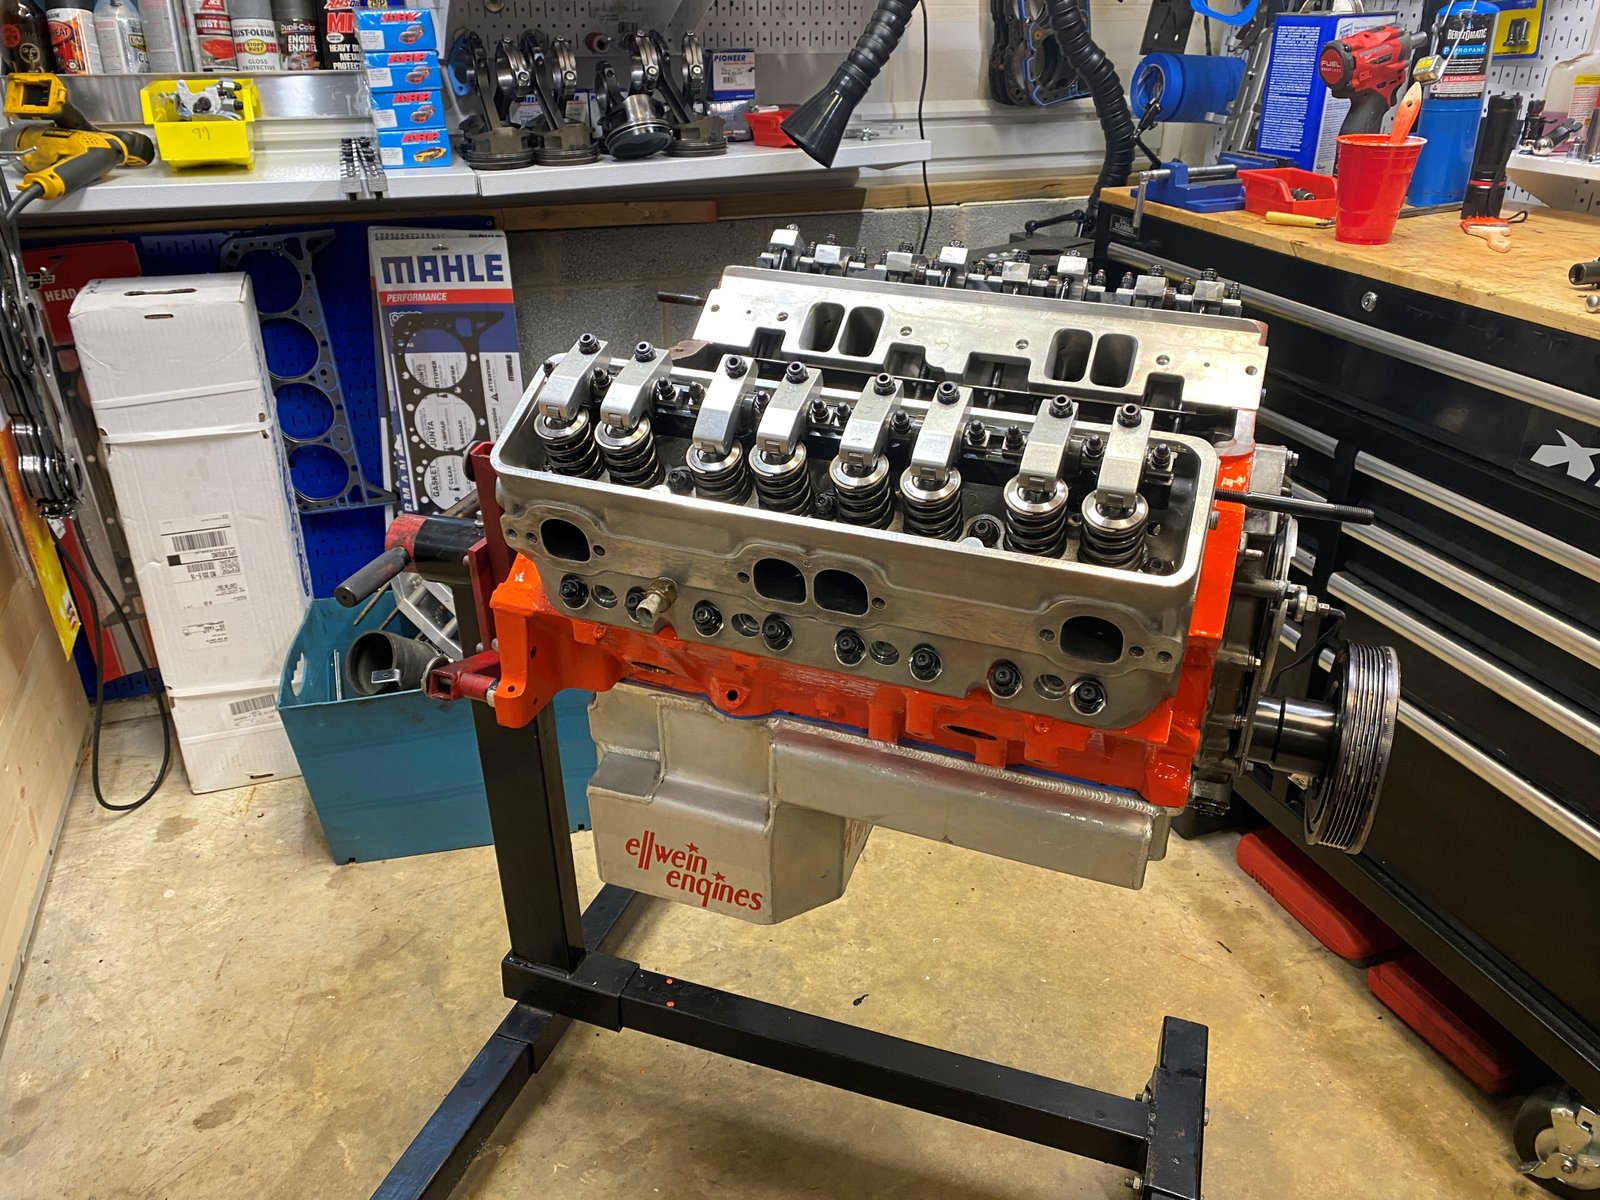
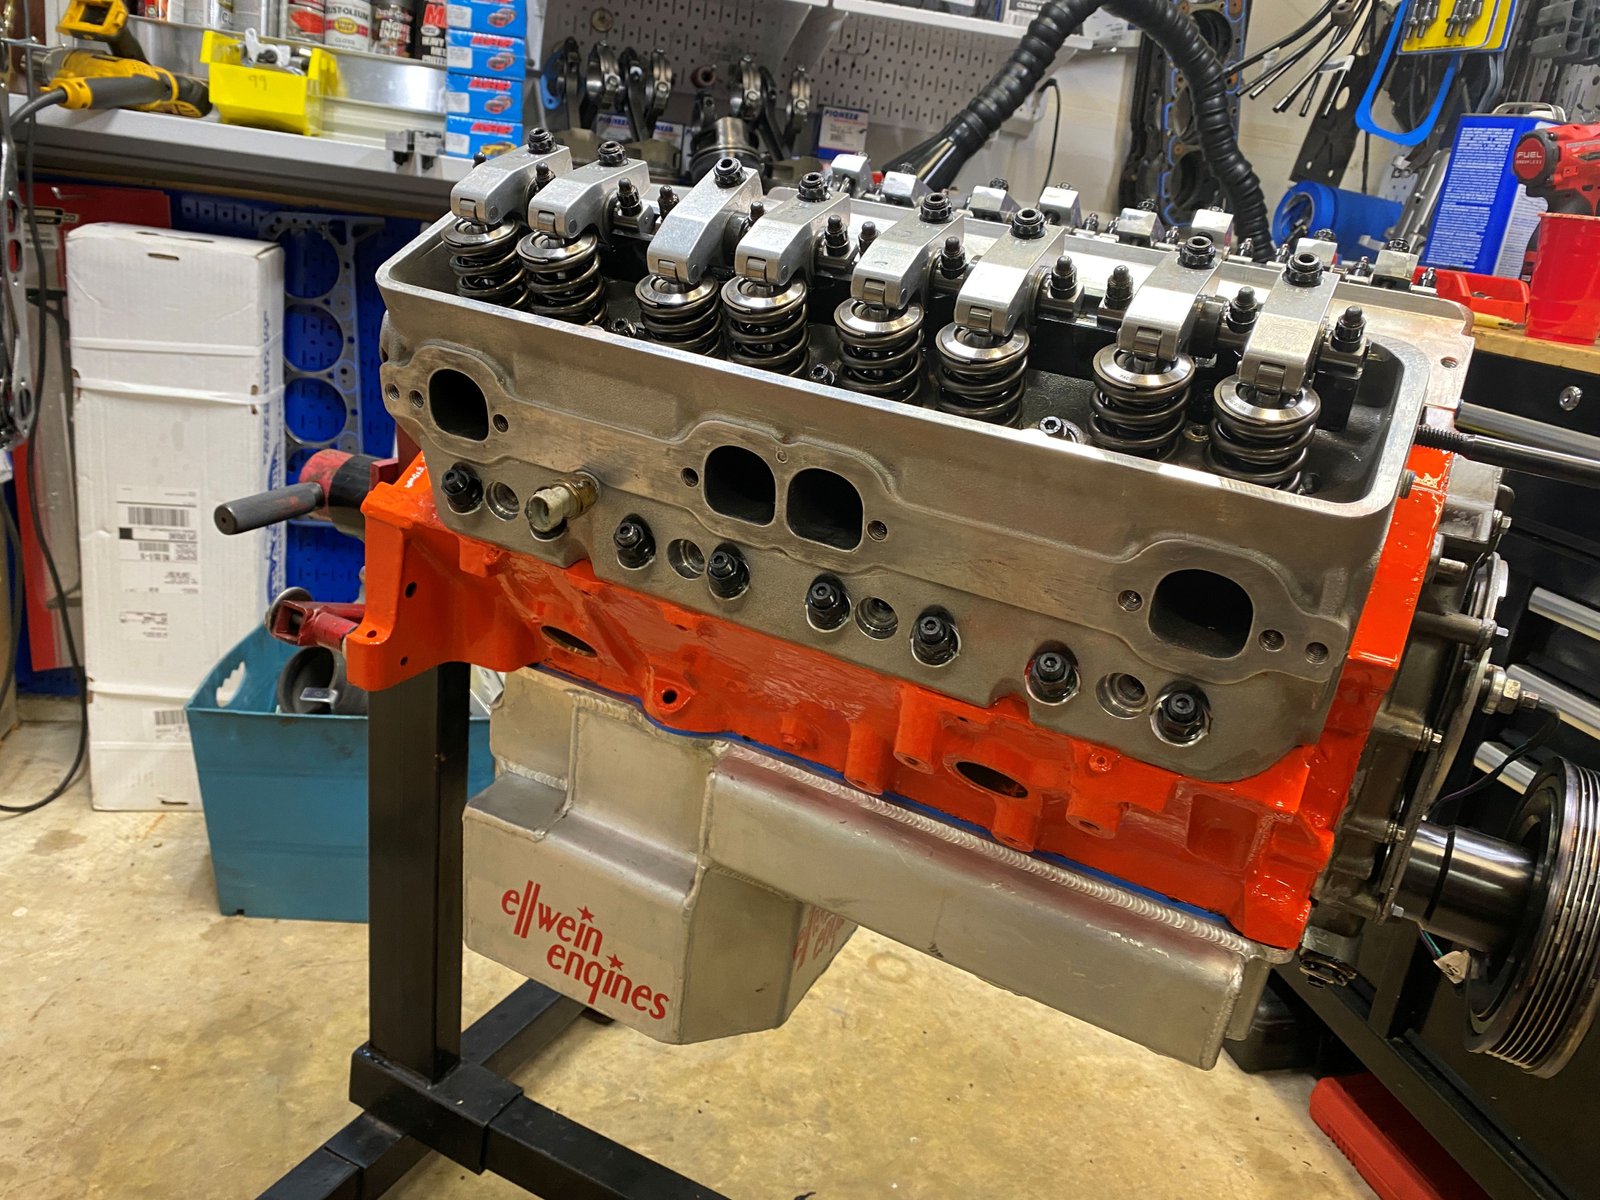
And so let's switch to the T&D. I swapped the head bolts
with head studs and ended up with .045" shims under the stand
to put the valve tip/rocker tip at the right spot. Then
7.900" pushrods for exhaust and 7.850" for the intake. Why
different length I have no idea. It must be the valves and
valve seats. I have the lash at .010" cold and it should
grow to .020" or more when hot.
|

Many years ago I hand clearanced the back of the T&D rockers so
that I could fit my valve covers over them. Instead of
clearancing the valve covers. Live and learn.
|

And at some point in the past this happened. I'm going to run
it this way until I purchase a replacement.
|

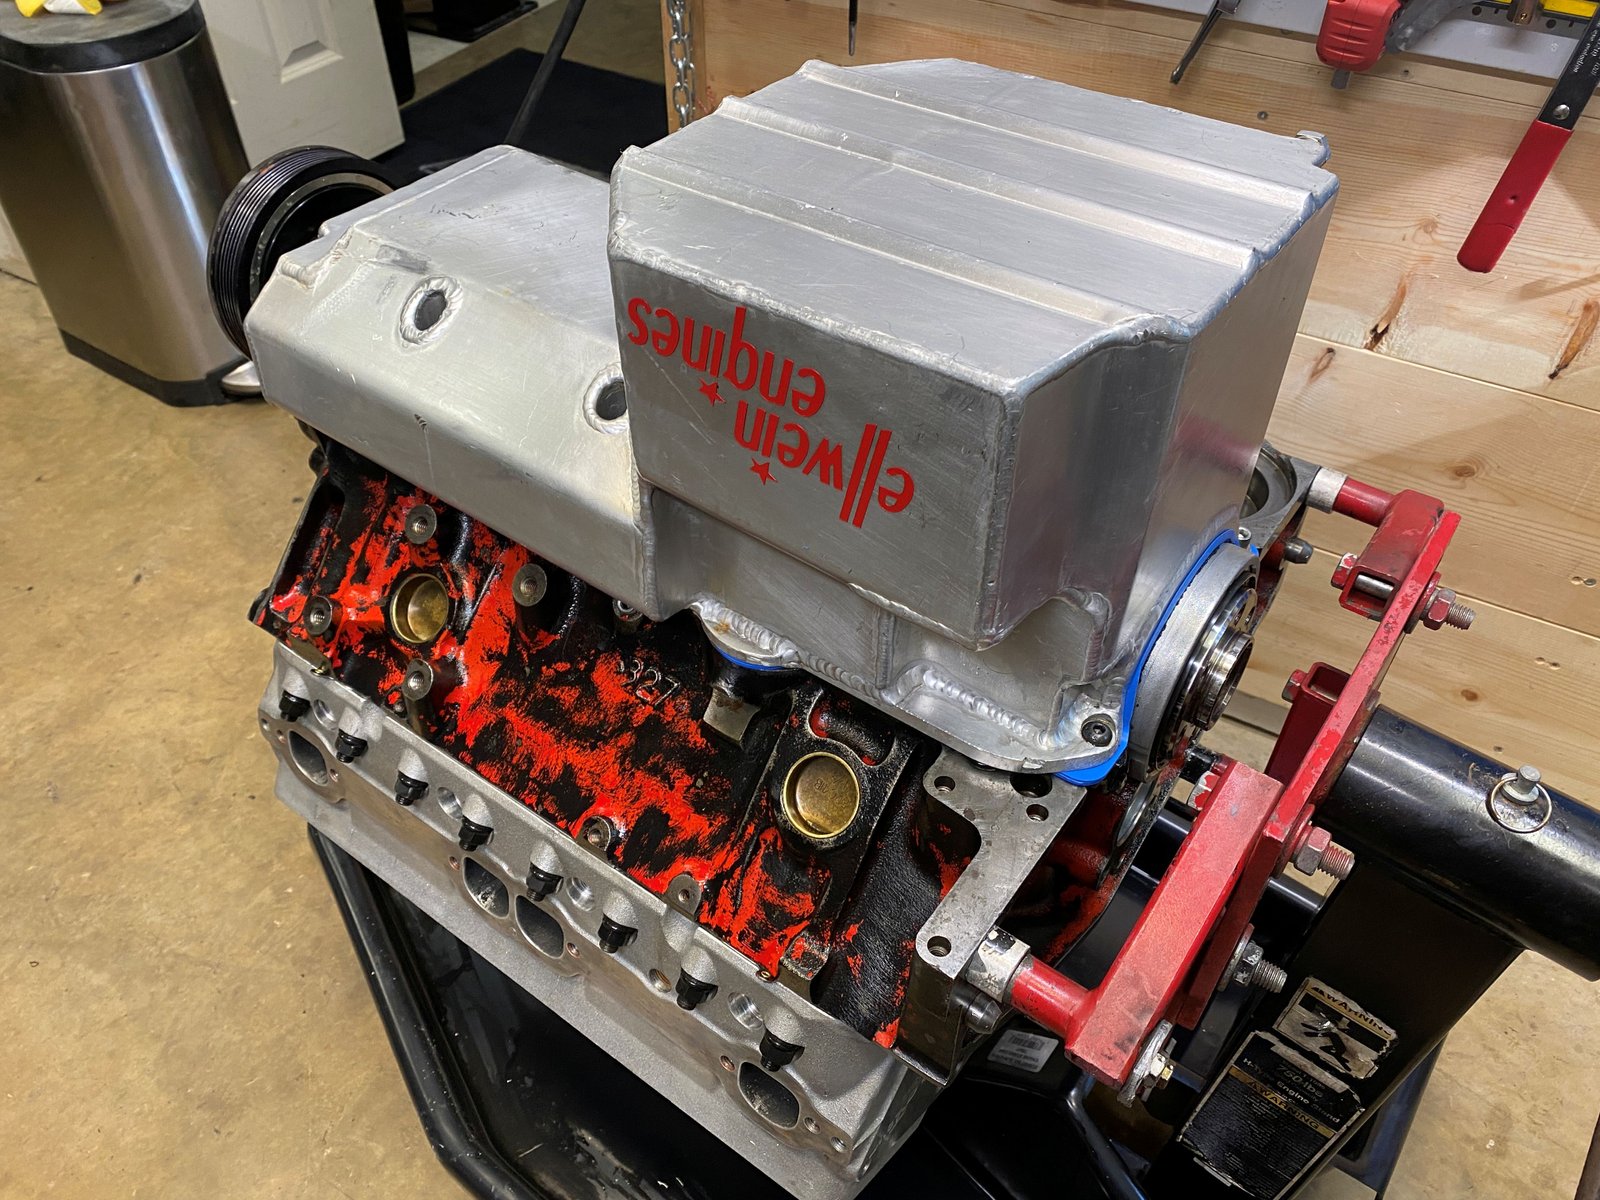
Jeff Johnston oil pan.
|

|

The only paint I had available. I really need to make a shop
re-stock order on numerous things. I did not have an oil pan
gasket either and had to go to the local parts store. I need
ARP flexplate bolts too.
|

|

|

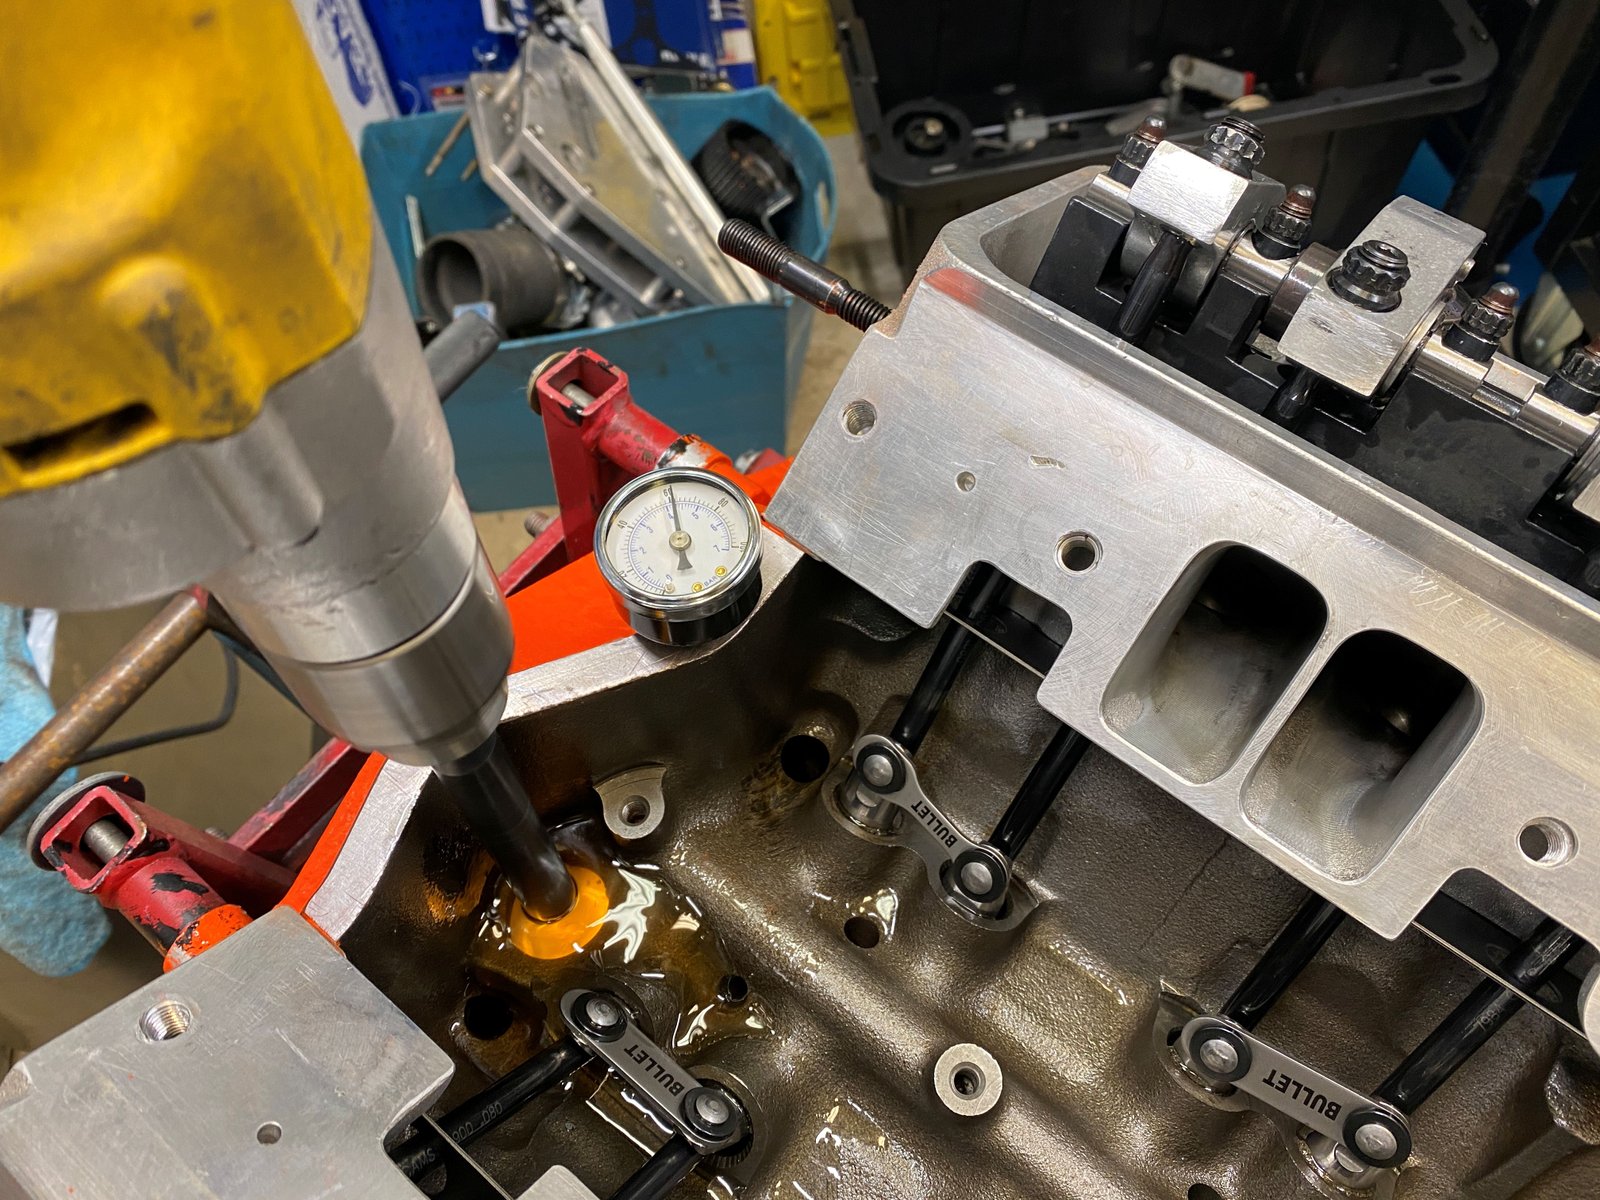
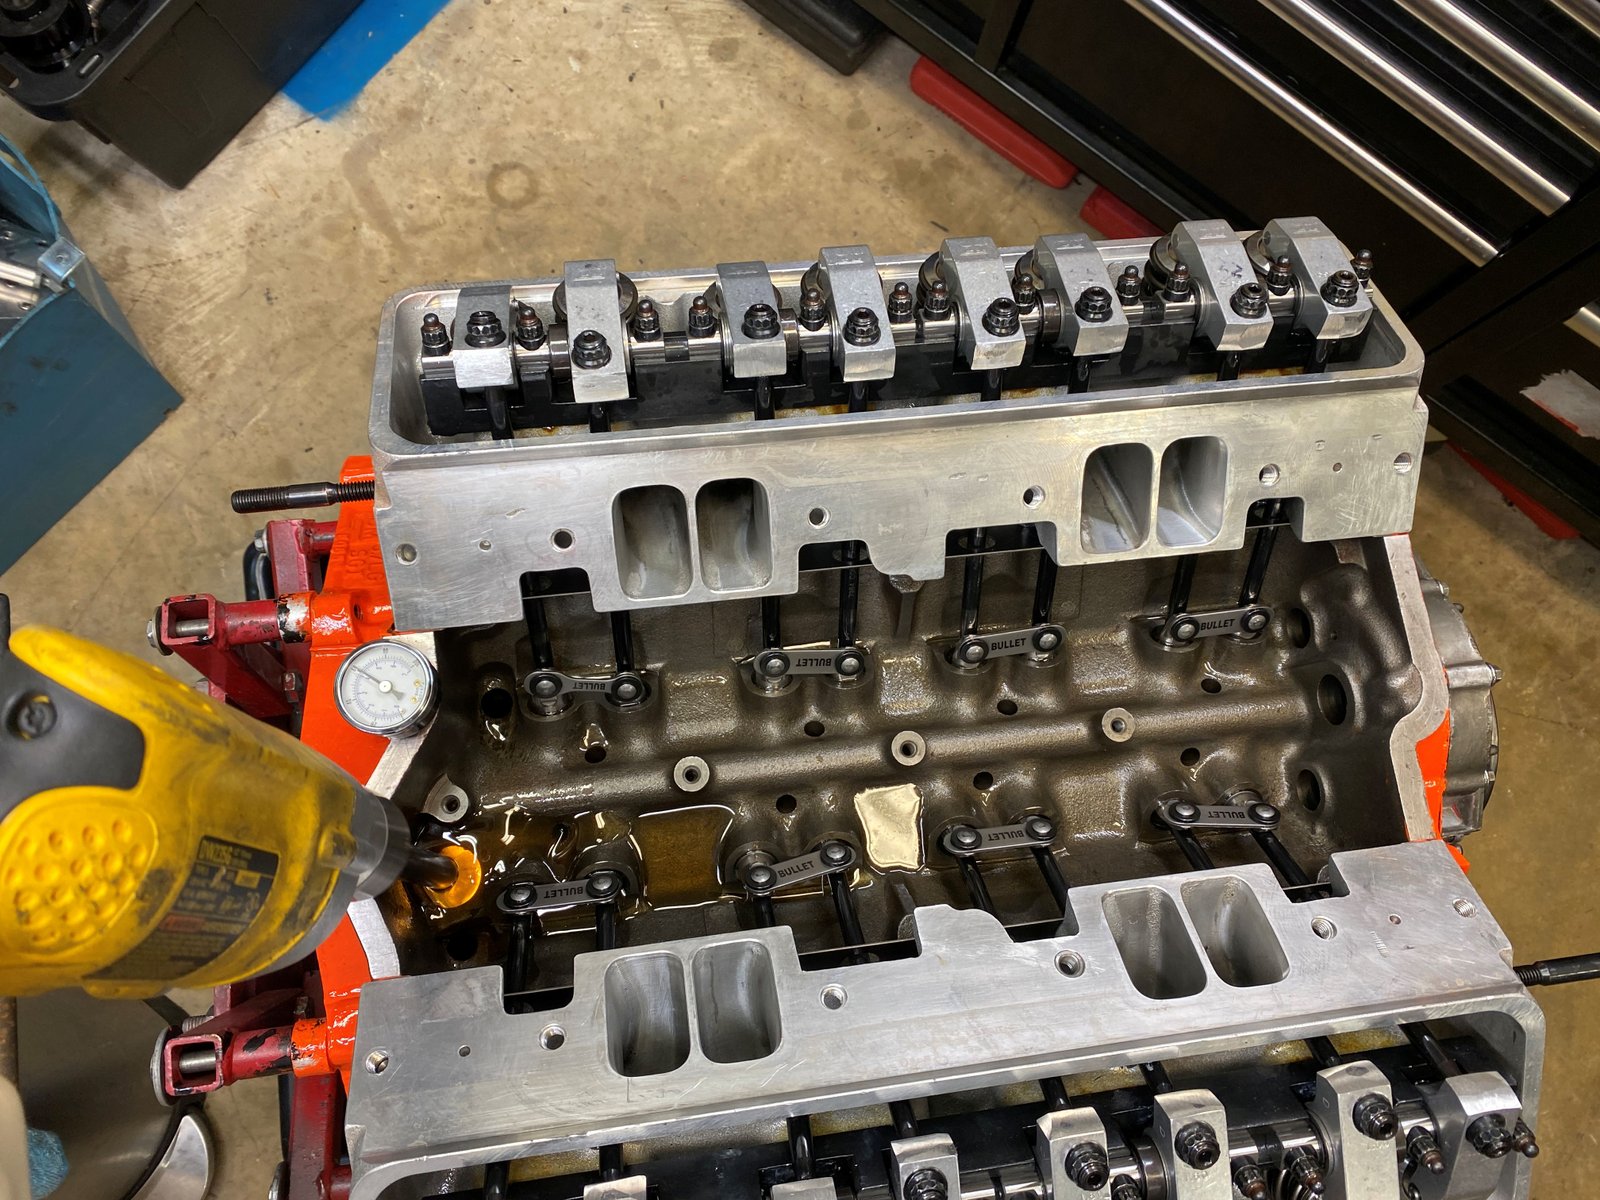
Oil system pressure test. I did not wait for oil to get up to
the rockers.
|

|

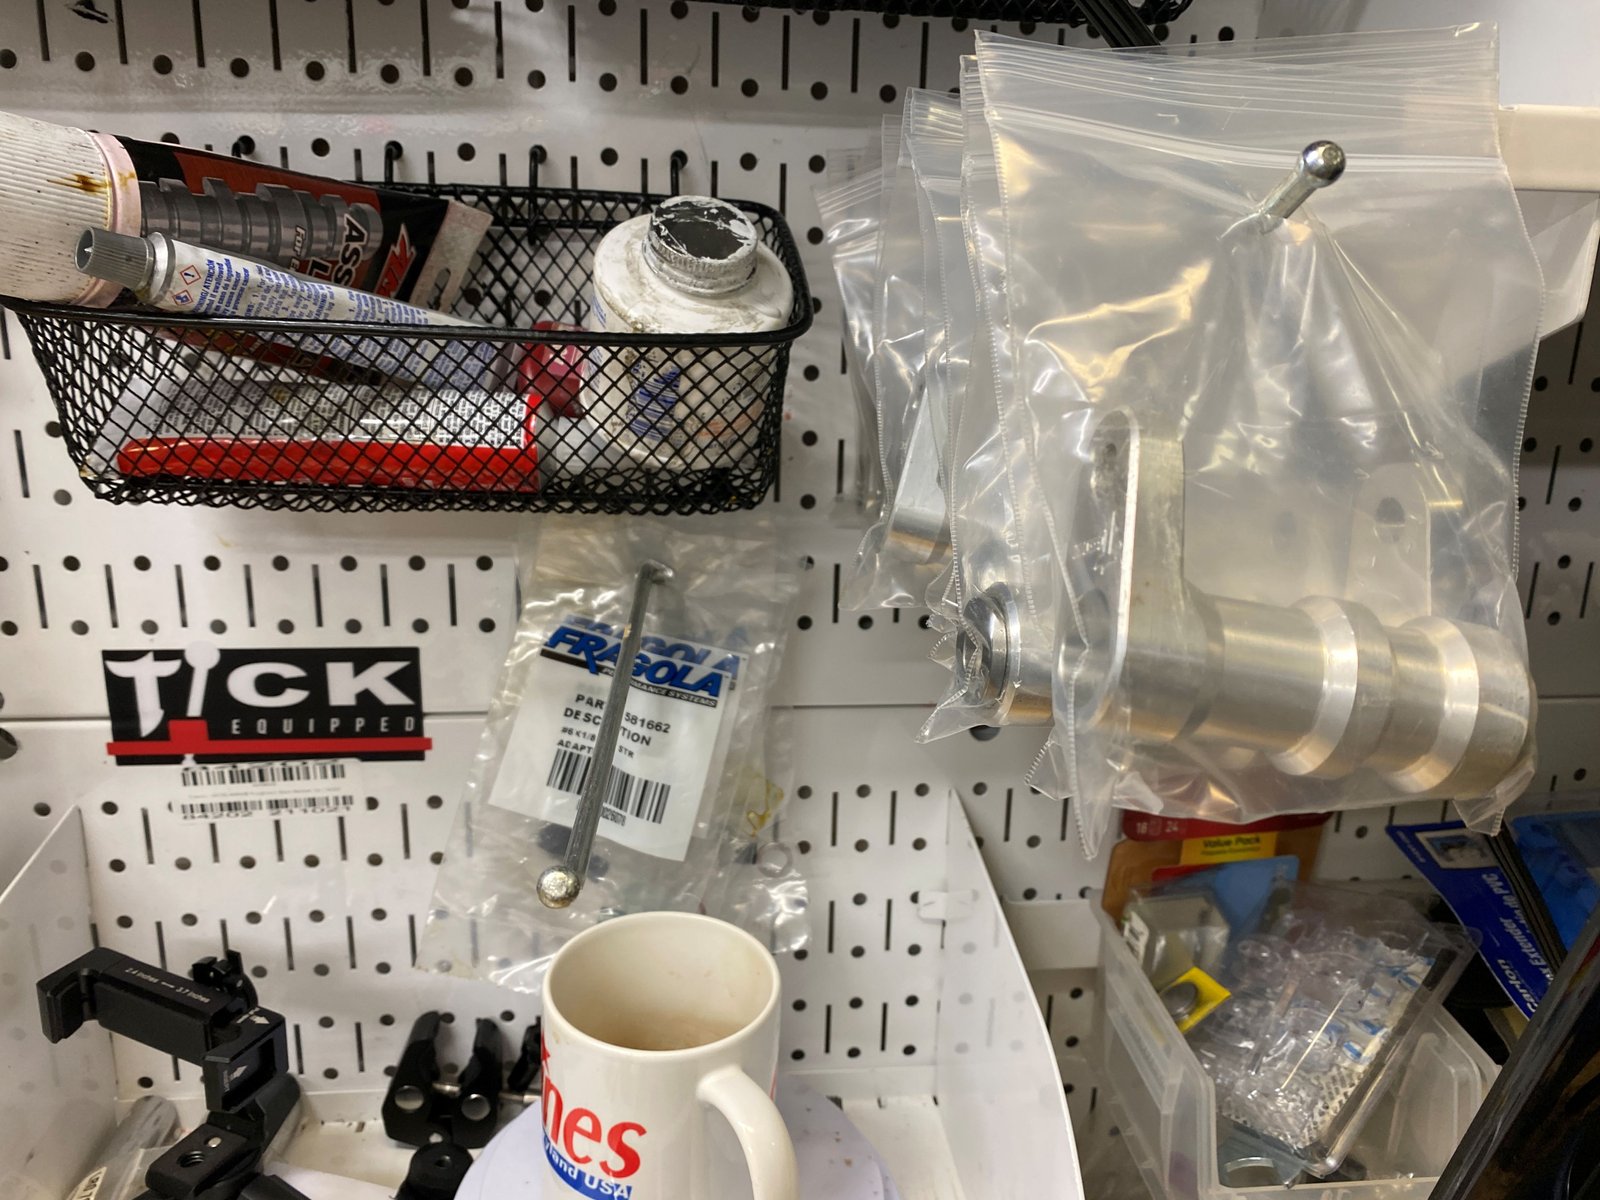
I stocked up on Tick Performance LT1 oil pump drives. Why not
take one for my future 9 second 1000 hp 383LT1?
|

|

|

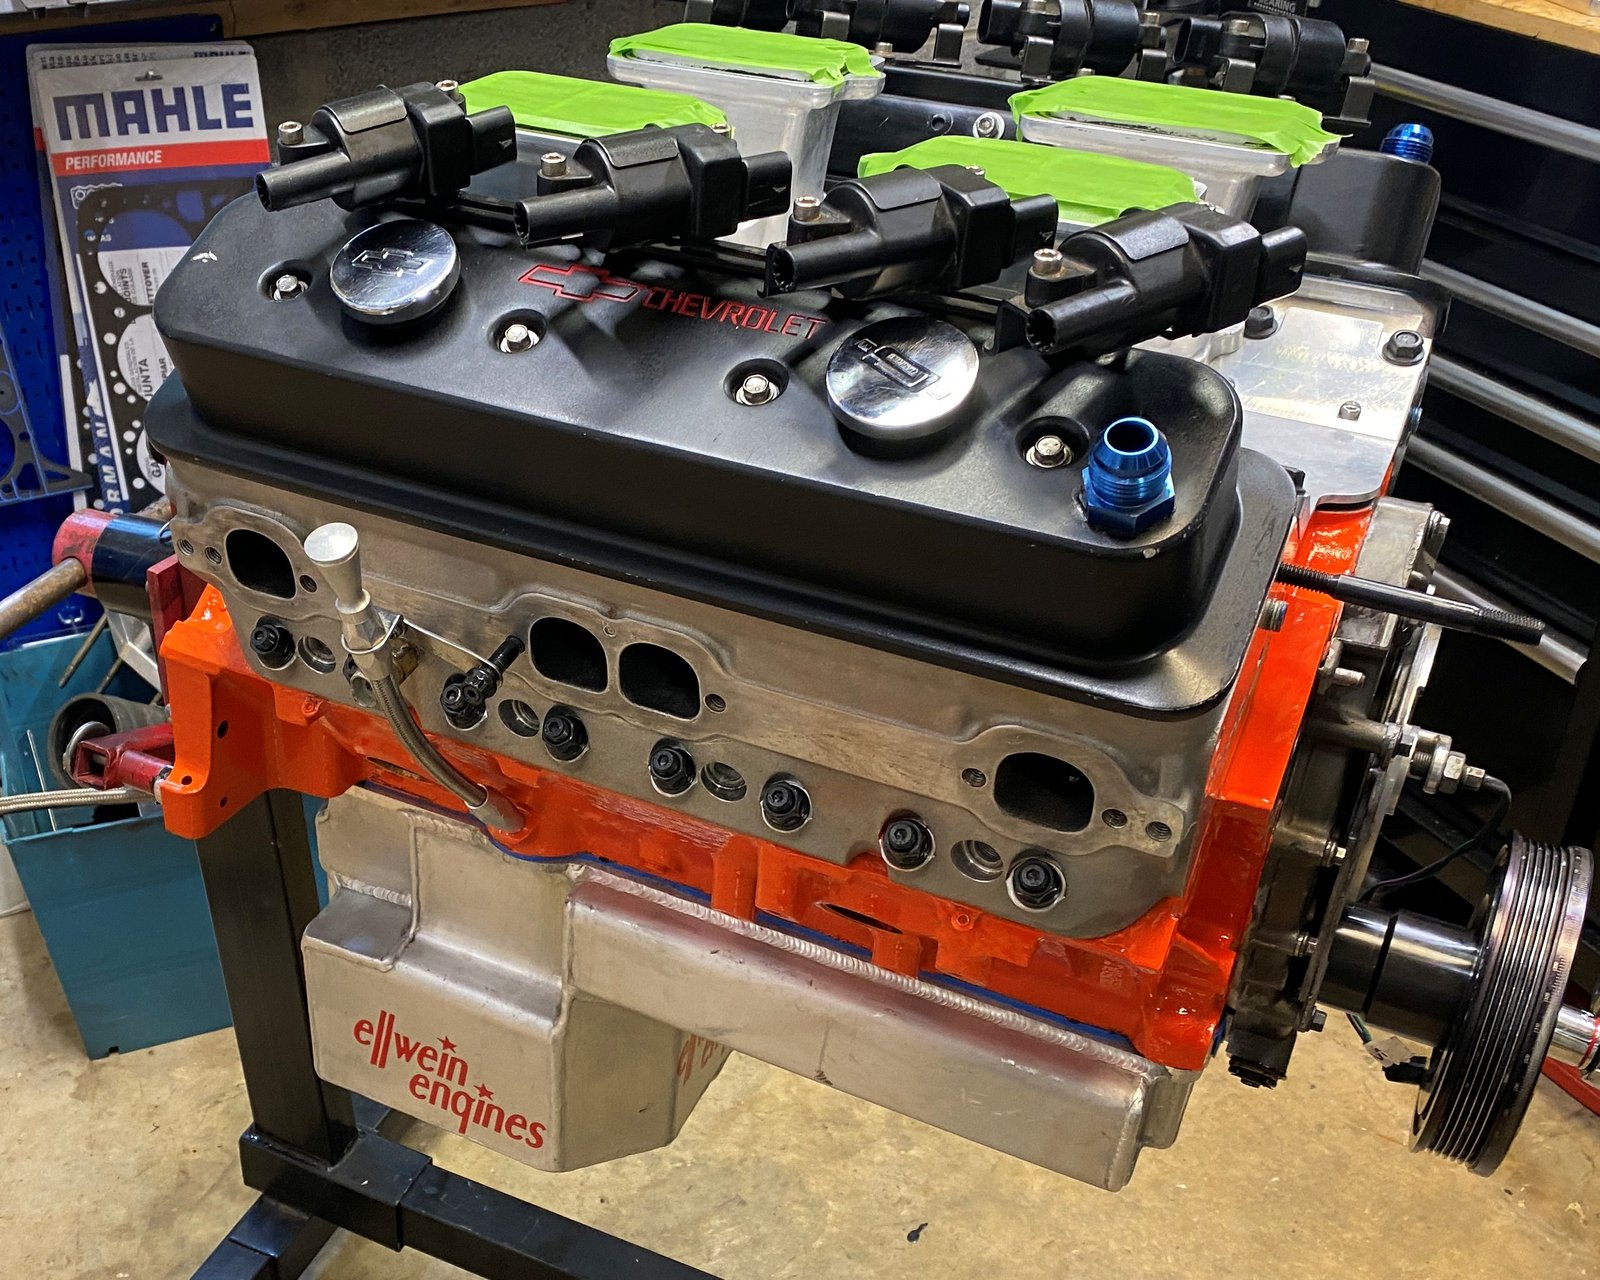
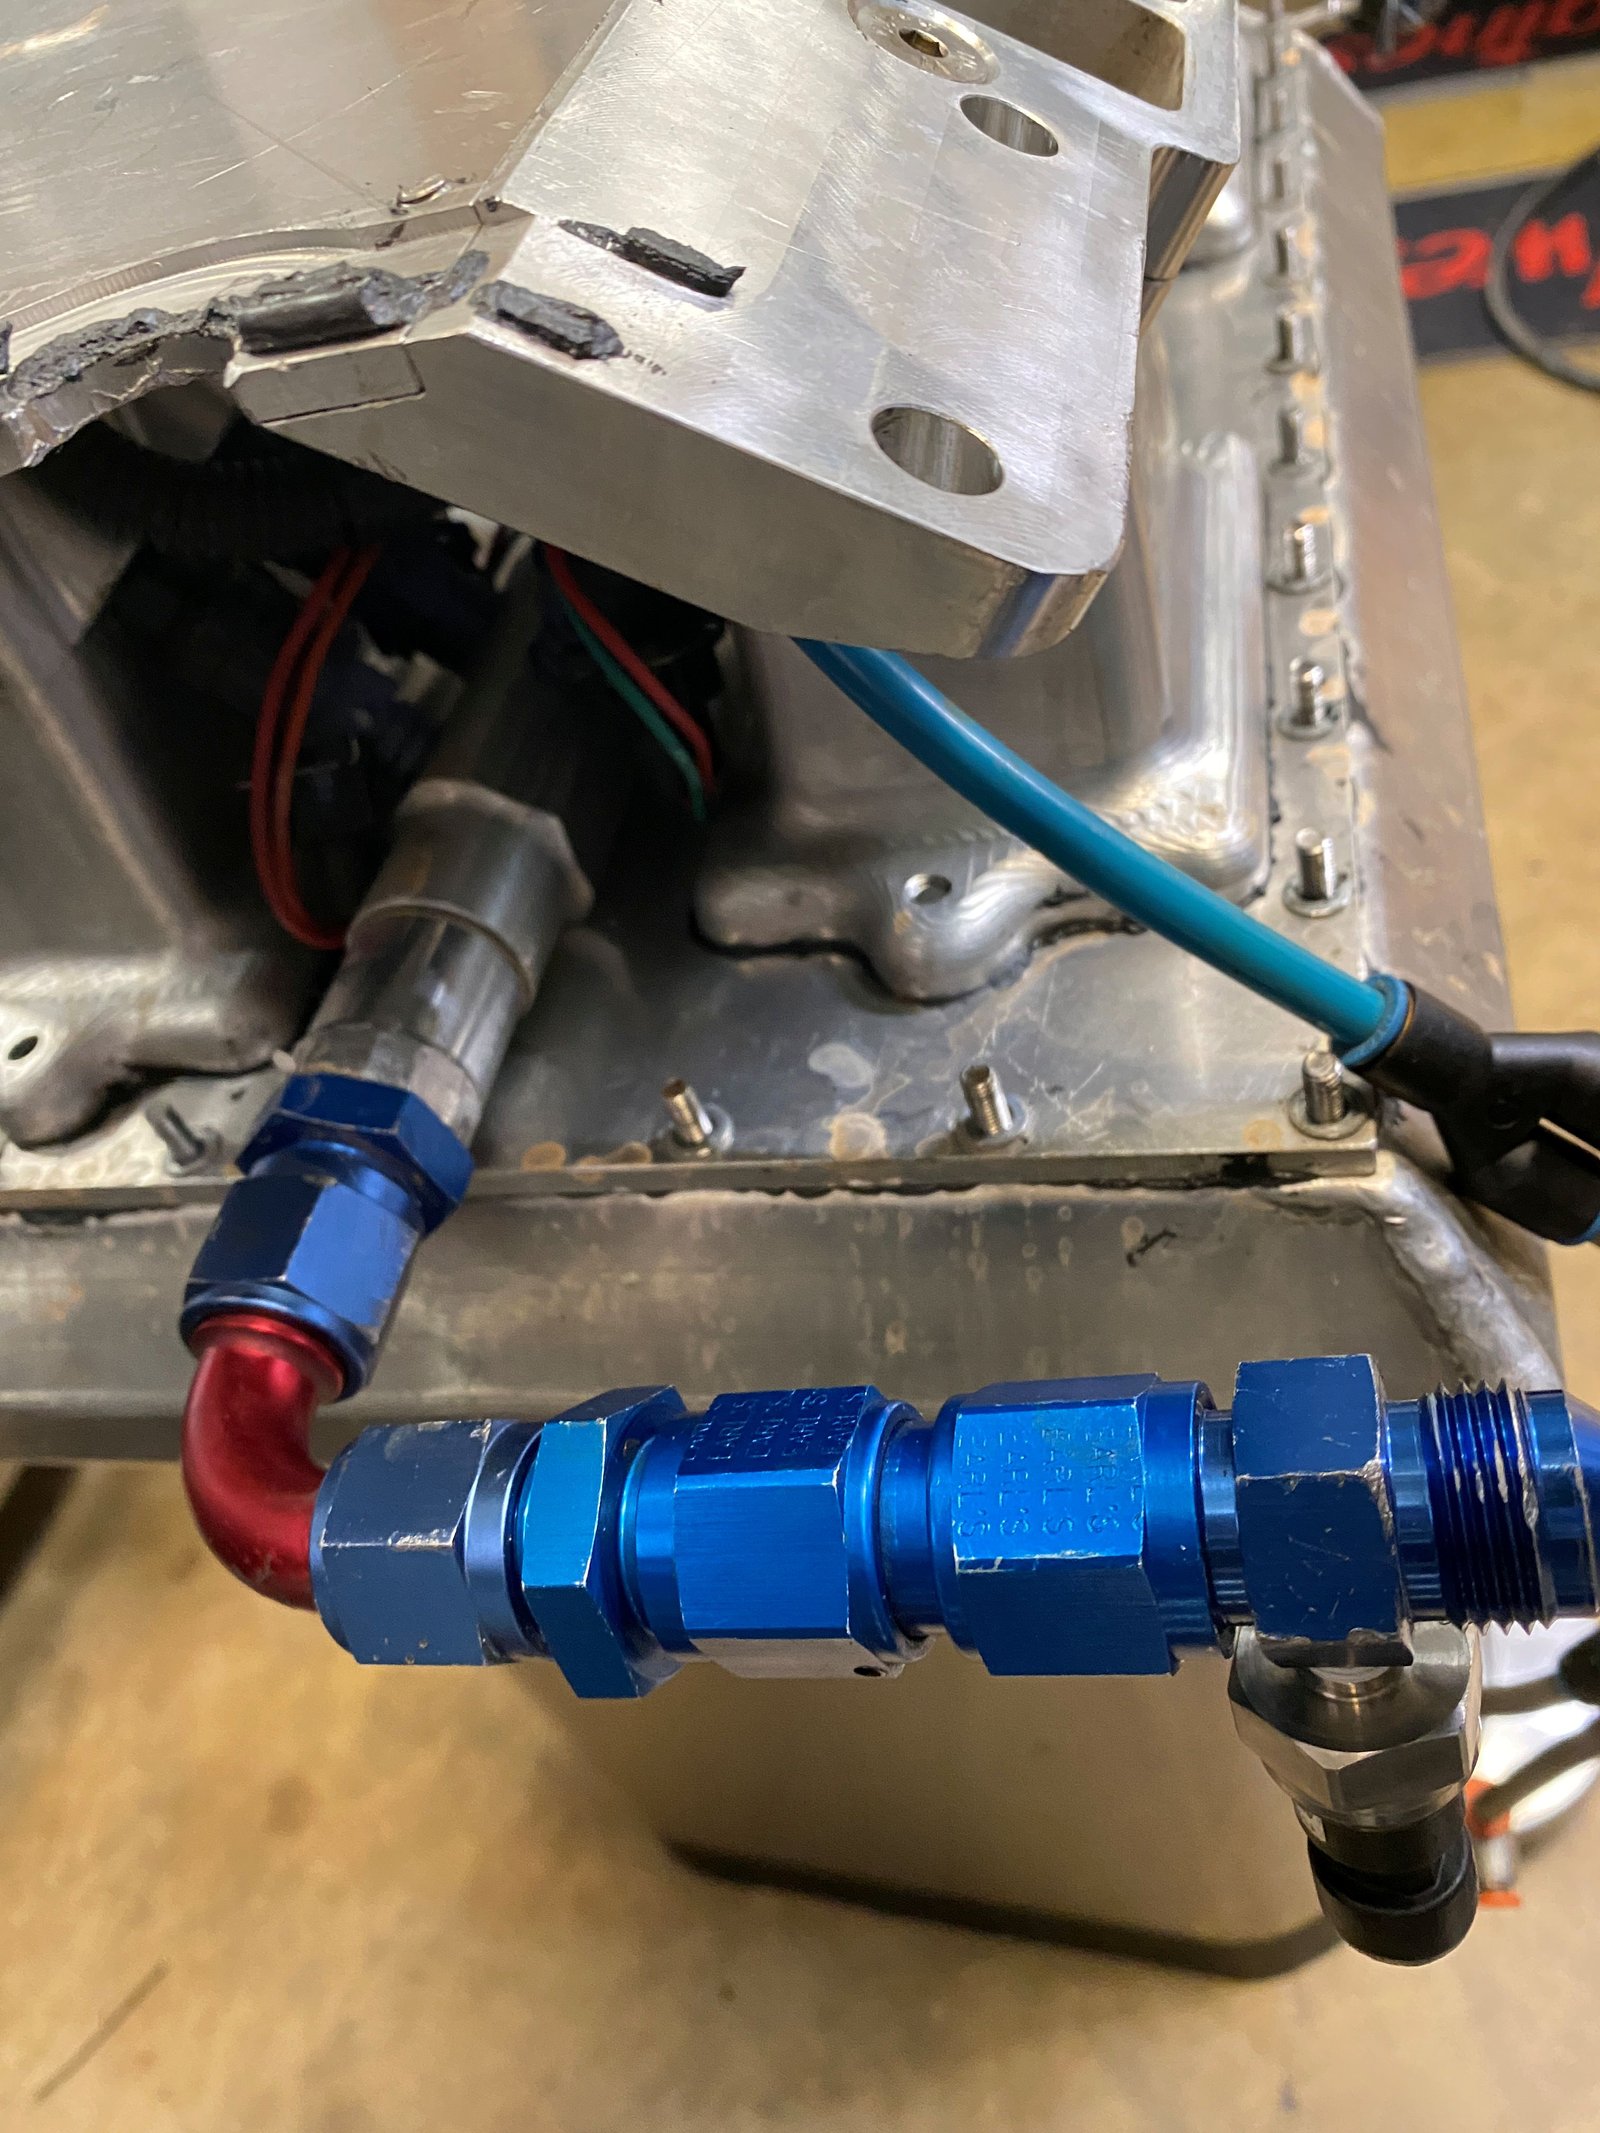
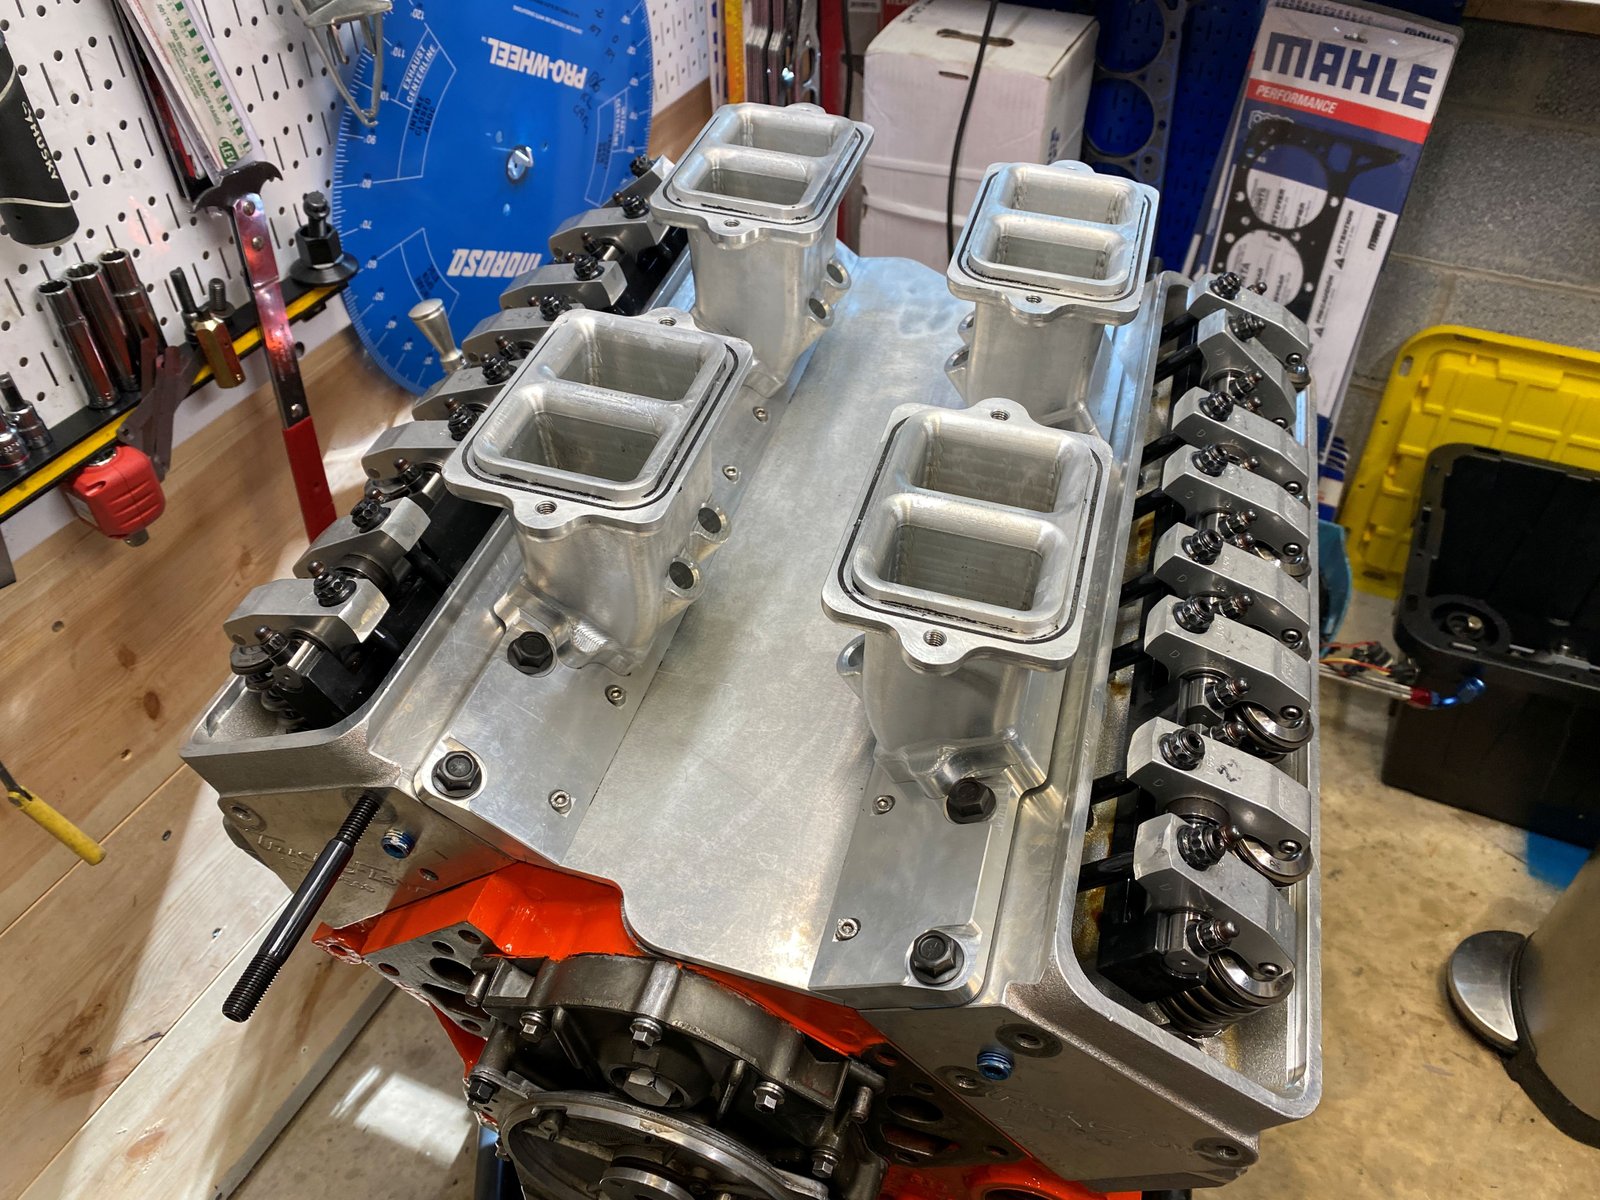
I need to get the fuel injectors out of here for the annual flow and
cleaning service. Also am taking photos to help me remember
the configuration. I took the whole intake manifold
apart. It needs to be cleaned (cosmetically) to get rid of the
engine coolant stains.
|

|

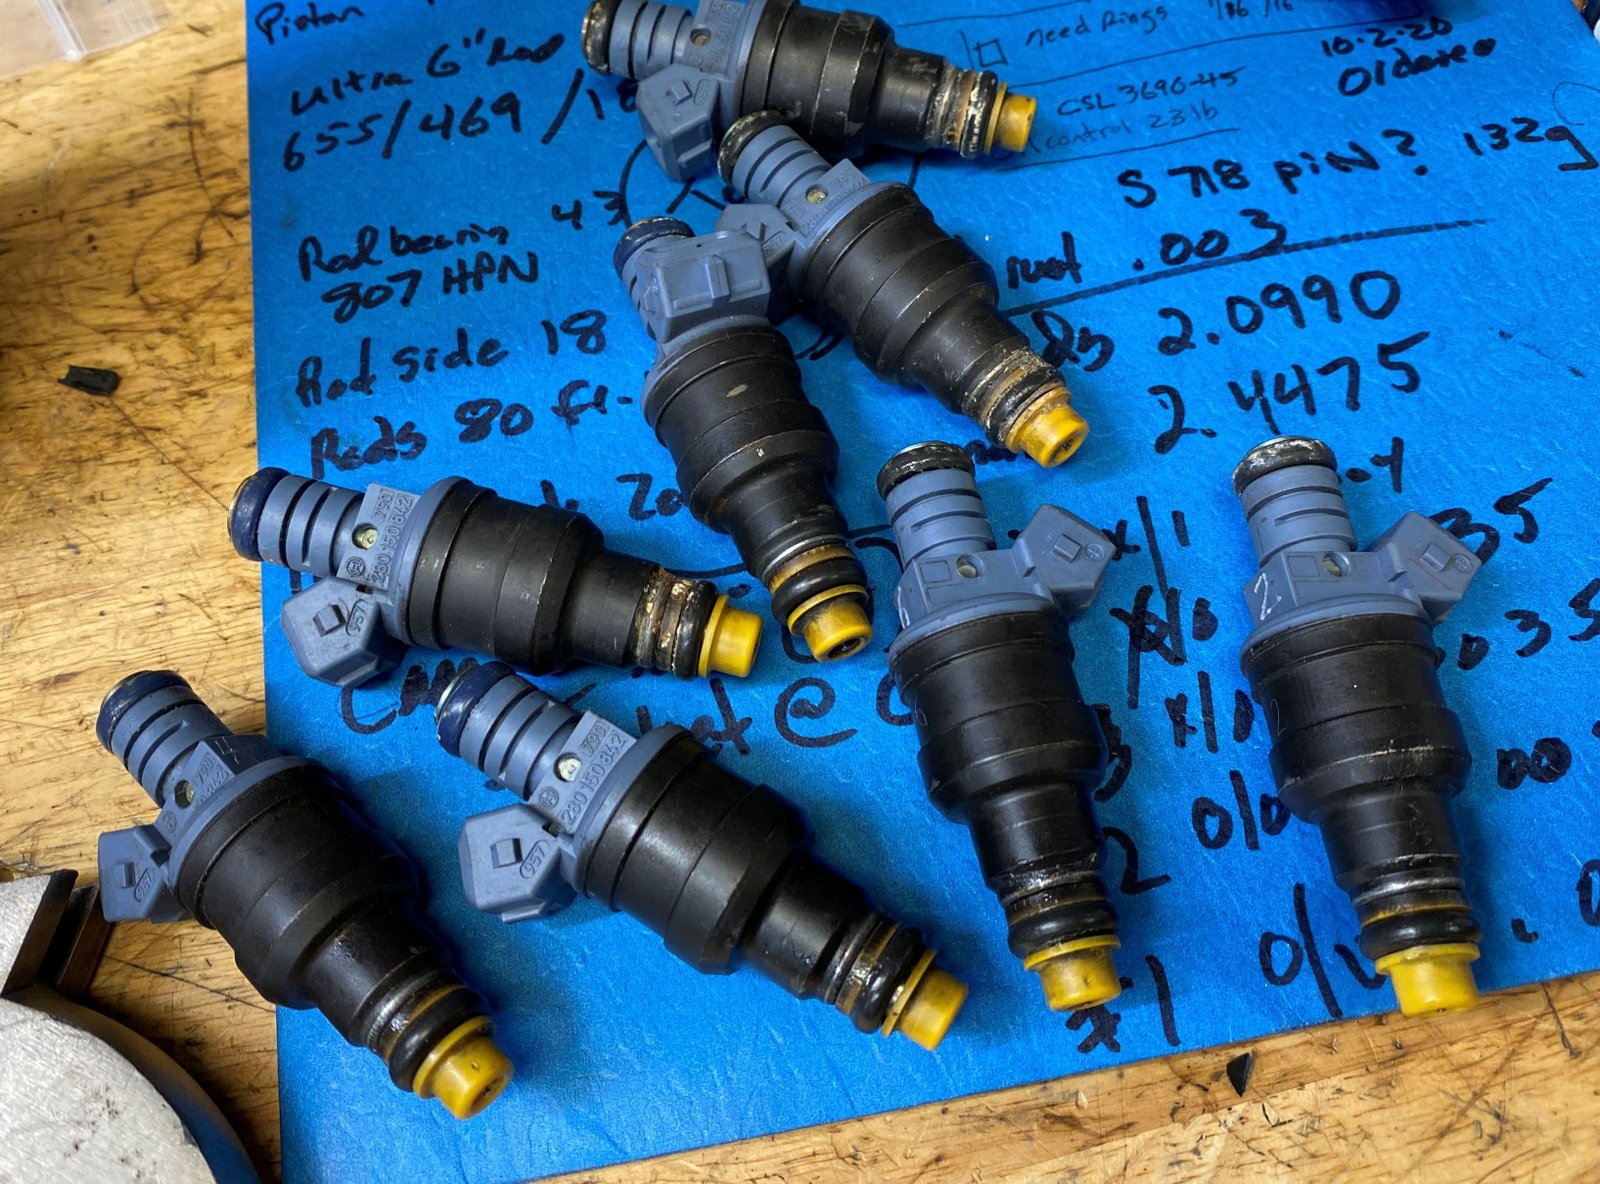
160 lb/hr injectors from F.A.S.T. ?
I thought they were. Obviously not. Well at any rate
these are going to get cleaned and I'll find out what brand and flow
they are. Looking up on the web they are Bosch 152 lb/ hr
1600cc # 0 280 150 842.
|

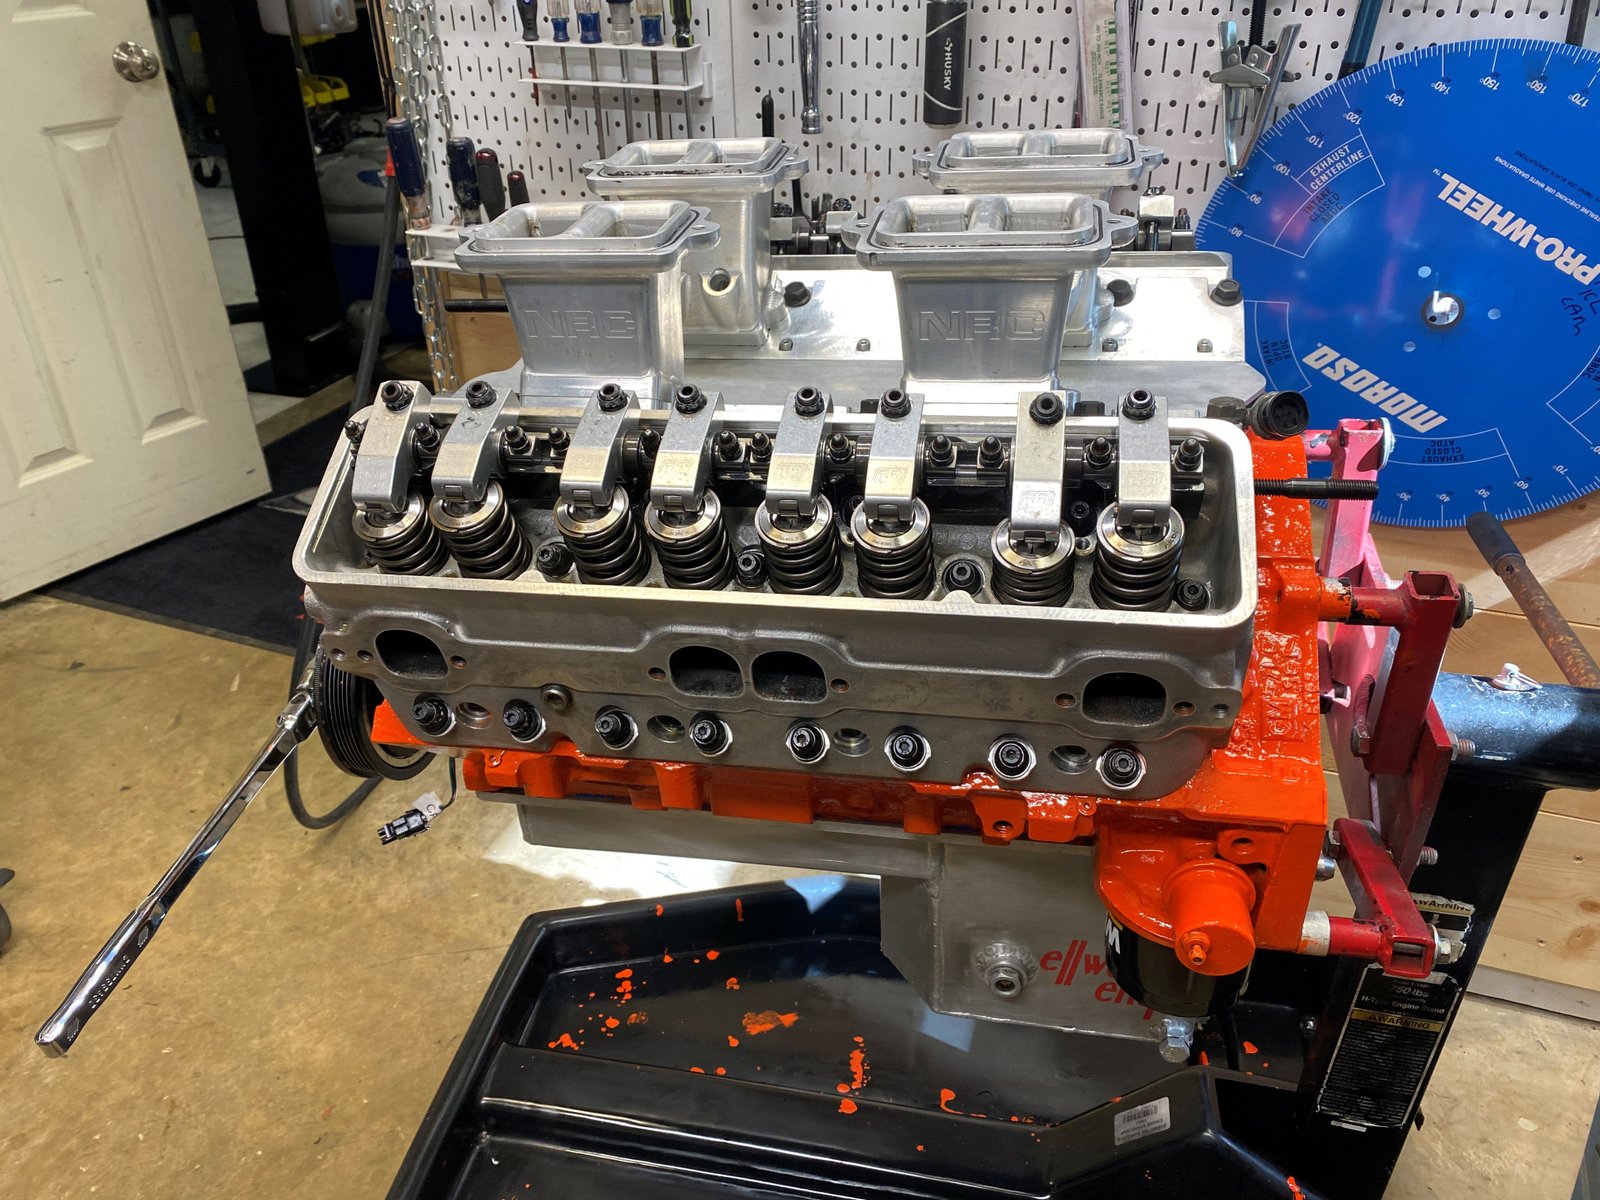
I only have the lower part of the intake manifold bolted on but not
RTV'ed on. This is more for keeping dirt out of the engine
during installation.
|

|

|

|

Photo for my reference. This is a Neil Chance converter (I do
believe)
|

|

|

|
To do:
Injector cleaning service,
Find the other header flange adapter bolts,
Install intake manifold,
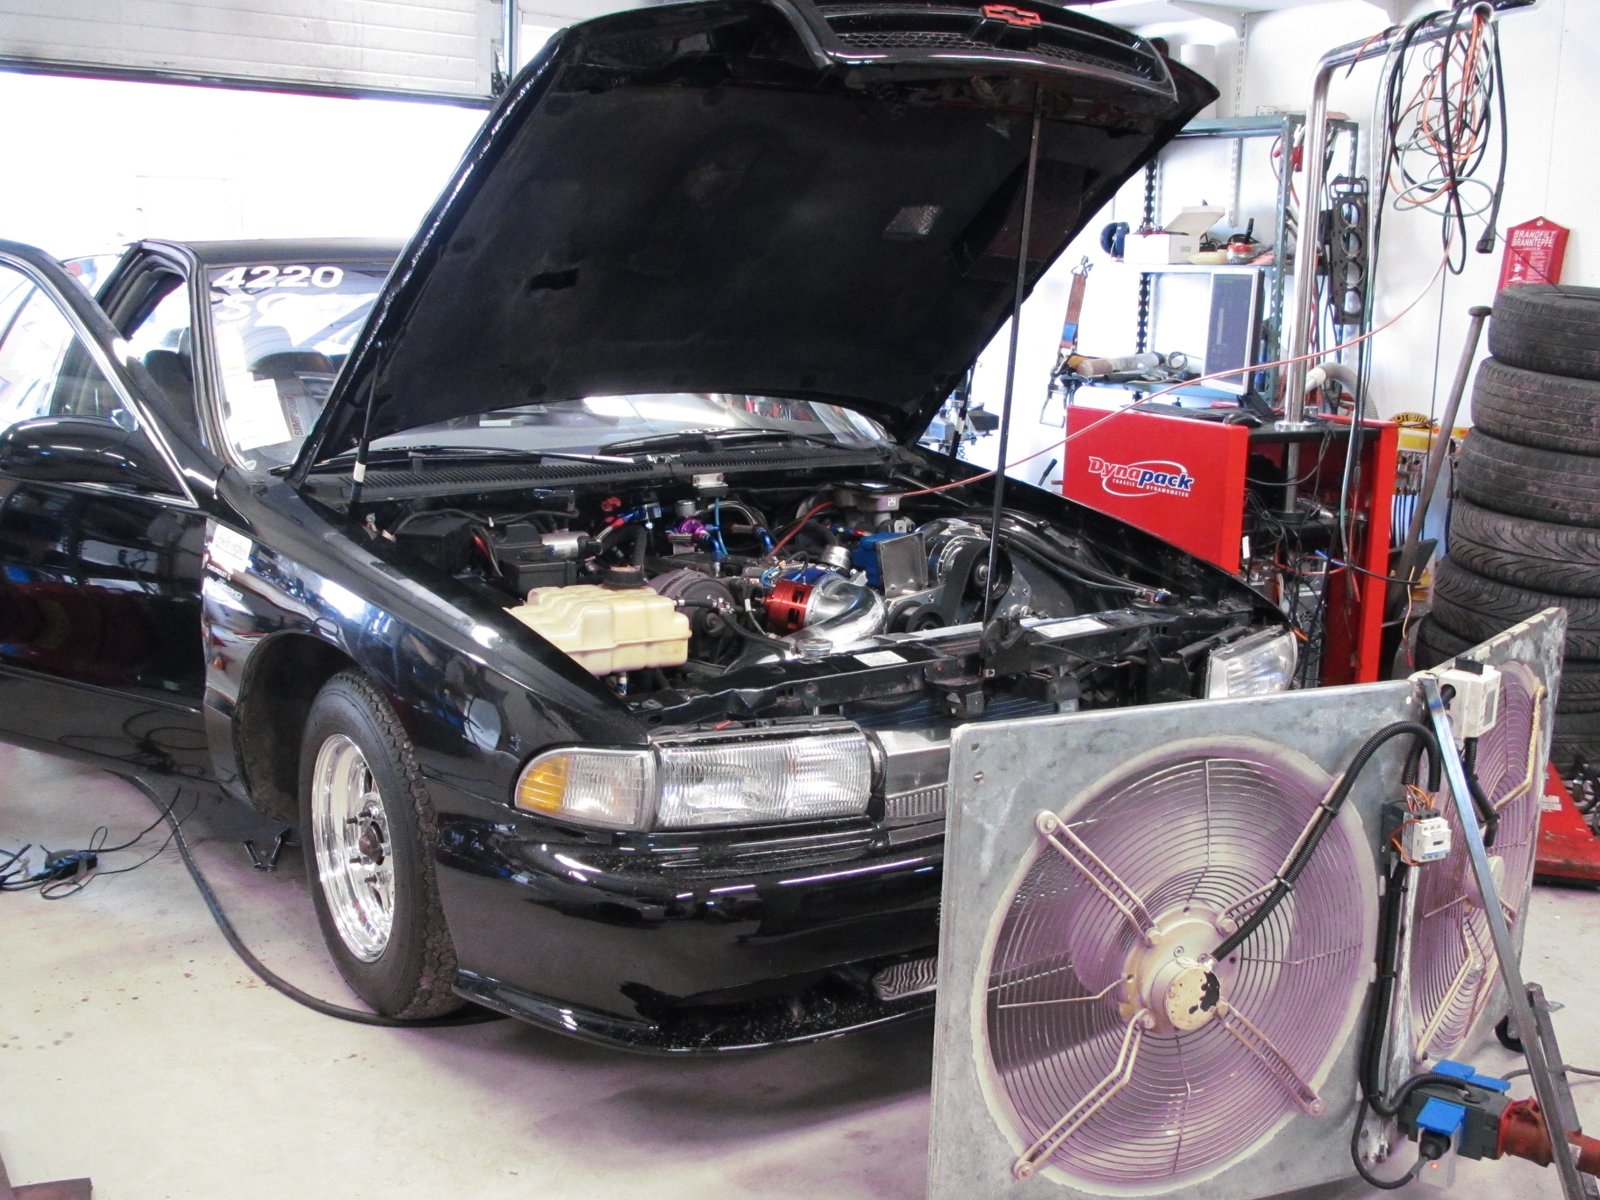
Fire up the engine without the super charger,
Install super charger.
|