|
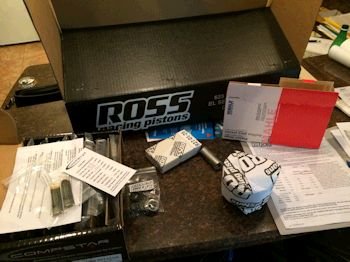
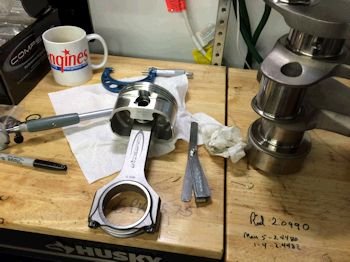
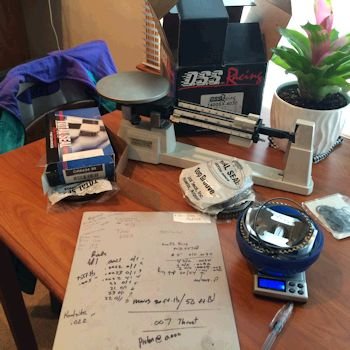
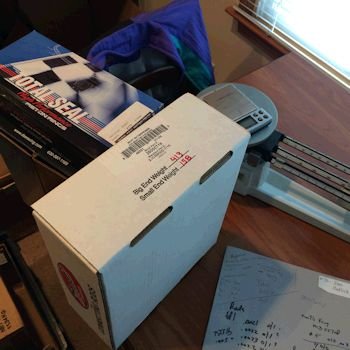
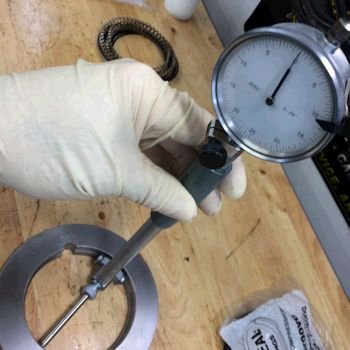
Starting the build process with gathering parts and measuring for
the crankshaft balance bob-weight.
|
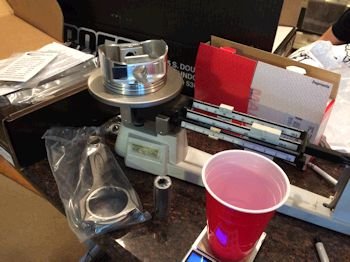
I use the small digital scale under the plastic cup because it's
quick and amazingly accurate. I verify it's accuracy using my
lab quality 3-beam scale.
|
|
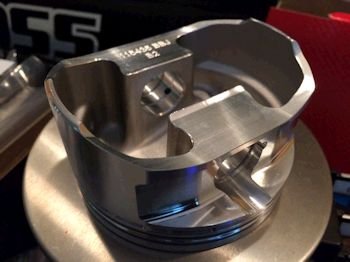
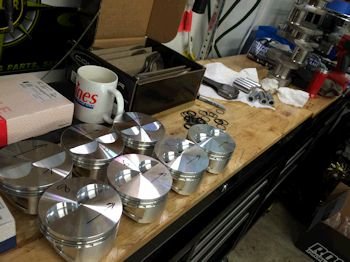
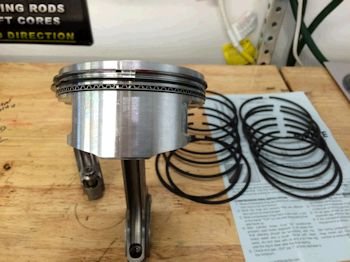
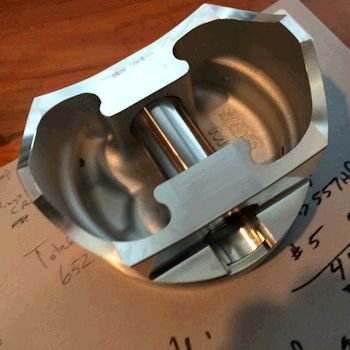
Custom Ross piston which I had sent a Mahle piston to Ross for an
example. I wanted the ring pack to be like the Mahle but with a
thicker crown so that I cold D-dish the piston if needed for more
chamber volume.
|
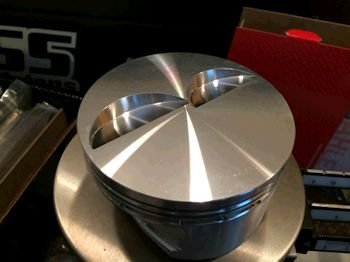
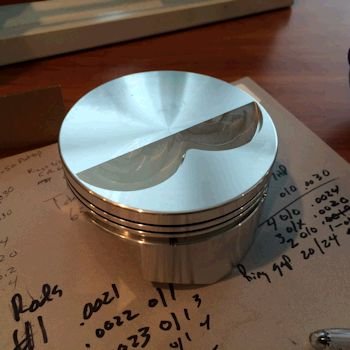
The piston compression height is 1.135 as opposed to 1.125"
in the traditional 383 piston. That allows Ross to give a bit
more crown thickness and I have my blocks decked to 9.010" anyway
so the piston will be closer to zero deck. I'm probably going to make
a 383 for my personal car and use this piston and run nitrous.
|
|

|
Piston 432g, pin 119.6,
pin locks 4.5, rings 36, bearings 44, rod 171/448, oil 6
Bobweight = 1753g.
|
|
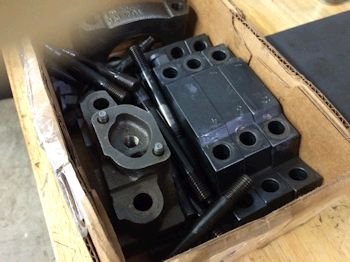
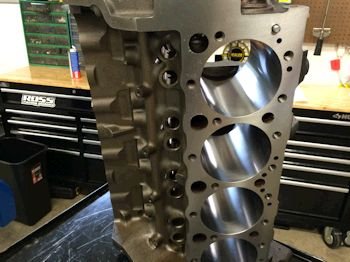
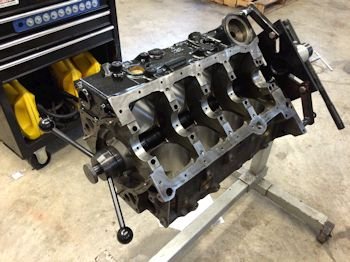
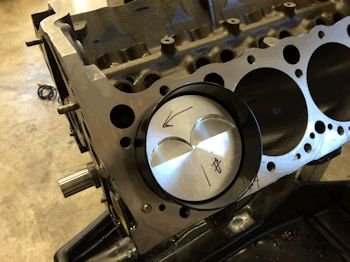
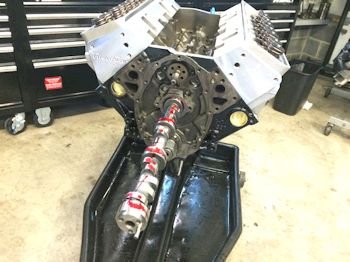
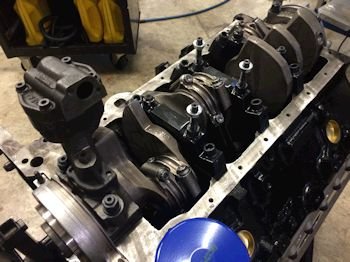
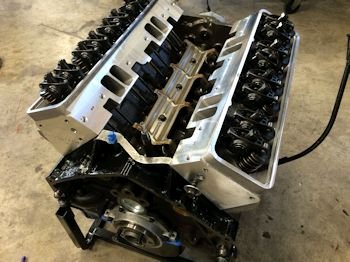
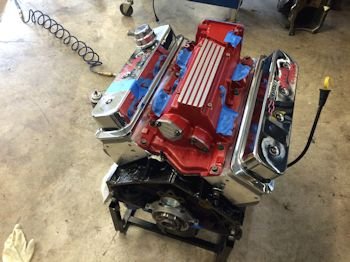
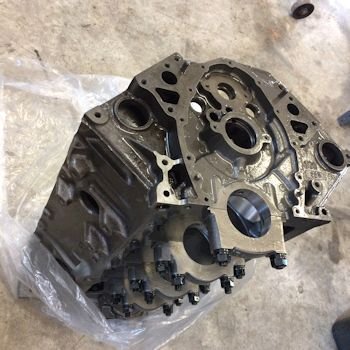
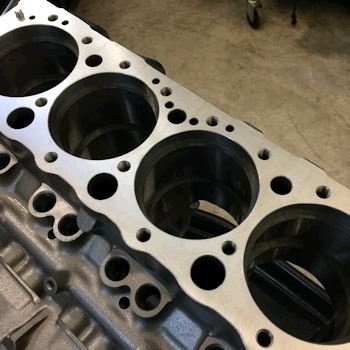
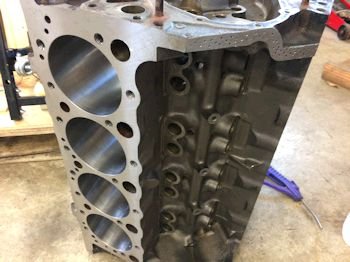
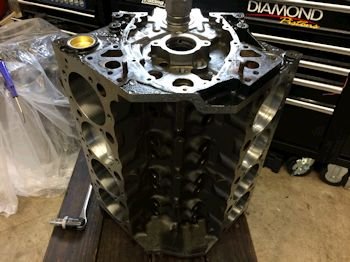
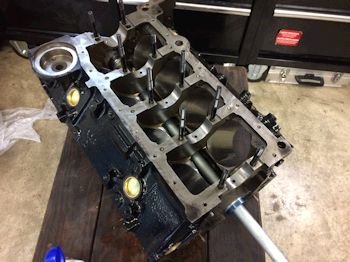
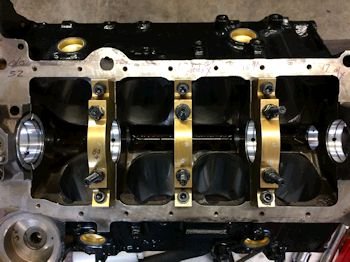
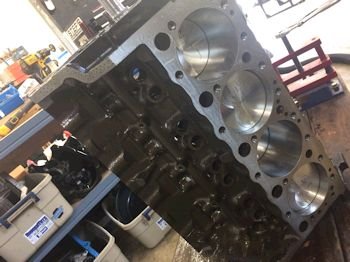
Now a look at the block and caps. This block was obtained
locally out of a 1995 Camaro. I had it bored/honed/decked and
fitted with Eagle splayed main caps and ARP studs.
|

|
|
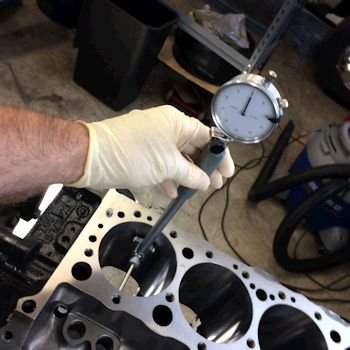
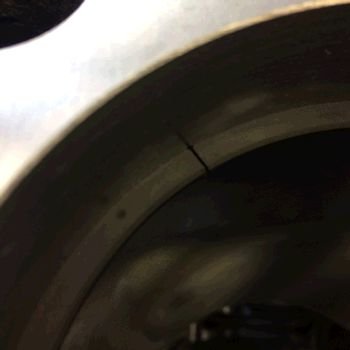
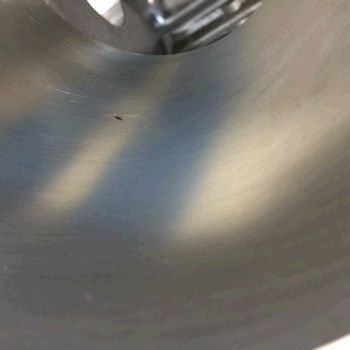
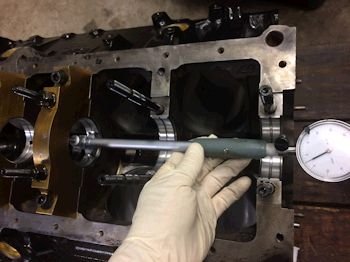
I measured bore size using a BHJ 4.030" bore gauge as
reference and it looks like the bores are .001" small.
|
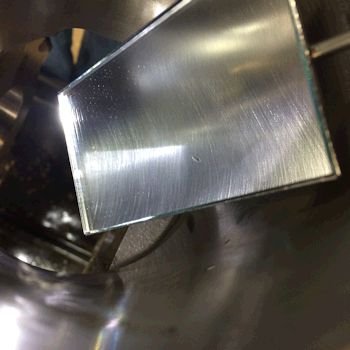
I stuck a piston in the bore and measured with a feeler gauge and
I get .003" clearance. The spec is .004" and so that
verifies that the bore is .001" undersized (it's 4.029).
Back to the machine shop it goes.
|
|
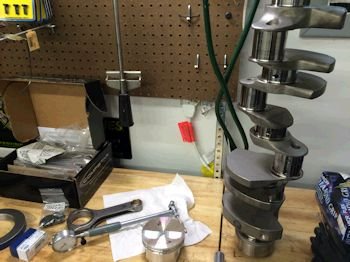
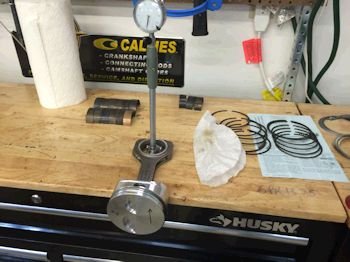
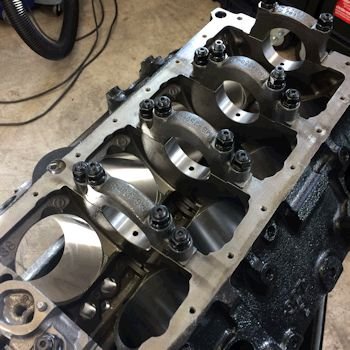
Continuing forward: Here is the Eagle crankshaft.
|
Piston to rod assembly and other measurements.
|
|
Pistons have left and right valve reliefs.
|
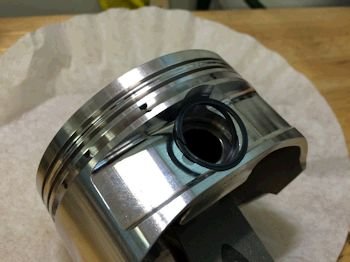
2 spirolocks per side for a total of 4.
|
|

|
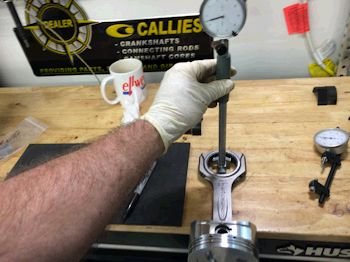
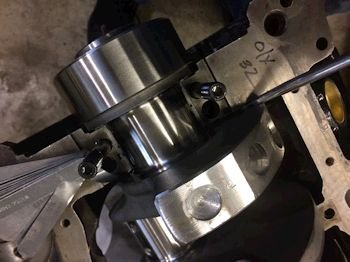
(Pay no attention to the 25 written on the rod). Standard sized
Clevite CB-663-HN gives .0026 to .0027"
I'm shooting for .0020 to .0022" and so after this photo I
installed a .001" under 1/2 shell in the lower cap and that gave
.0021"
|
|

|

|
|

|
Thanks to Bill Koustenis at Advanced
Automotive Machine in Waldorf Maryland....He honed the block with a
torque-plate and now it's at 4.031 which gives proper piston to
cylinder wall clearance. I measured and now have .005" P -
W. After getting the block back from Bill I clearanced for
stroke at the bottom of the cylinders then washed and oiled it.
These photos show the beginning of the time consuming painting
process. I use a strong, thick product from POR15.
|
|

|
Ring filing and gap measuring. 1st ring gapped at 020"
and 2nd ring at .024". The bore is 4.031 and my ring
checking fixture is 4.030. This is a good chance to see the
difference that .001" bore size makes for ring gap. I get
.017" in the fixture and .020" in the bore for the top ring
and .020" in the fixture and .024" in the bore for the 2nd
ring. These are Mahle 1.5mm/1.5mm/3.0mm rings.
|
|

|
Cam bearing installation.
|
|
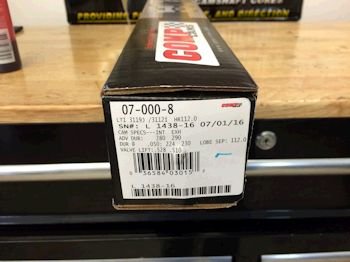
Comp cams via Lloyd Elliott.
|
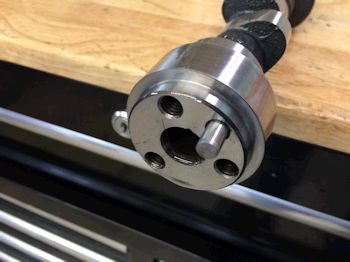
Ooops. Comp sent it with the short dowel.
|
|
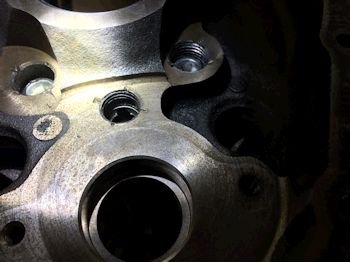
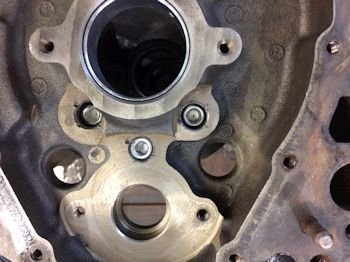
Moving onward. Here is my verification that I plugged the
rear main oil galley.
|
Main bearing clearance check. King HP main bearings mix of
standard/-.001/+.001(X).
|
|

|

|
|

|
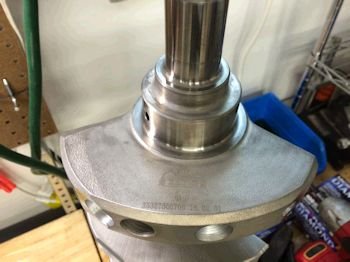
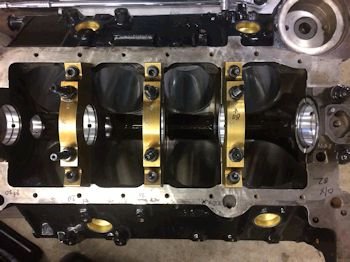
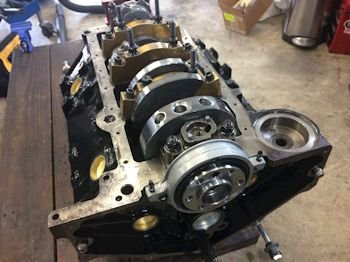
And we have the Eagle forged
crankshaft installed and with a thrust of .007".
|
|
Oil galleries threaded but the stock plugs go in with oil cooling
holes for the timing set.
|
Mahle ring set on the Ross piston.
|
|
#1 piston in and it's at zero deck height. Even though the
block is decked to 9.010". That is because the pistons were
ordered with 1.135" compression height.
|

|
|

|
Rod bearings all from .021 to .023" clearance.
|
|

|

|
|

Rod bolts torqued to 75ft-lb and .004-.005" stretch.
|

|
|
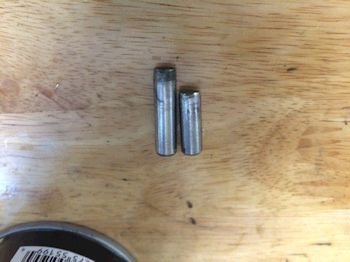
Short cam pin finally removed. Long one on the left.
|

Cam marking for our records.
|
|
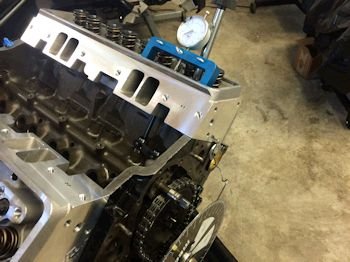
LE Heads from Trick Flow
|
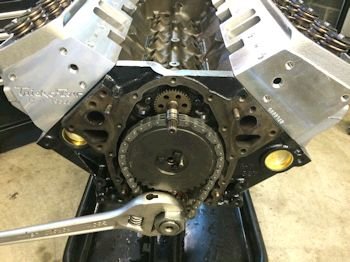
This customer supplied stock timing set has low run-time.
|
|
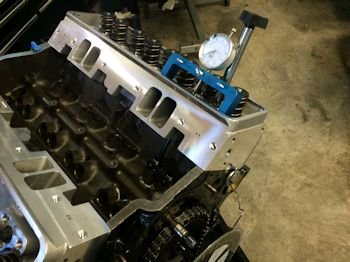
Degree check comes out to 110 deg. intake centerline. Cam
card says 112 is the spec, (cam is 2 deg retarded due to timing chain
slack).
|
Since the timing set is not adjustable I tried a new timing
chain...still slack and still at 110 ICL. I'll say that that is
close and it will be as good as it gets. I removed the new stock
chain and then re-installed the used chain to keep it a matched set.
|
|

|
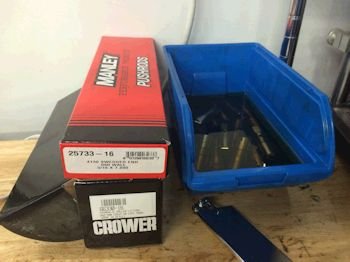
Crower lifters soaking in oil. Manley pushrods 7.2"
hopefully will be the proper length.
|
|

|
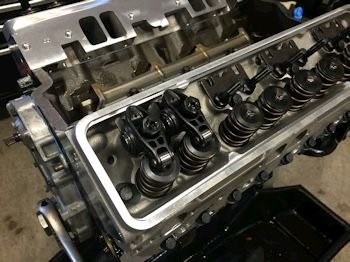
3/8" studs rockers installed and the 7.2" pushrod.
Looks good. I set the hydraulic preload at 3/4 turn past zero.
|
|

|

|
|

|
Melling 10552 oil pump, high pressure, standard volume.
|
|

|
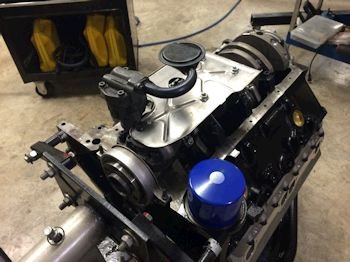
Pickup bolted on with thread locking compound.
|
|

|
Oil pan from a take-off core. Cleaned and painted with
POR15. Now to let it dry overnight. I'll be back in the
morning to test oil pressure and check for leaks.
|
|
Better late than never: I forgot to insert photos of the
heads. These are Trick Flow GenX Street/Strip GM LT1, 195cc
intake volume, 62cc chamber.
|

|
|
FelPro 1074 head gasket at .039".
|
ARP head bolts at 70ft-lb
|
|
Stock hub needs a key-way and so here is my technique. I use
a dremmel.
|

|
|
Time to check oil flow and pressure and gross leakage.
The drill presses it up to 60psig with 30W flush oil, (used in 2 or 3
engines prior to waste).
|

|
|

|
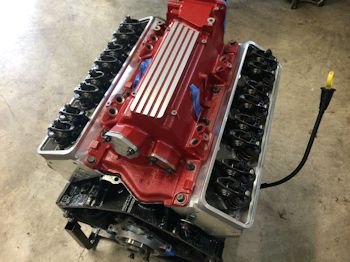
Now to install the very clean and good looking intake
manifold. I'll seal up all crankcase and intake holes as much as
possible and blow air into the motor to look, listen and feel for
gasket leaks.
|
|

|
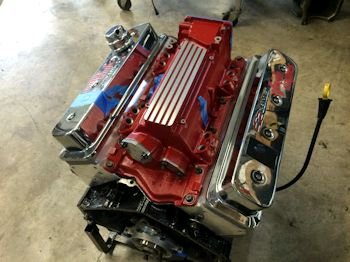
Using my valve covers temporarily.
|
|
No air leaks except for at the valve covers.
|

|
|

|

Wrapping her up along with a courtesy set of spark plugs.
|
|

|
New Combo Below. The Ross pistons were too loud due to the short
skirt and 2618 alloy.
|
|
Here is the new rod piston and ring D.S.S. Racing pistons, SCAT forged I-beam 6" rods.
|
This is a D.S.S Racing SX series piston. I saw them at a PRI show and
was fascinated. Good quality. 4032 alloy for a more
streetable motor.
SX
Pistons Link
|
|
The piston ring package is 1.5mm, 1.5mm and 4.0mm oil ring.
I like the thicker and higher tension 4mm oil ring.
|
New bobweight = 1719.4g
|
|
Here is the replacement block fresh from Golen via R+L Carriers
truck freight.
|
And after cleaning with soap/water/oil. Notice the 4-bolt
caps and ARP main studs.
|
|

|
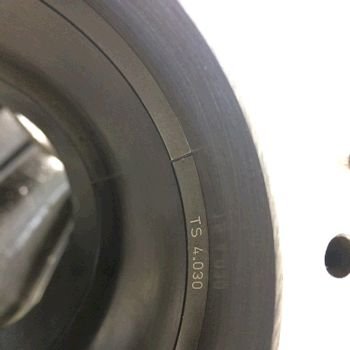
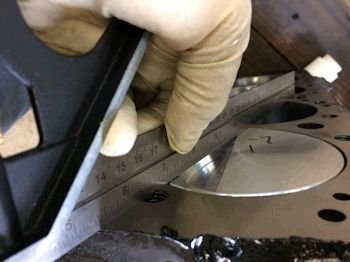
I am checking the bores to see if they are close to 4.0300"
which is referenced from my bore gauge standard in the next photo.
|
|
This is my big $$ bore gauge standard for 4.0300"
|
There are Total seal non-file fit rings and the top ring comes in
at .018" which is a good gap for street strip all natural.
Notice the chamfer at the gap near the cylinder wall. That is on
all the top rings. Very unusual. But Total seal knows what
they are doing.
|
|
The 2nd ring needed to be gapped by me to open it up to .018"
and it did not come with a chamfer. It is very square as are
most ring sets. The top ring must be designed to let some gas
through to the 2nd ring where it then will not pass to the crank case.
|
All rings at .018" gap.
|
|
#5 cylinder bore is blemished. The rings catch on this
pit. Cannot use the block without going to a .040" over
bore.
|
Time to go clean up another block to use in place of this one.
|
|
....A couple of months later....I sourced a block locally:
Sent to the main cap shop for installation of Milodon main caps and
then bore/hone/deck.
|
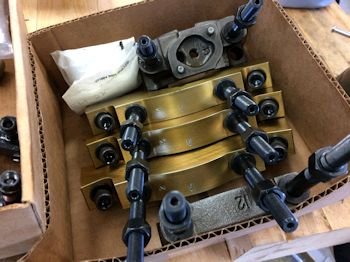
These are the Milodon caps.
|
|
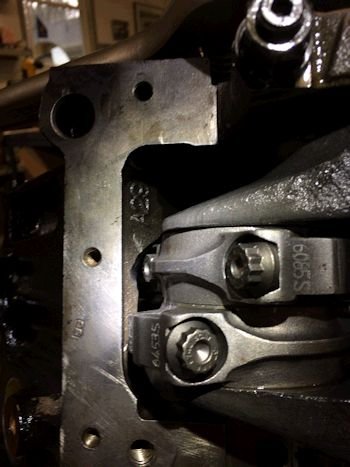
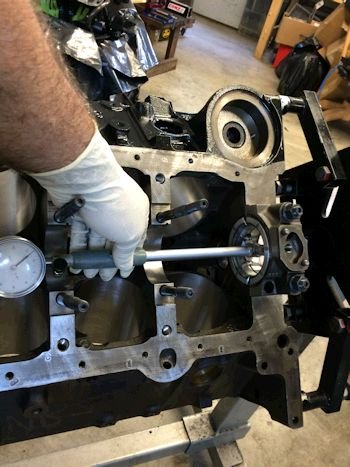
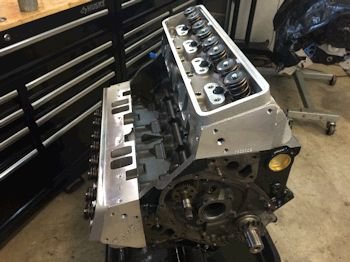
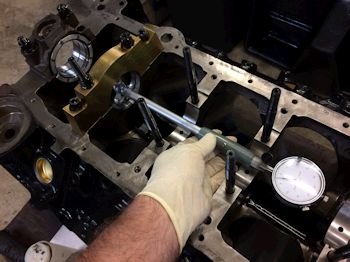
Since this is a local block I have to do the block prep and
clearance work by hand. After that comes the rotating assembly
test-fit. So far so good. Lots of clearance for the rods
outboard.
|
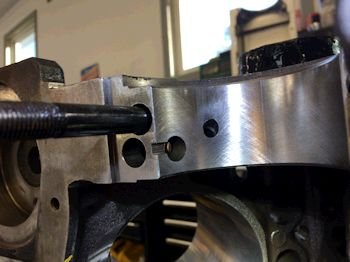
For this type of rod I also need to clearance at the cam side of
the cylinder bore. Maybe you can see where it is ground down in
this photo near the cam-tunnel.
|
|
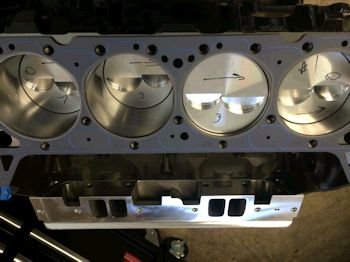
Piston is in the hole .007"
|
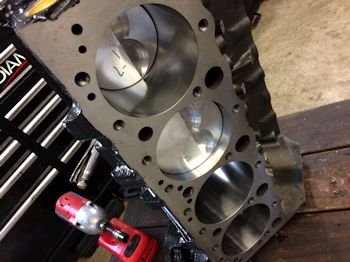
1,2,3,4 installed and all good so far.
|
|
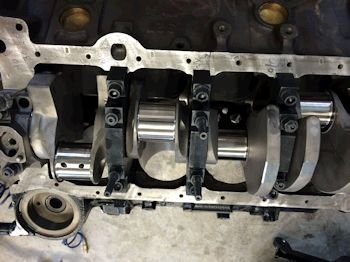
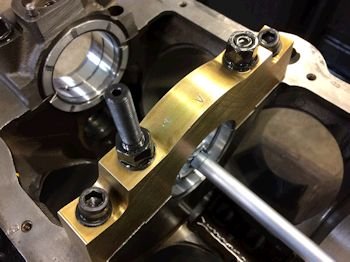
All 8 piston/rod assemblies installed. #7 rod is too close
for comfort. Not a problem. I expected to have to do
additional grinding thus the mock-up. That is why I did not
install the cam bearings...in case of additional grinding.
|

|
|

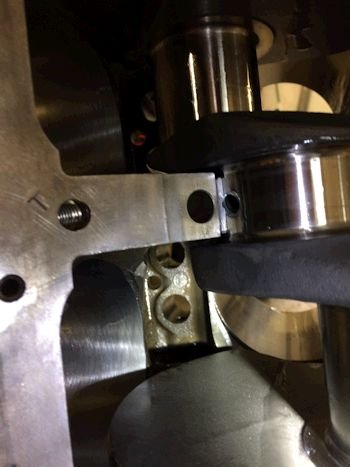
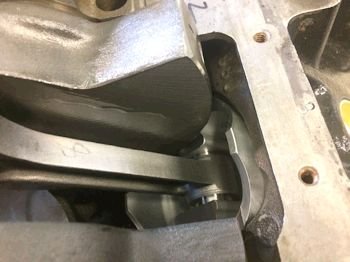
To the right you may be able to see the rod shoulder is almost
touching the block at the yellow marked spot.
|

|
|
After grinding on the block slightly to give more clearance for #7
conn-rod the block was cleaned with my Saftety-Kleen parts
washer. Now I can install the camshaft bearings.
|
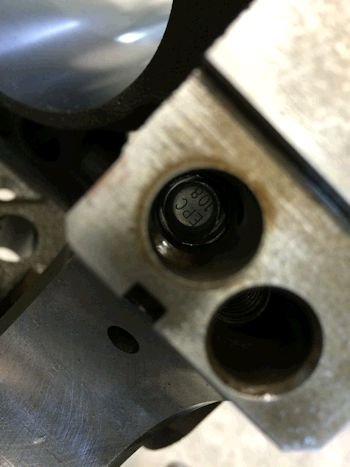
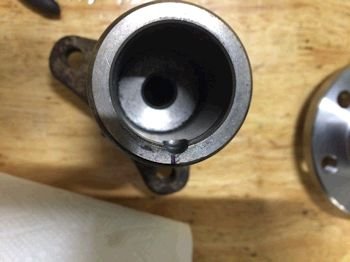
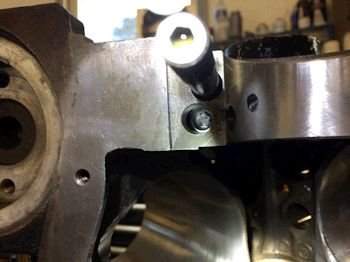
Here is a view of the front oil galleys where I threaded them for
pipe plugs. Recently I found a source for plugs with oil pin
holes and that is what I'm using in the lifter galleys. The
center camshaft oil galley takes a non-vented plug. Here is a
photo of the center oil galley that show that you cannot insert the
plug too far as to block the oil passage.
|
|
All plugs installed.
|
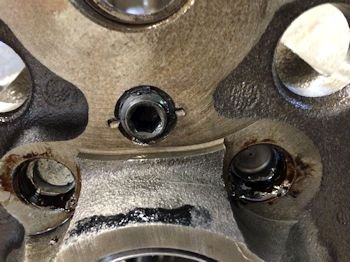
Rear main cap oil galley plug. This plug divides the oil
passage from and to the oil filter. Forget this plug and you end
up bypassing the oil filter and thus you'll have dirty oil, (but
higher oil pressure).
|
|
Here is a view of the rear main cap oil passage and where I
enlarge it with my Dremmell tool to align with aftermarket bearings.
|
Main bearing clearance: King premium bearings, Milodon main
caps.
|
|
So far the clearance is a little tight with standard size
bearings. The main cap shop set things too close to
"stock".
|
A full set of "x" (.001" oversize) bearings will
put us right in the .0025" area, (bearings are on order).
|
|
Re-stock of X bearings have arrived. I needed 3 more of them
to install in 1,2,3 mains.
|
Also have the rear #5 cap with one x and one standard bearing
shell for a 0.0032" clearance.
|
|

|
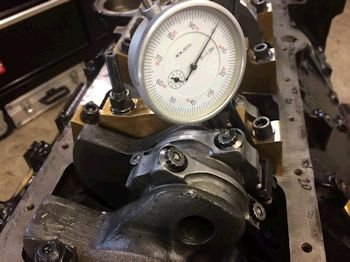
SCAT crankshaft thrust clearance checked at .003" by feeler.
|
|
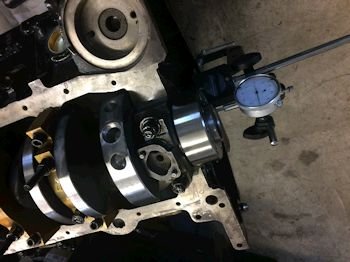
Thrust is .004"
|
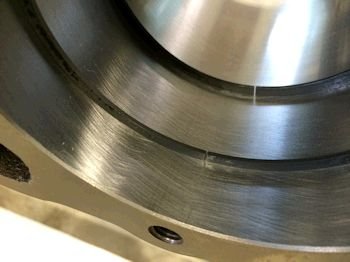
Here is a good look at the cylinder bottom and piston clearance to
the crank counterweight.
|
|
Rod bolts to be stretched to .005"
|

|
|
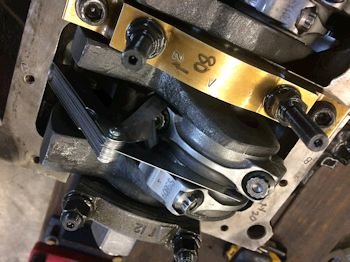
.020" rod side clearance.
|

|
|

|
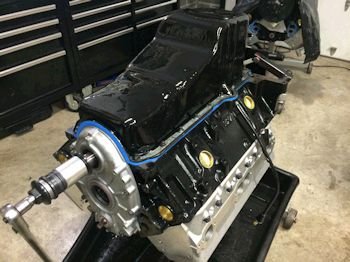
New GM rear main seal housing.
|
|
The short block was sprayed with machine preserving oil so as not
to rust if setting in a damp warehouse.
|
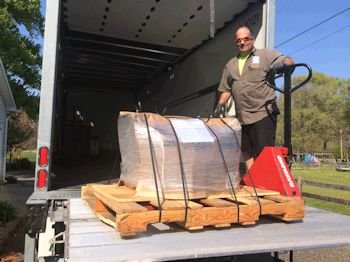
R + L Carriers.
|


