|
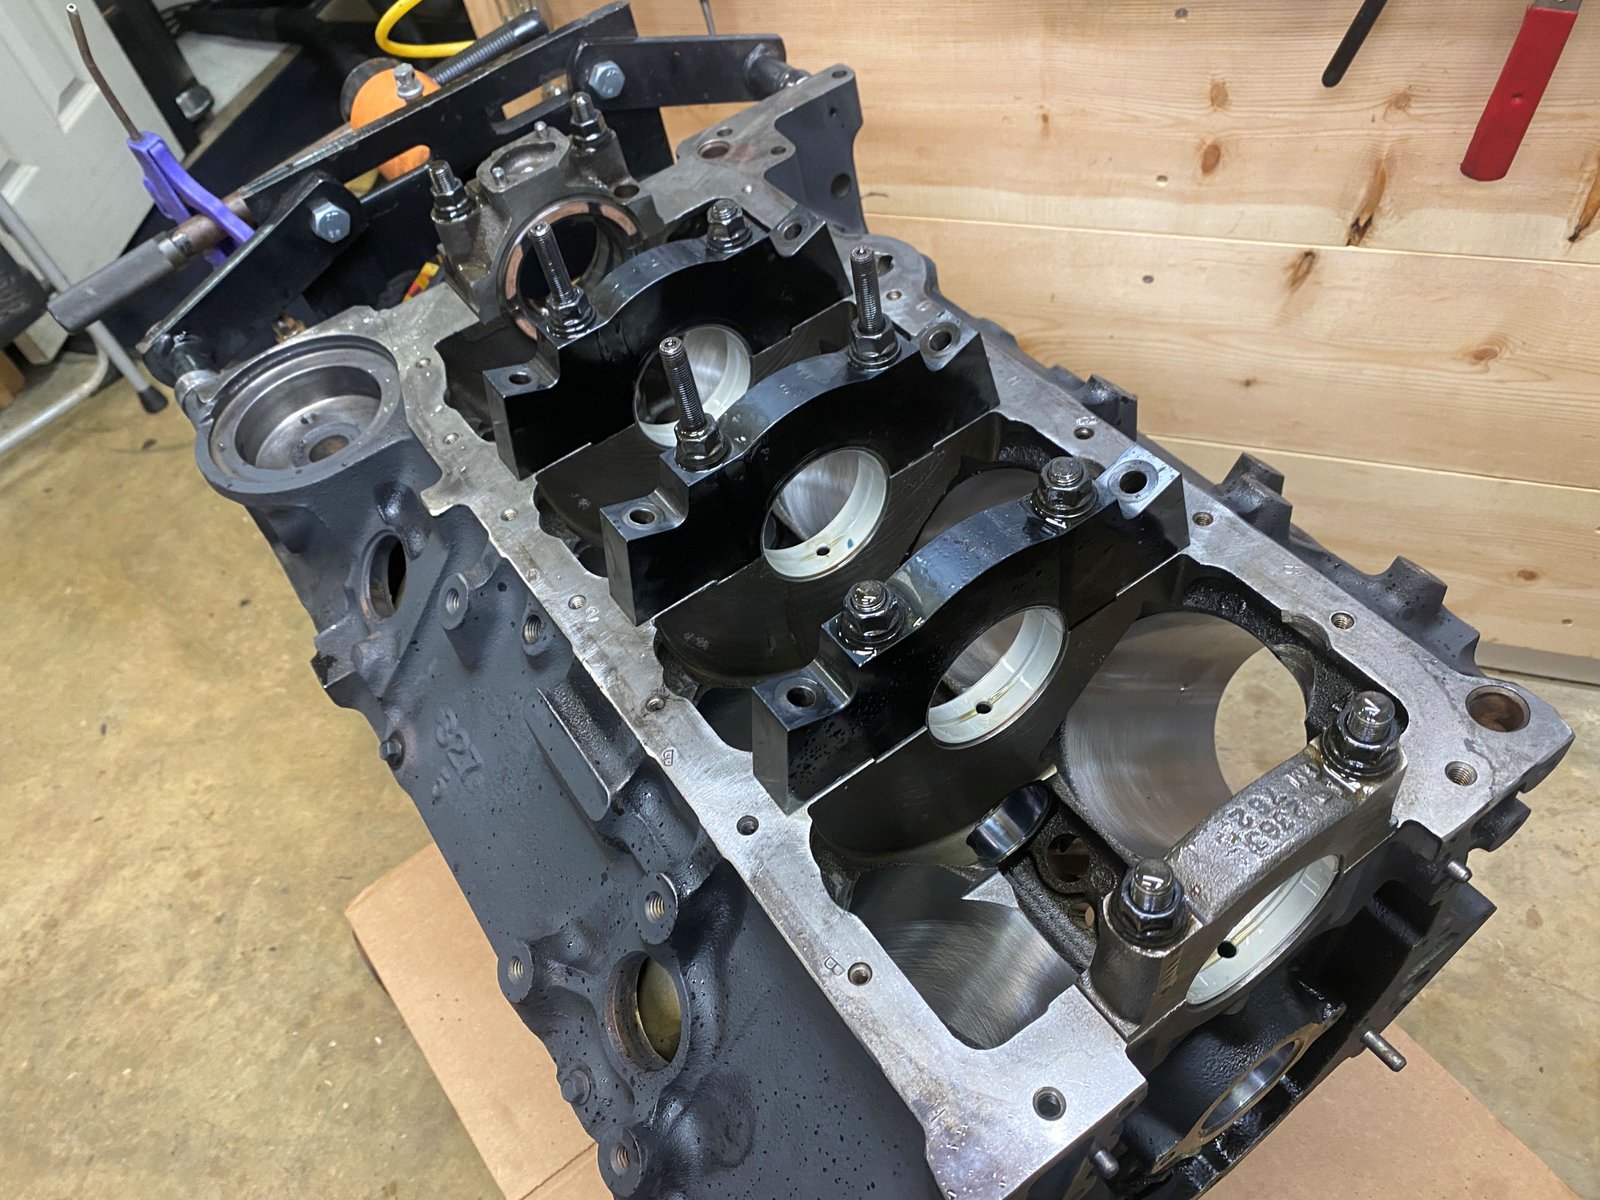
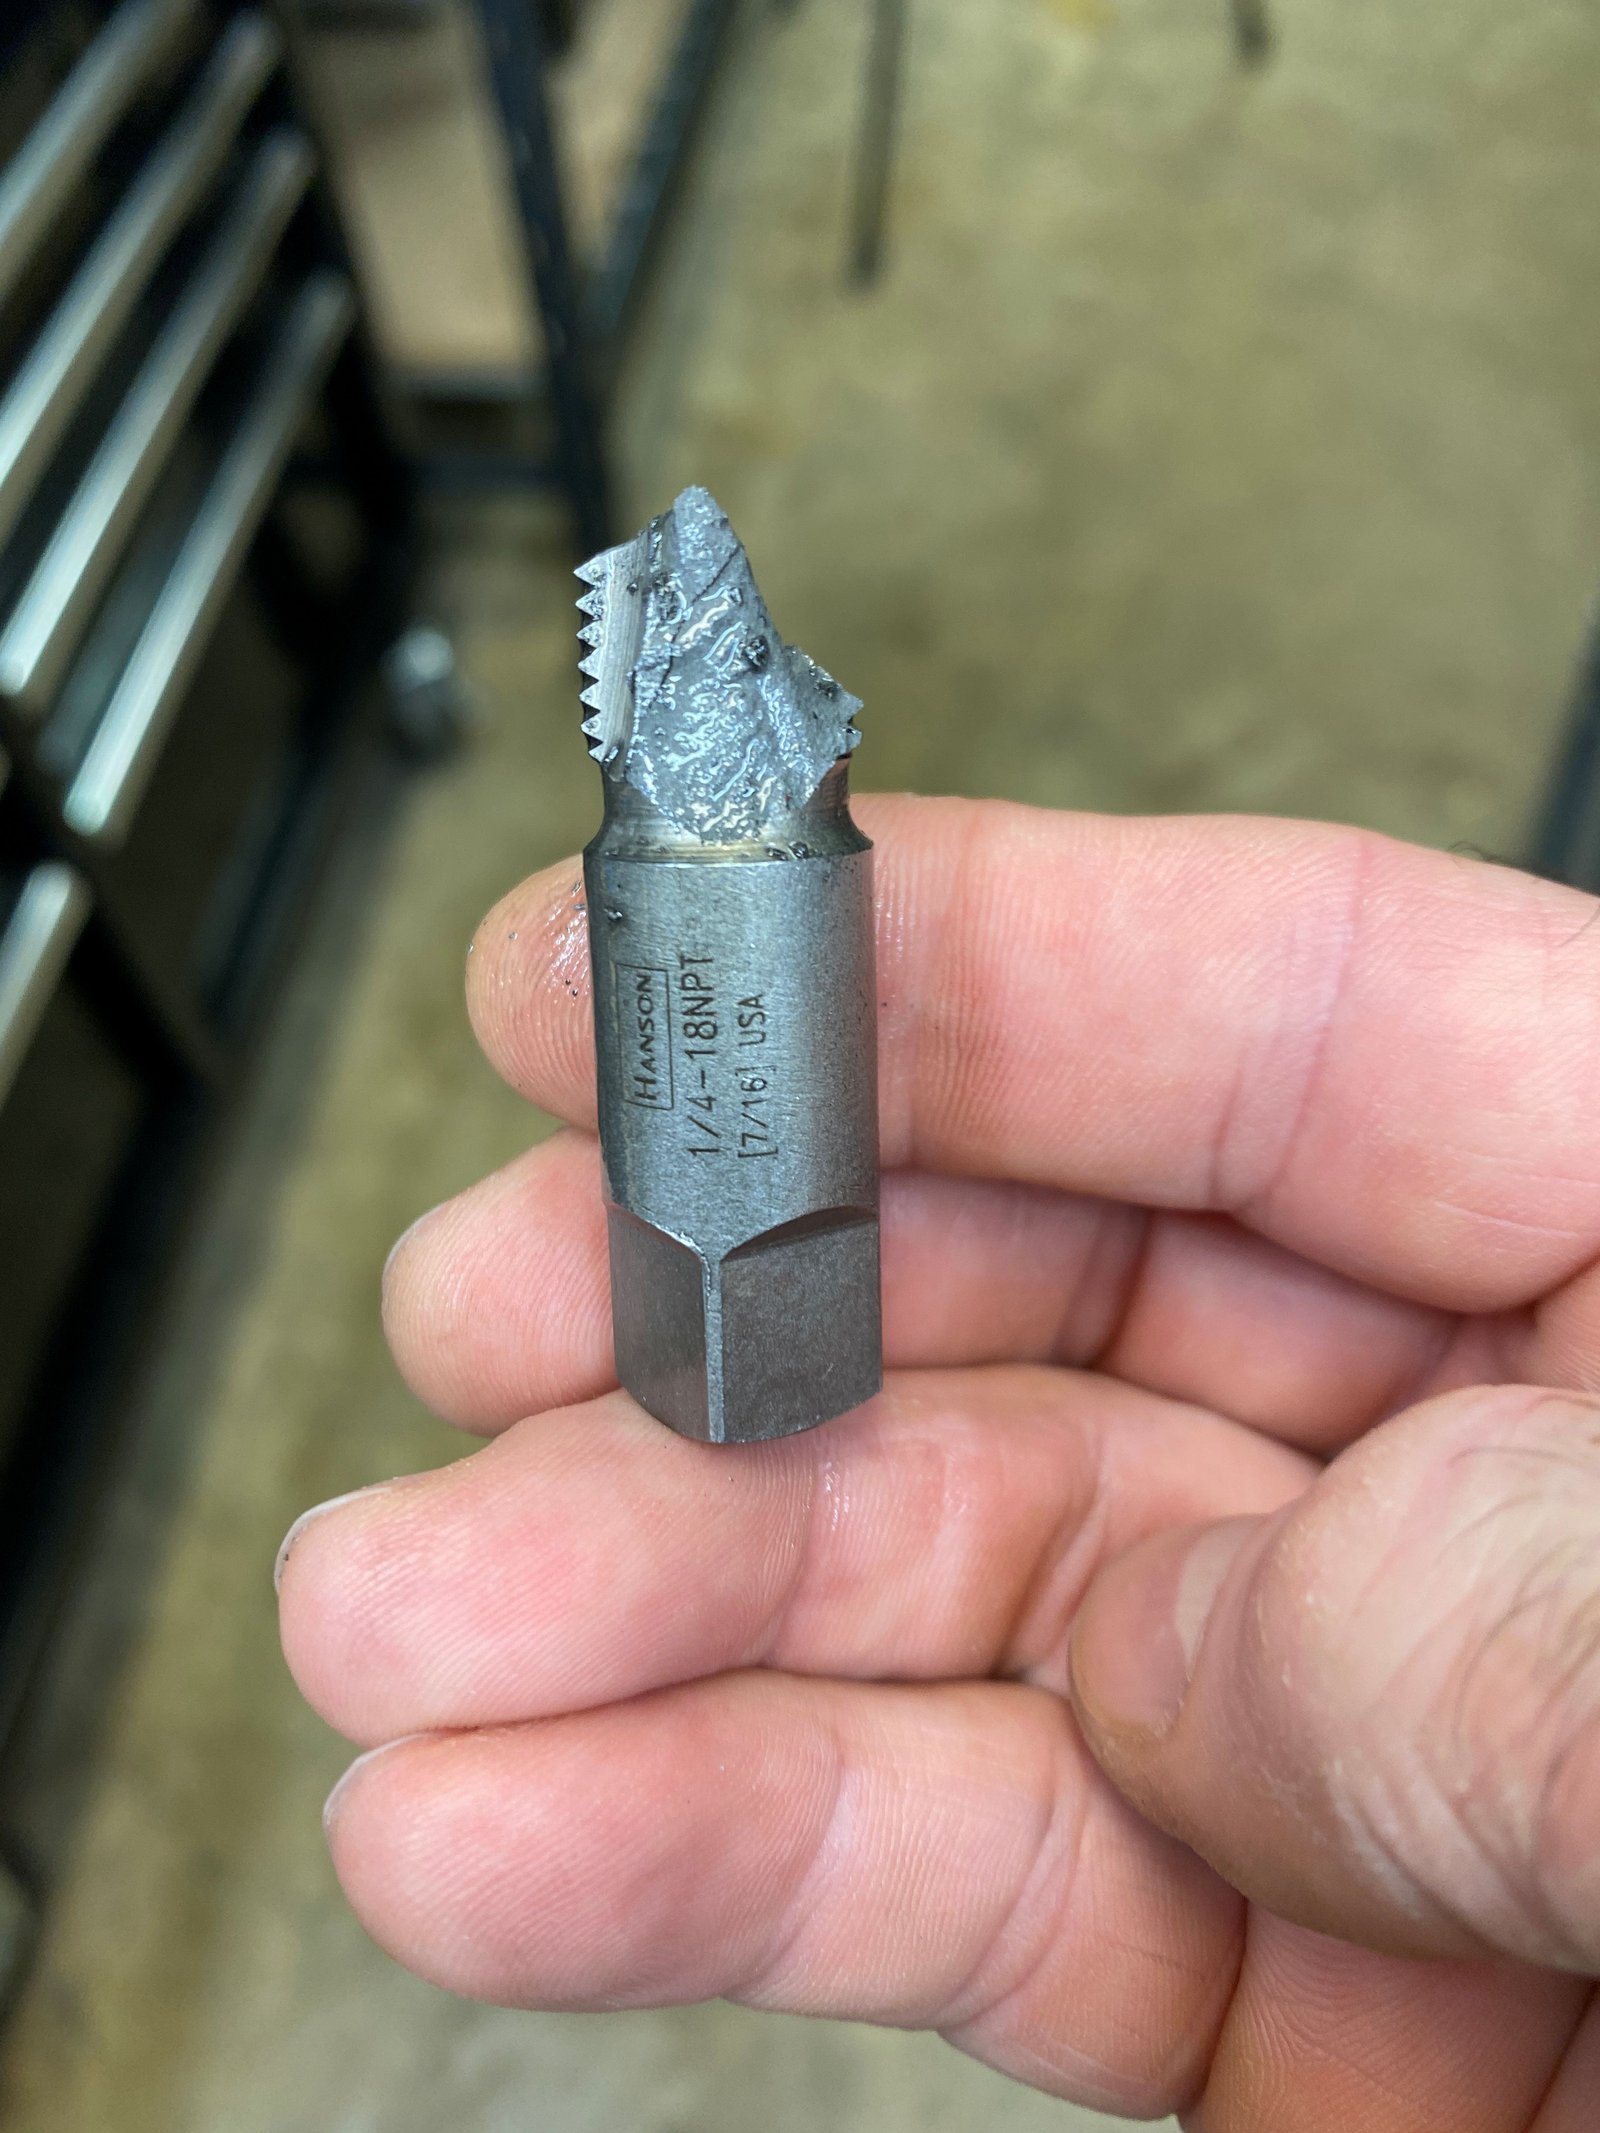
I started out the project by
breaking a tap in the front oil galley. It is stuck in there
for now. I'm going to send the block to Bill Koustenis at
Advanced Automotive Machine and hope that he can extract it and
salvage this block.
 |

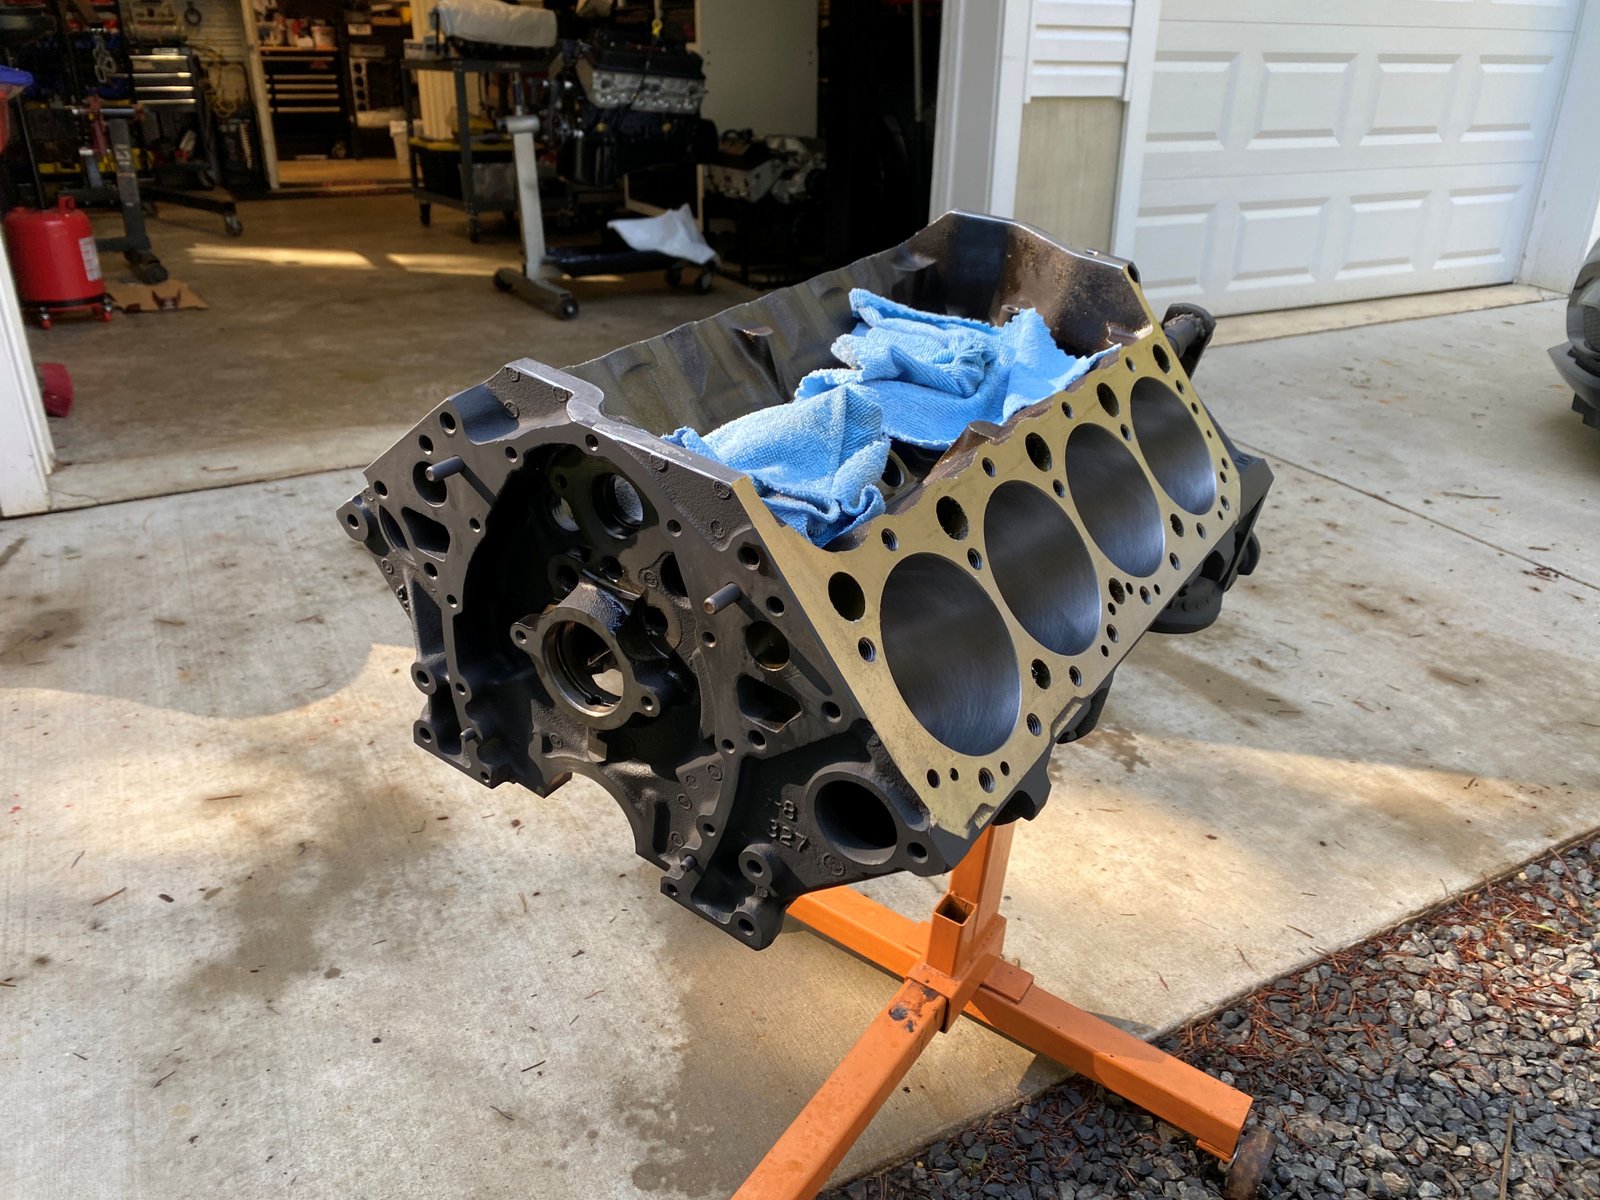
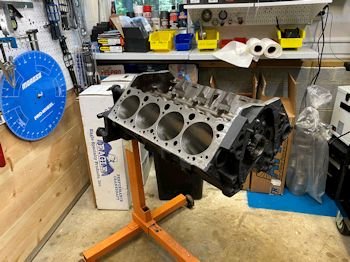
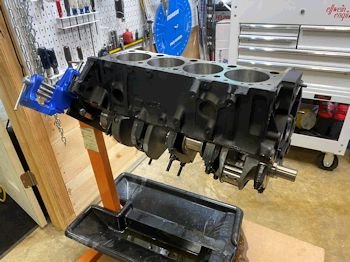
Luckily I had another
block. Let's try not to break it off in this one.
|

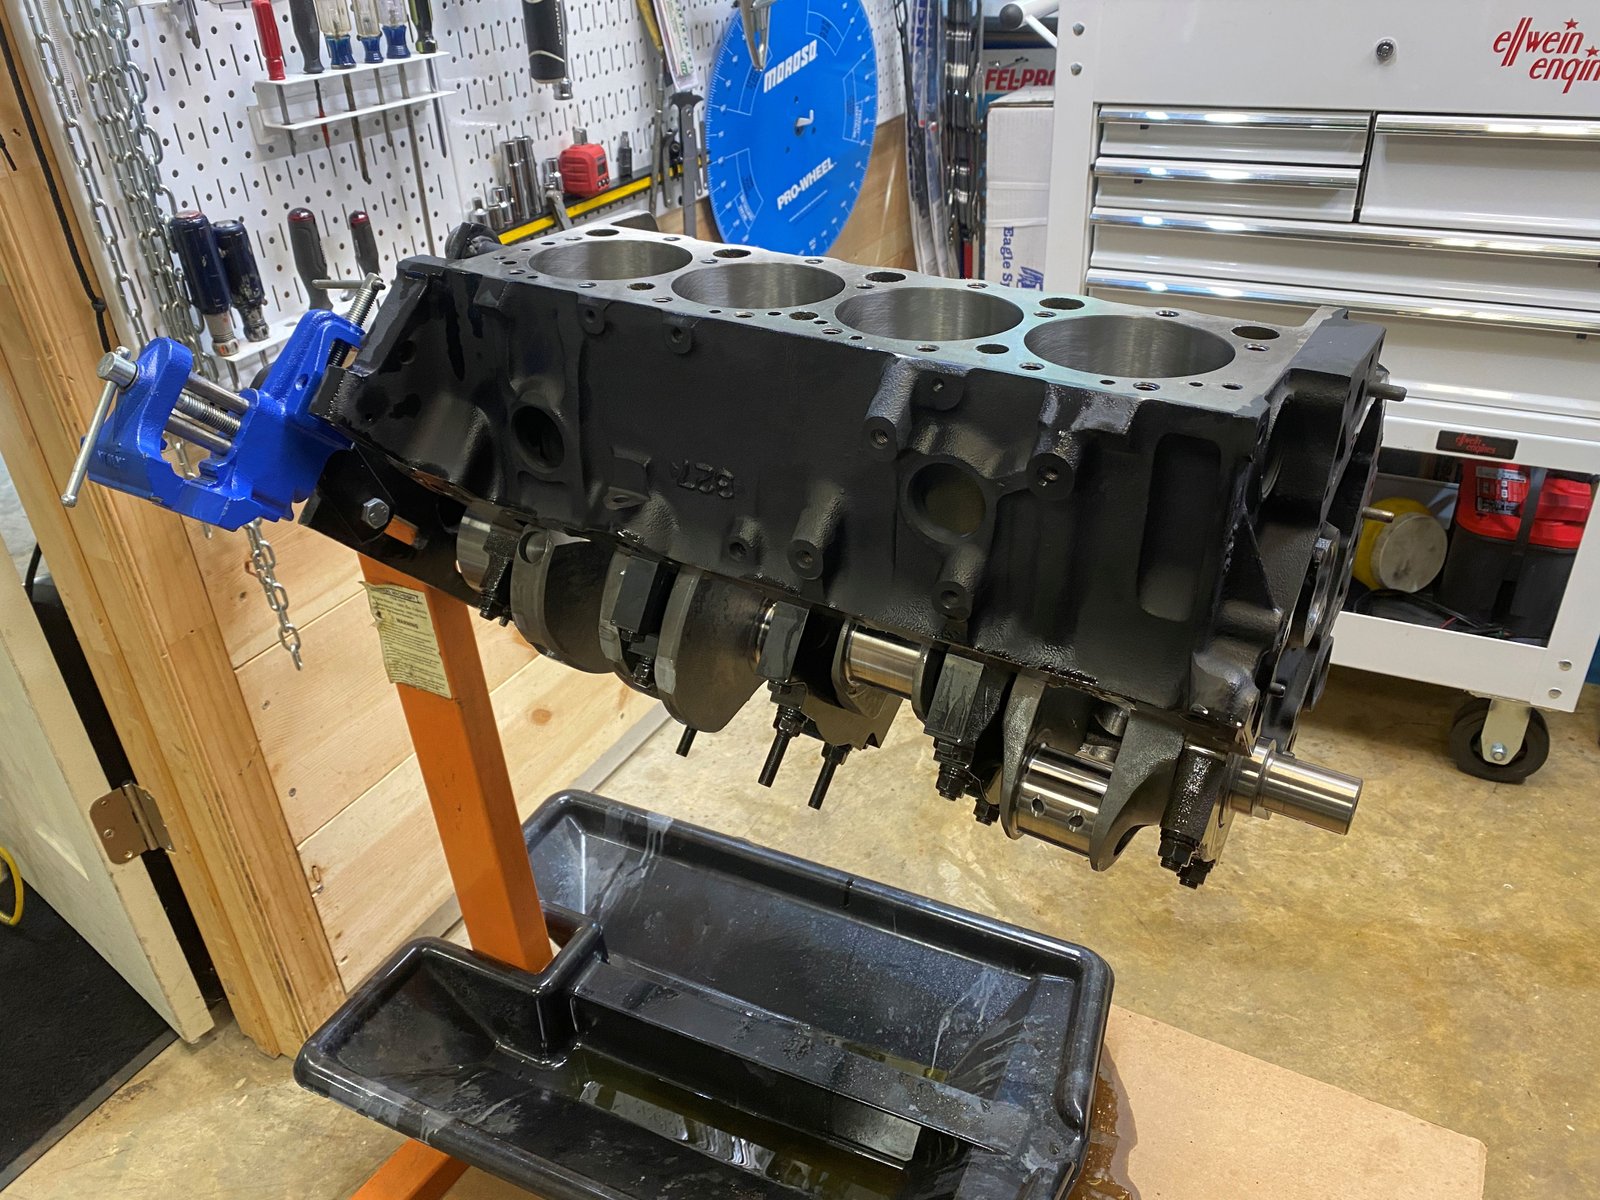
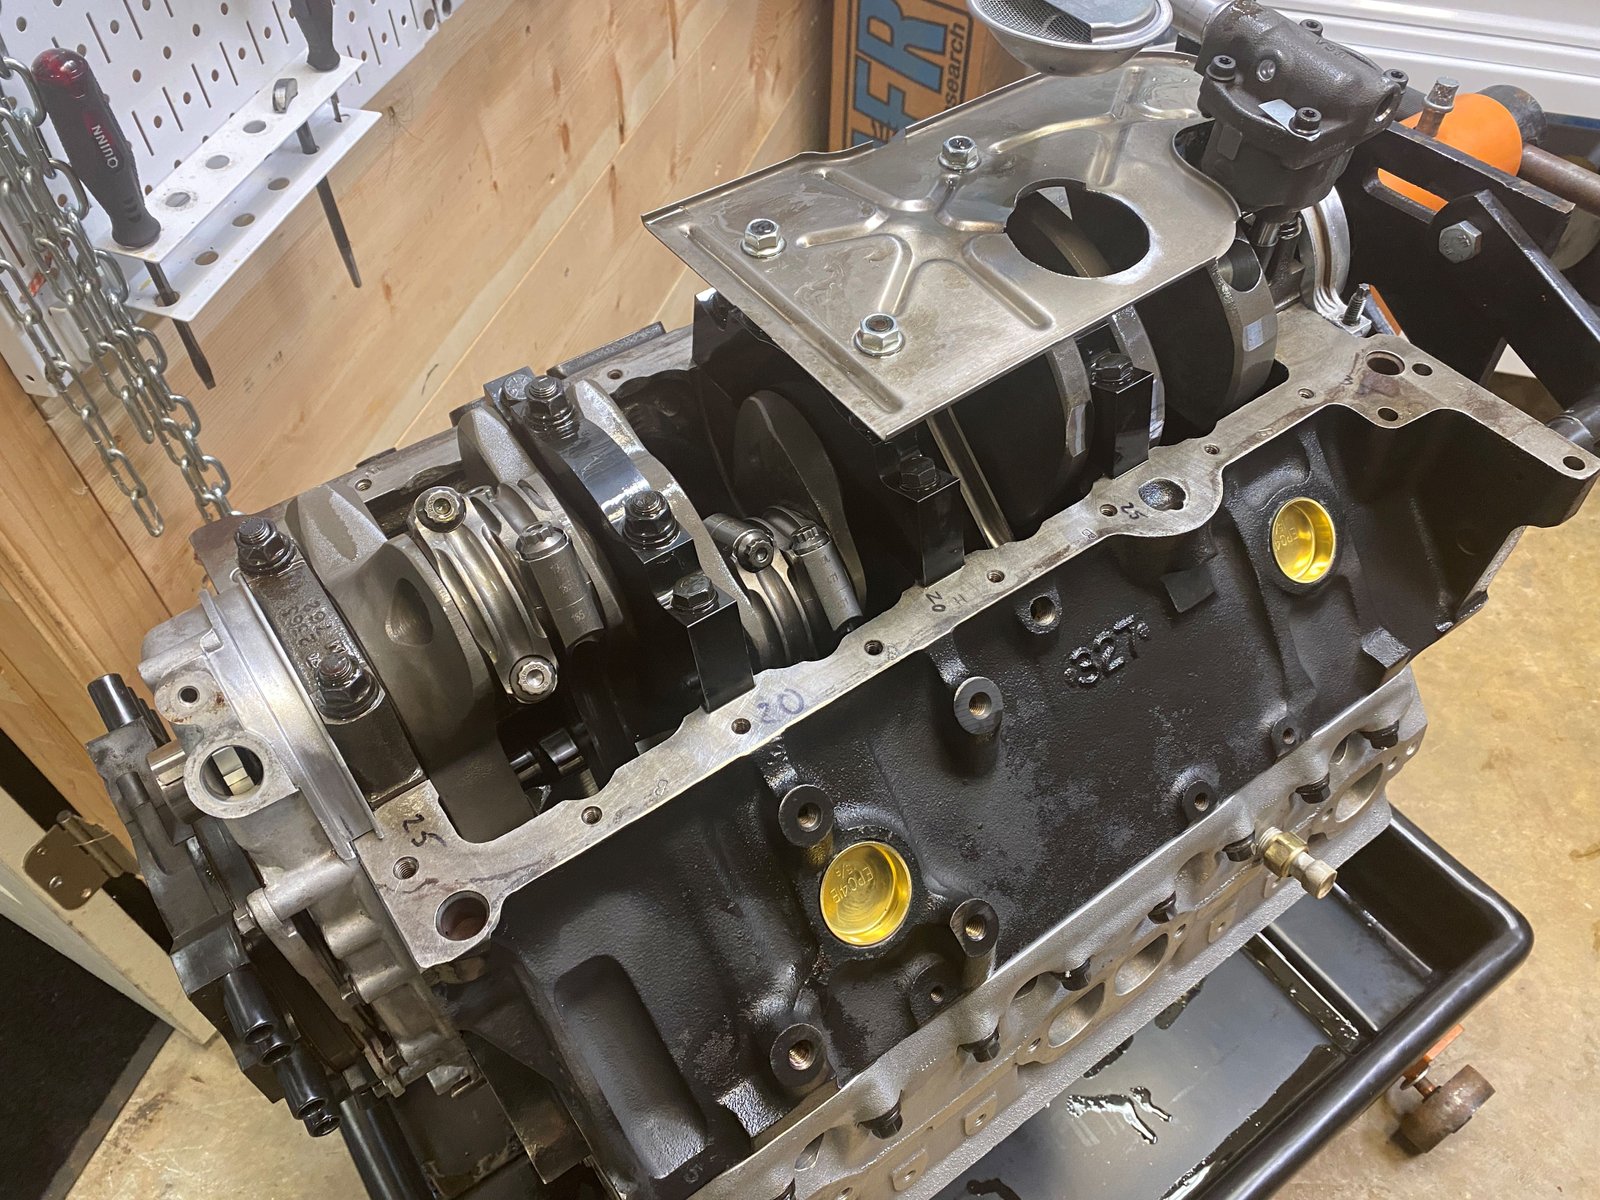
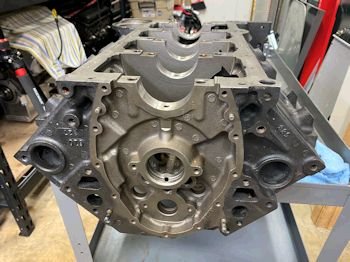
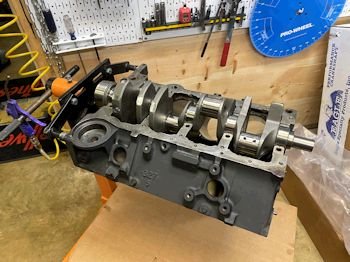
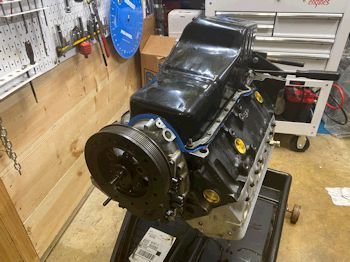
Here is a photo
directly after cleaning and painting. |

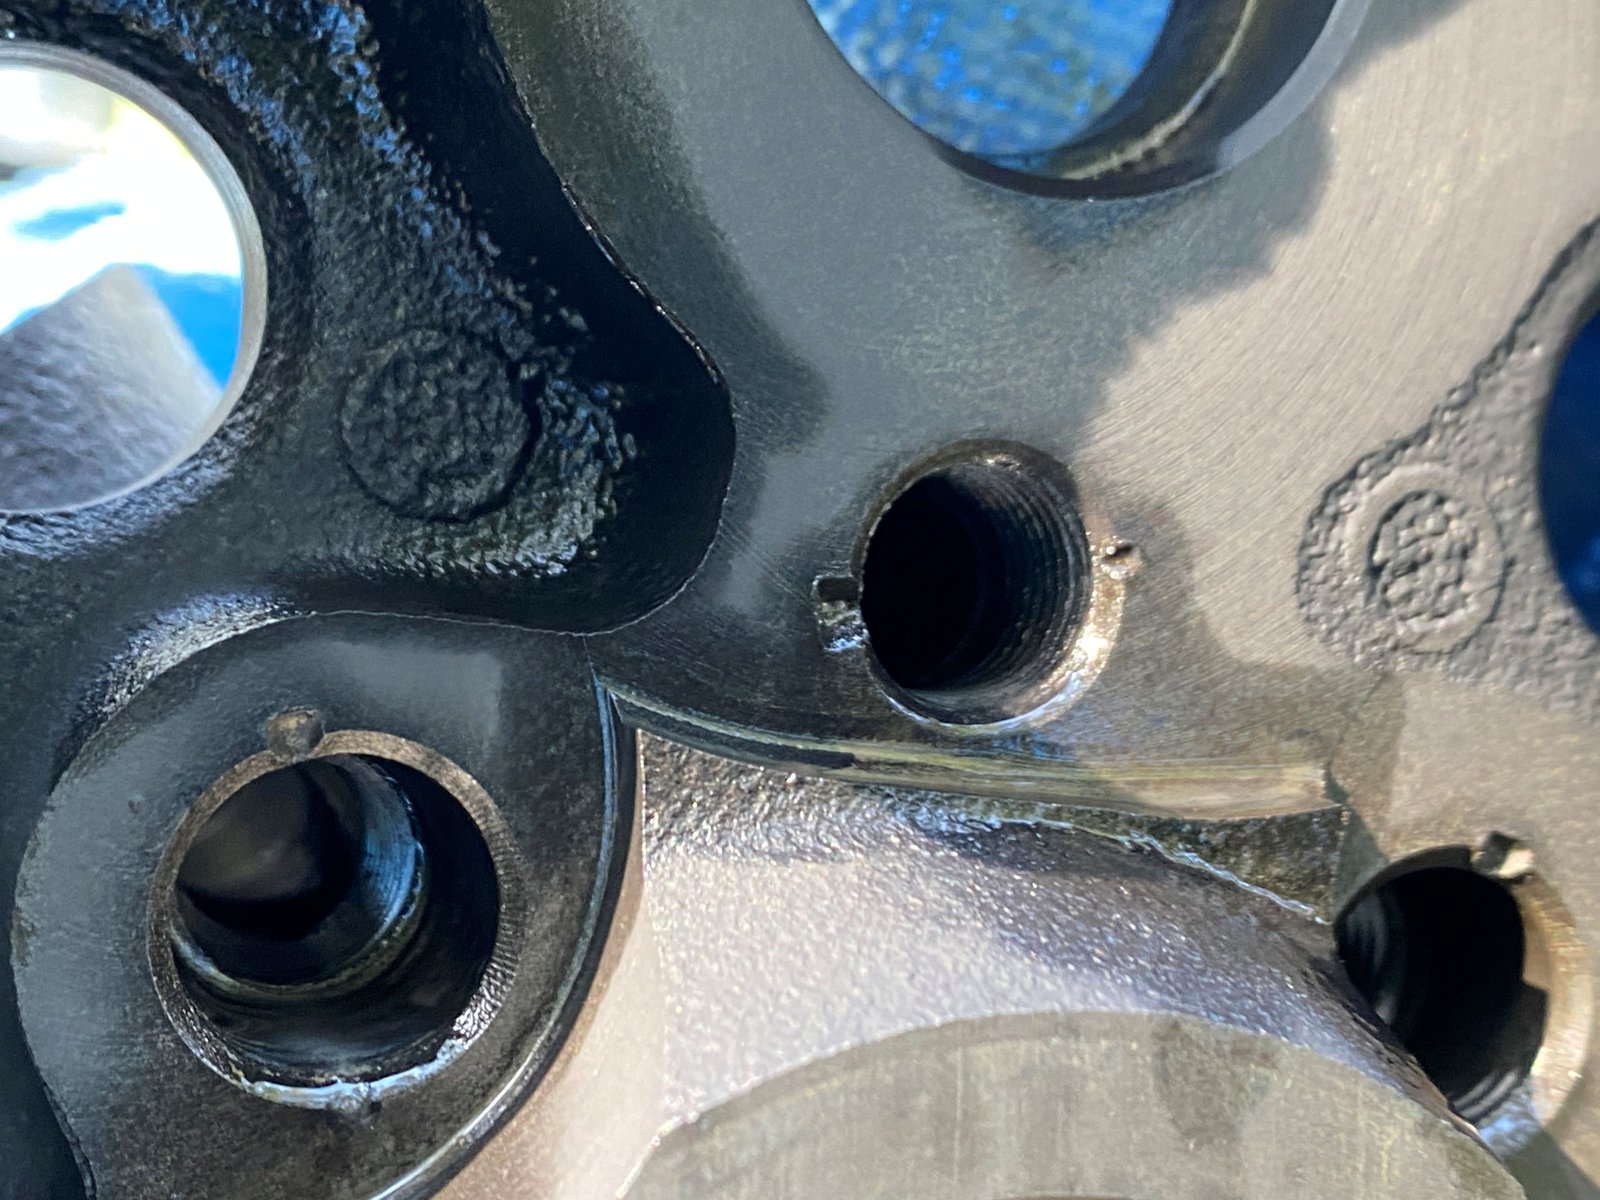
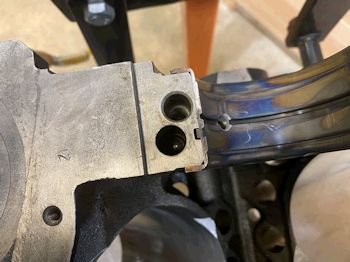
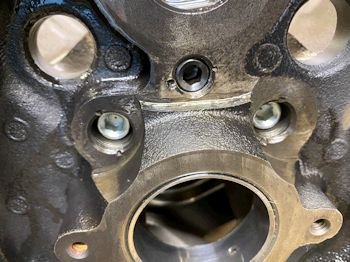
The front oil galley
holes are threaded and my tap did not break.
|
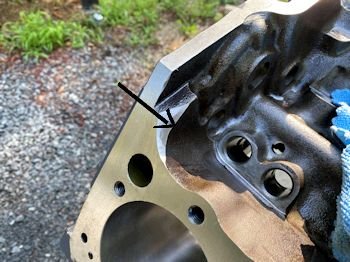
Here is the spot
where I add clearance for oil to drain back from the left front
driver's side cylinder head. |

|
 |
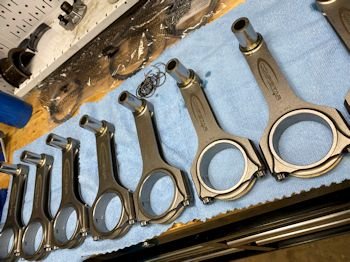
Compstar rods,
(6" H-beam)
|
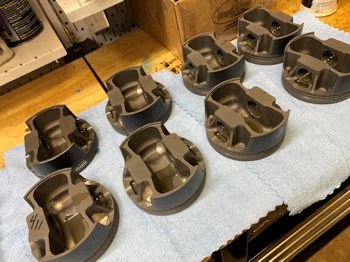
Mahle -16cc D-dish
pistons |
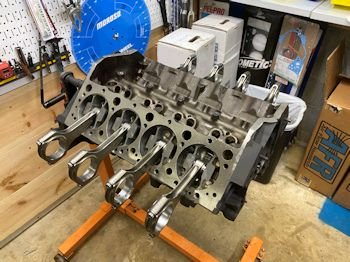
Rods/Pistons
assembled
|
Next item: Camshaft
bearings installed. |
Another photo of the
camshaft bearings, (if you can see them).
|
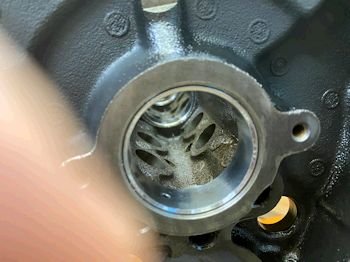
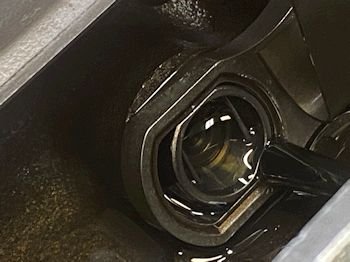
Oil galley steel
ball installed. (Photo for my records). |

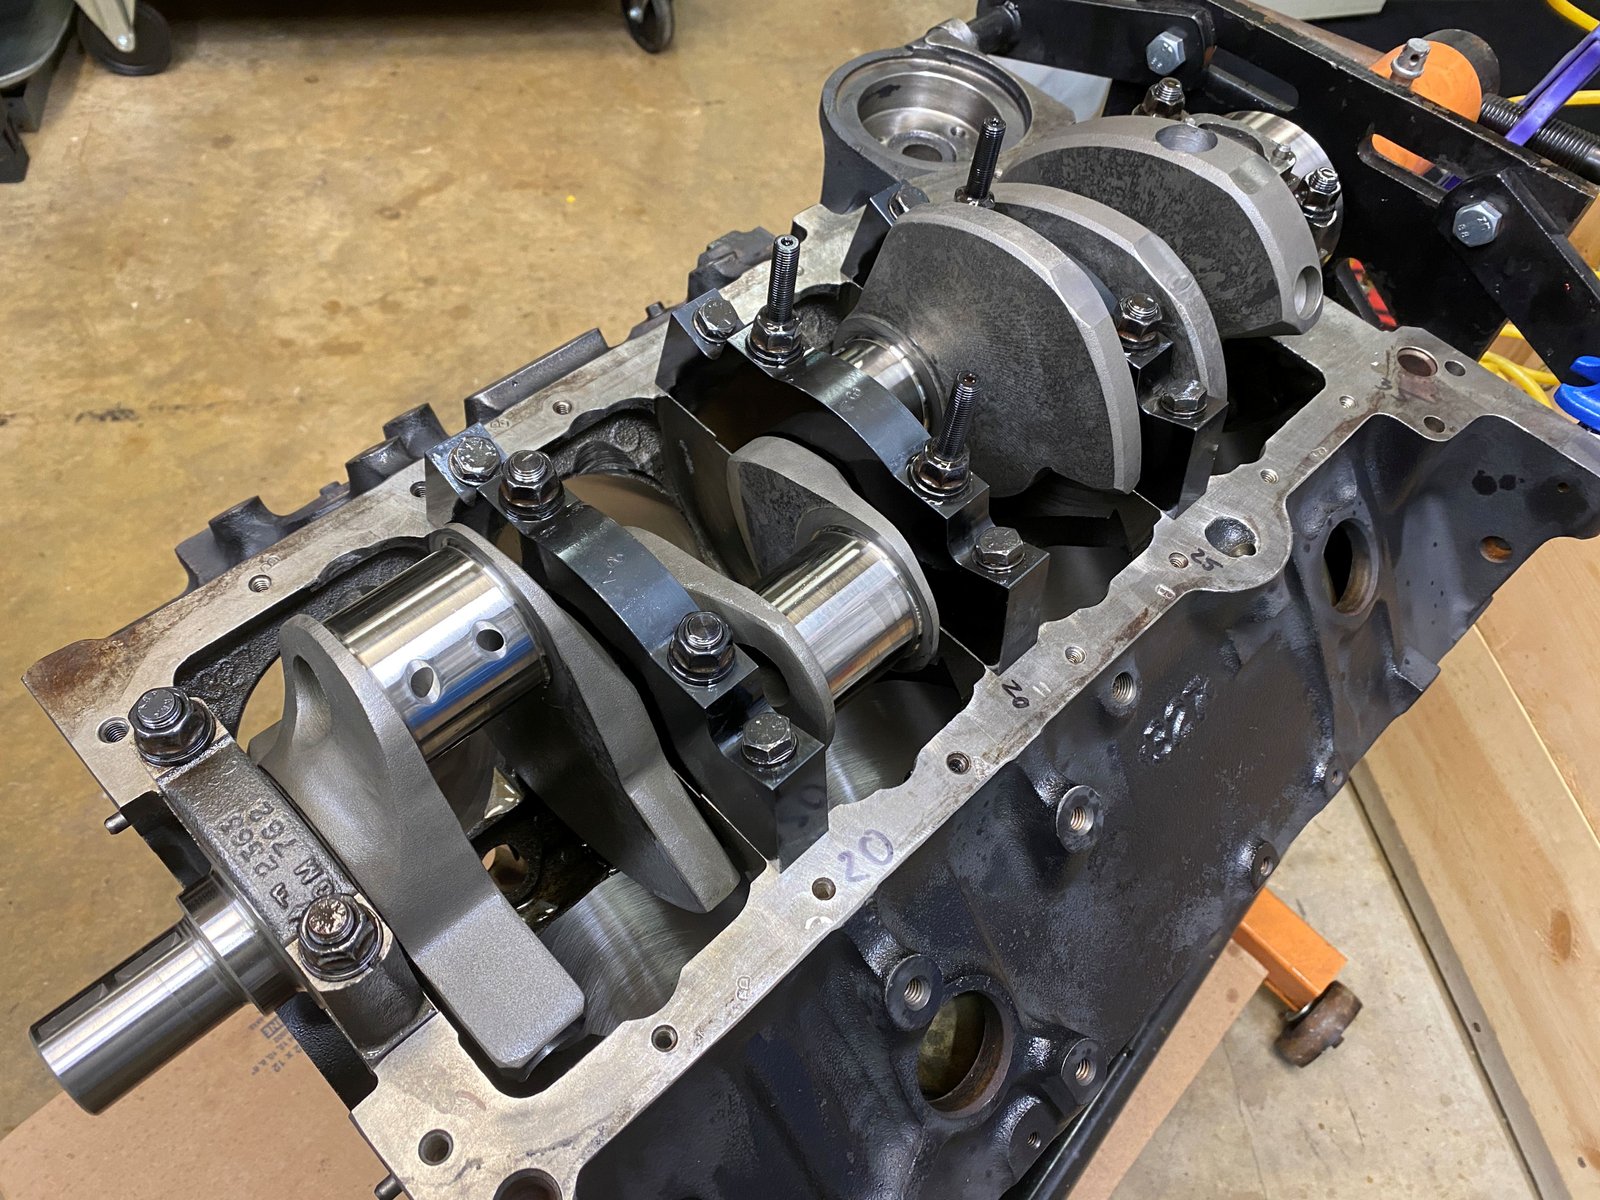
Eagle forged
crankshaft. 3.75" stroke
|
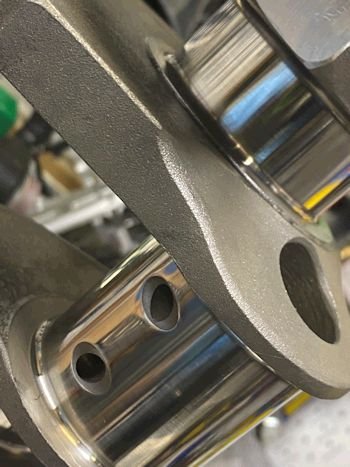
Nicely polished and
balanced by Clinton Machine Shop |

|
 |

|
More to come:
Next will be checking main bearing clearance, rod bearing
clearance, ring filing, install rods/pistons/crankshaft. |

|
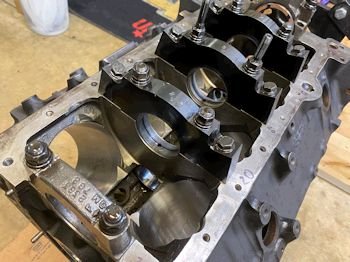
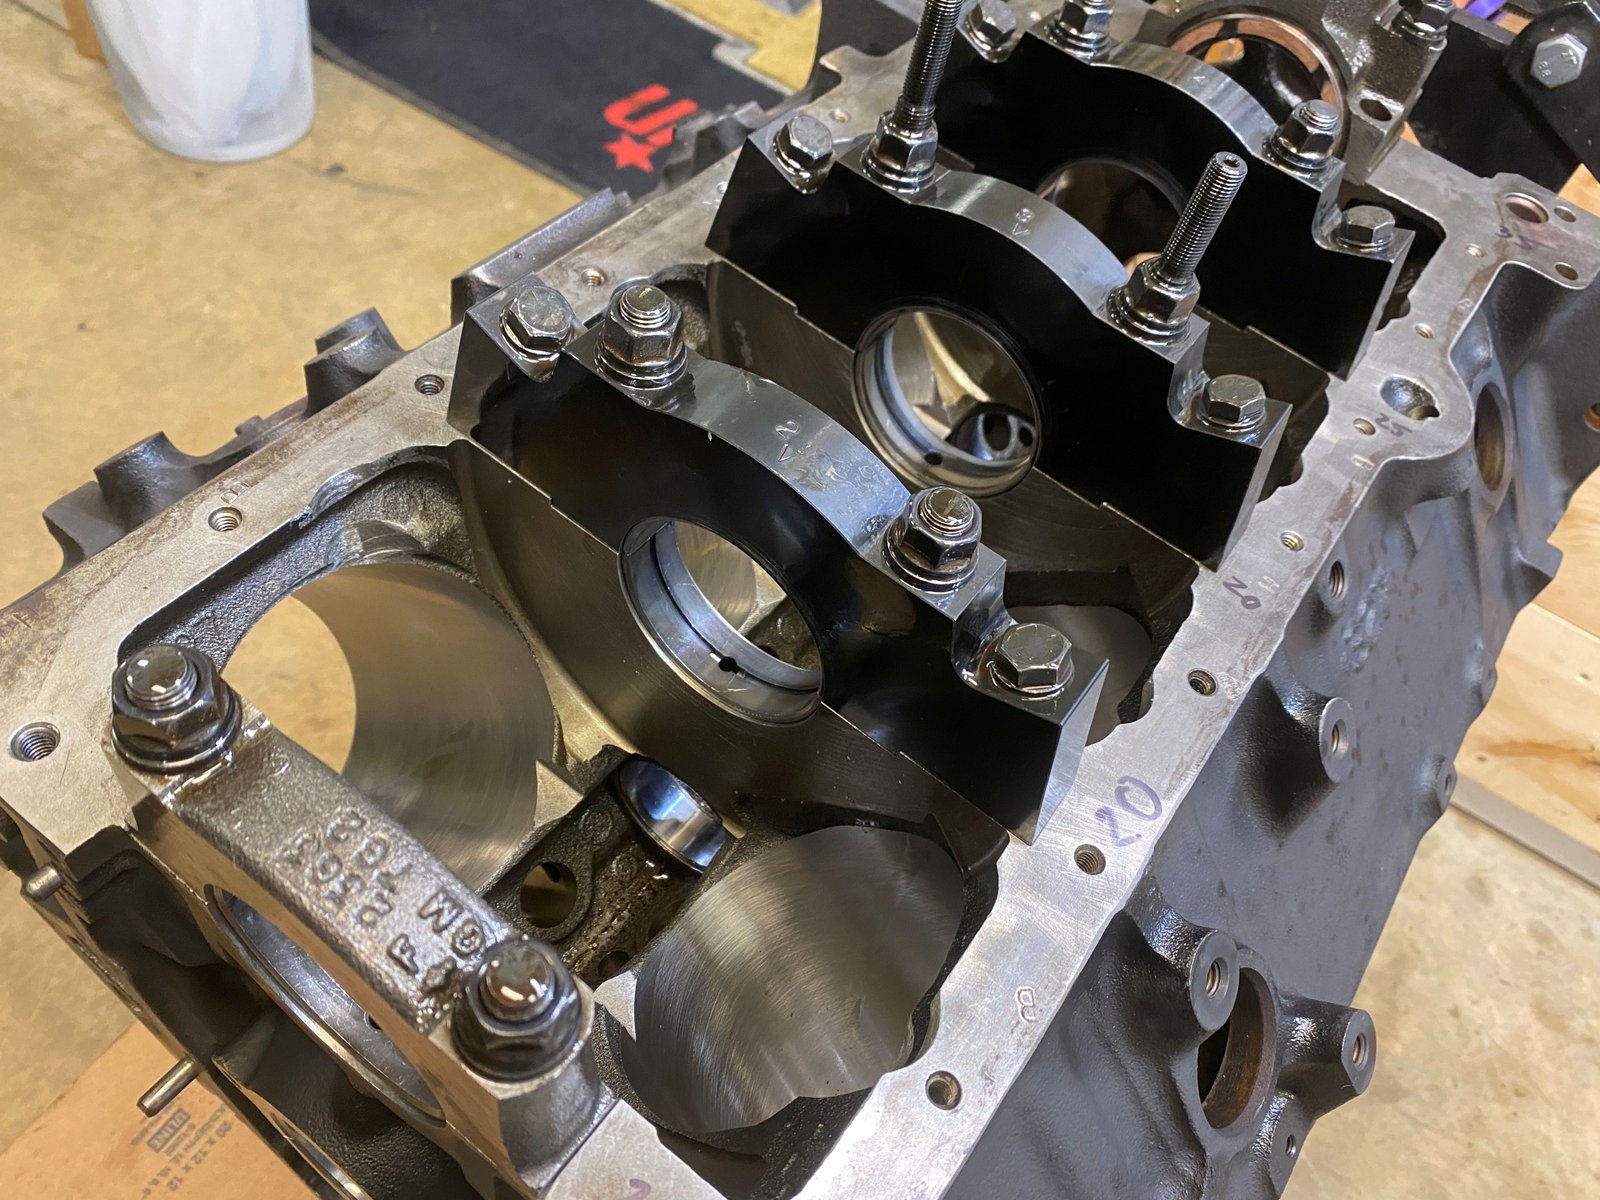
The next day I begin work by measuring main bearing
clearance. I used a mix of Clevite H and King XP premium
bearings. They are all X oversized (.001 over). |
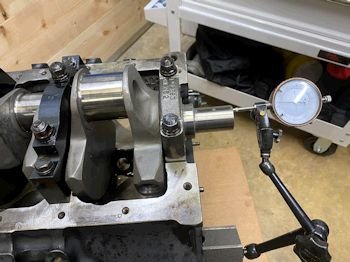
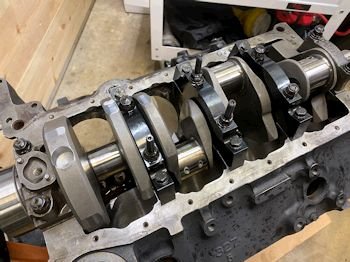
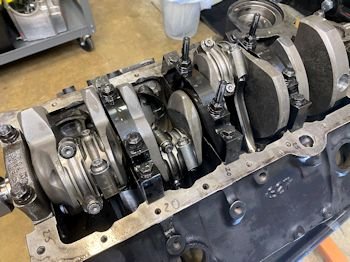
Set crankshaft in place and torqued all mains except for the
rear main. Wedged the crank rear-ward and torqued down on the
rear main cap studs. Crank end play is .004" which is a
tad tight but good for a street car.
|
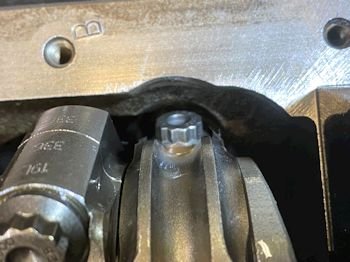
The center main studs are torqued to
80 ft-lb.
The outer mall bolts are torqued to
45 ft-lb. |

|
 |
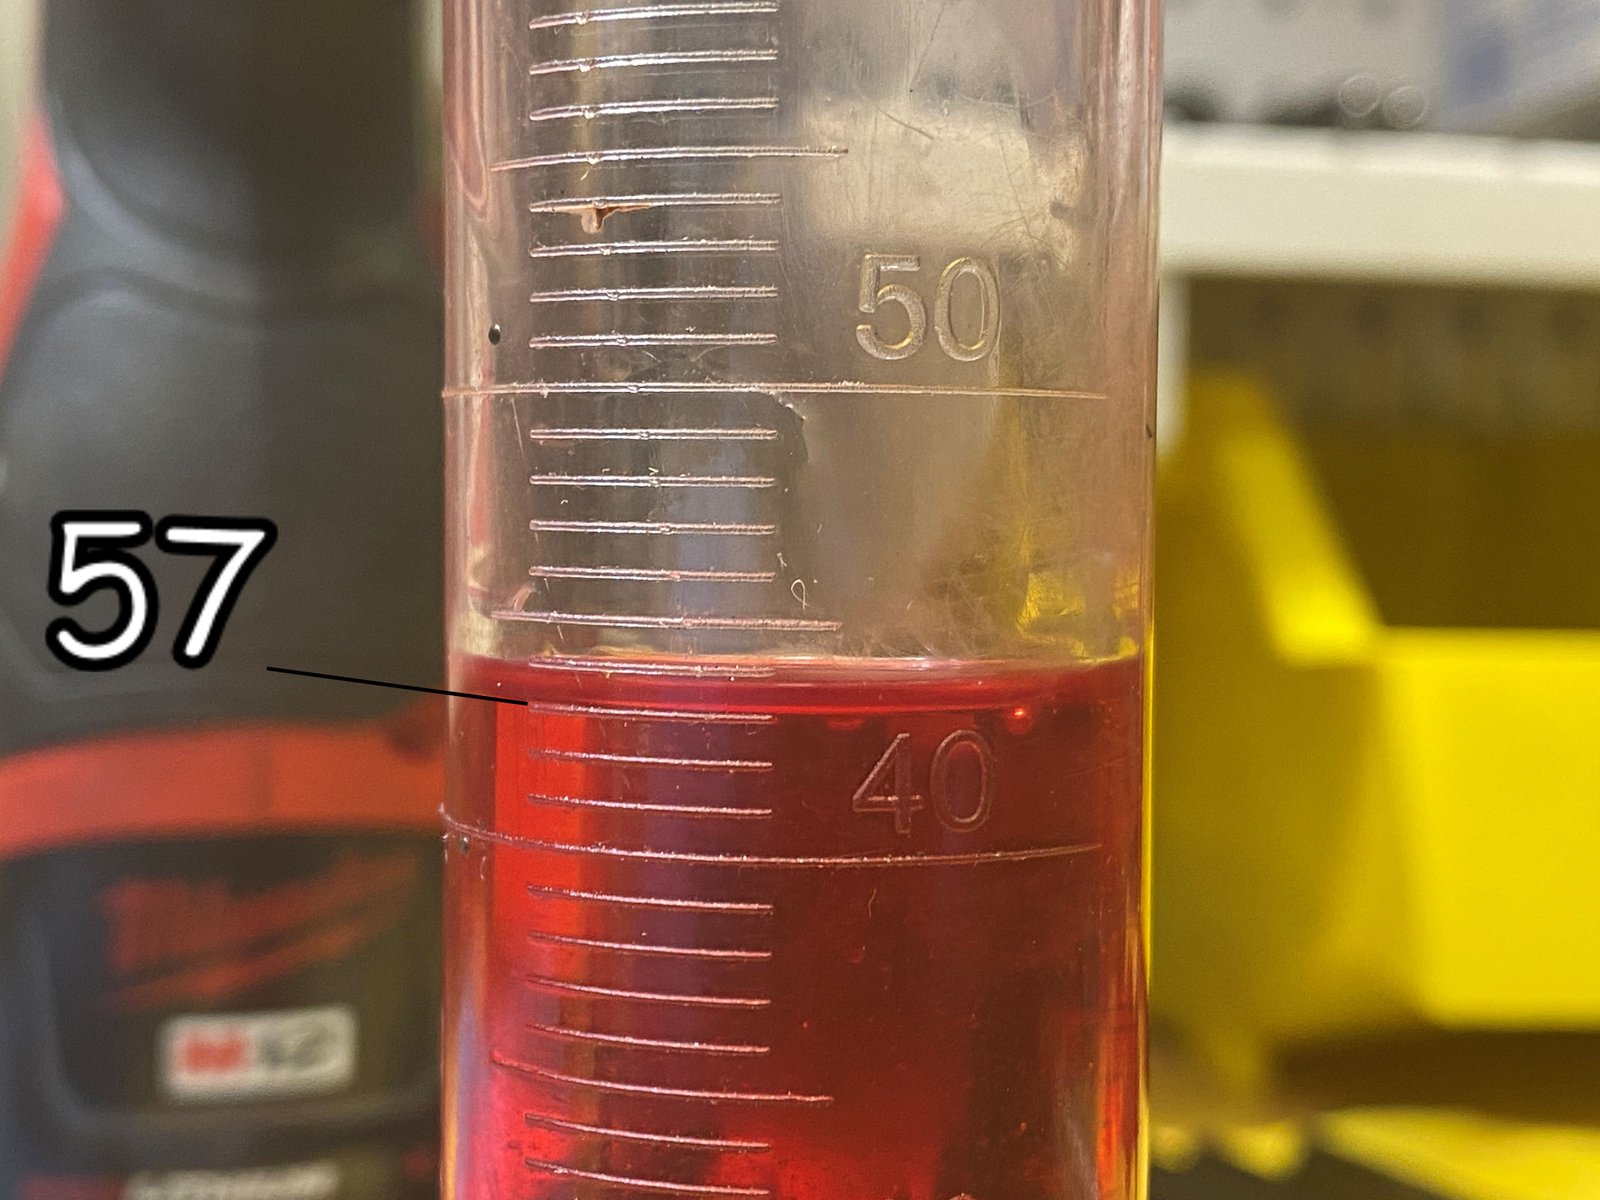
Now the ring file fitting is complete. I went with a gap
for Hot Street with occasional mild forced induction to 15 psi.
That is .024" top ring and .020" 2nd ring.
|
 |
|
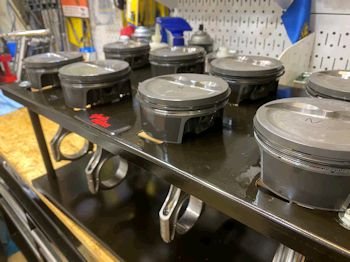
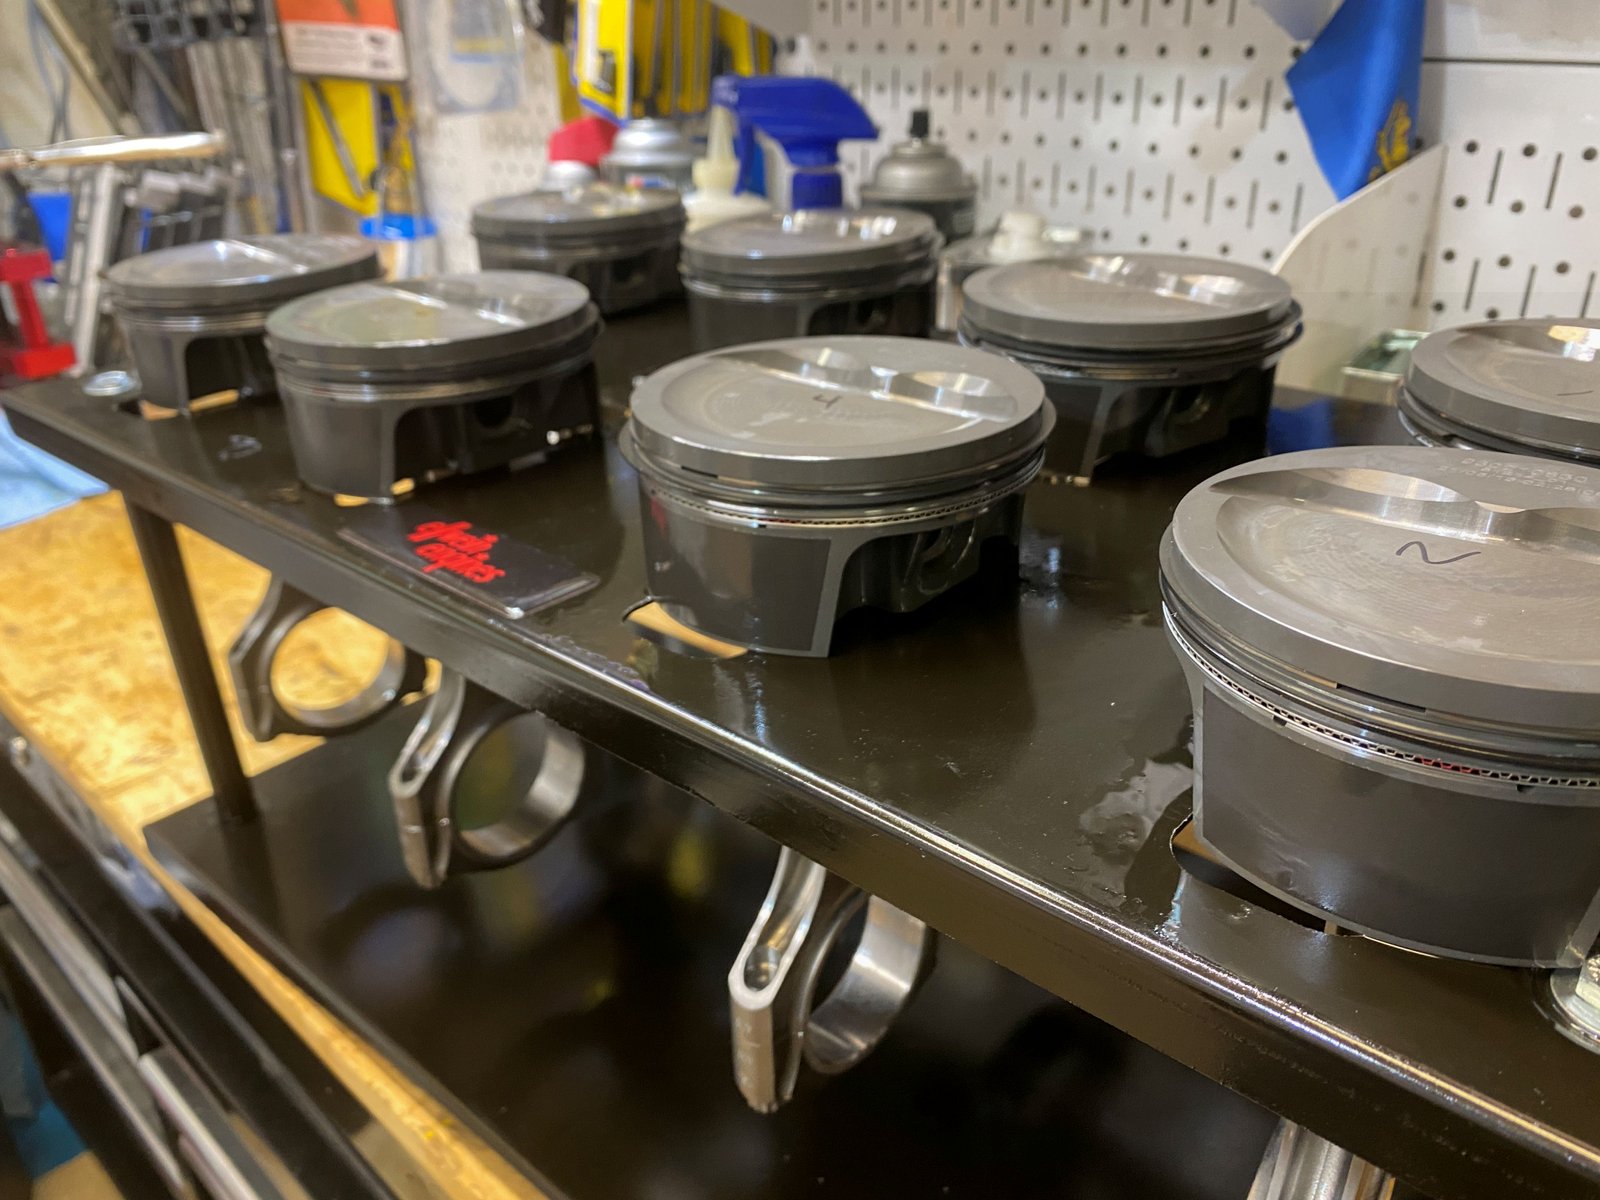
Photo of pistons now with rings. These are the new Mahle
super thin rings.
1 mm top ring,
1 mm 2nd ring,
2 mm oil ring set.
|

Rod bearing from .0020" to .0022" Am using
King XPN bearings, (premium of premium). |

|
 |
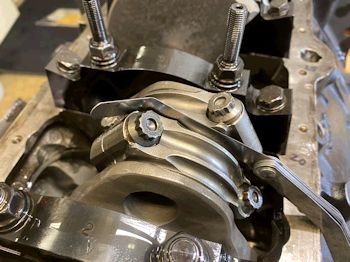
The rod side clearance is .020"
|
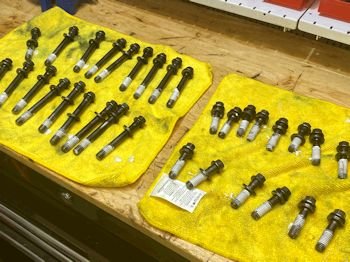
All of the rod bolts have plenty of room. |
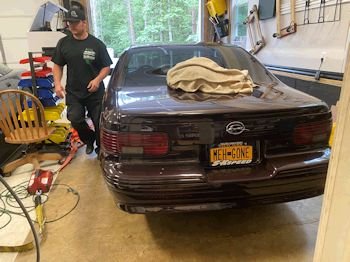
Zach came over to help me move the car into the garage.
|

I need the heads/cam/valve train from the car. |
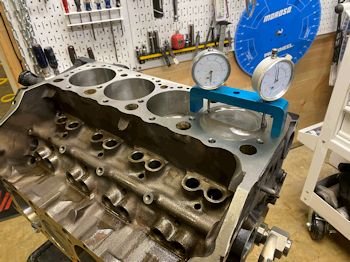
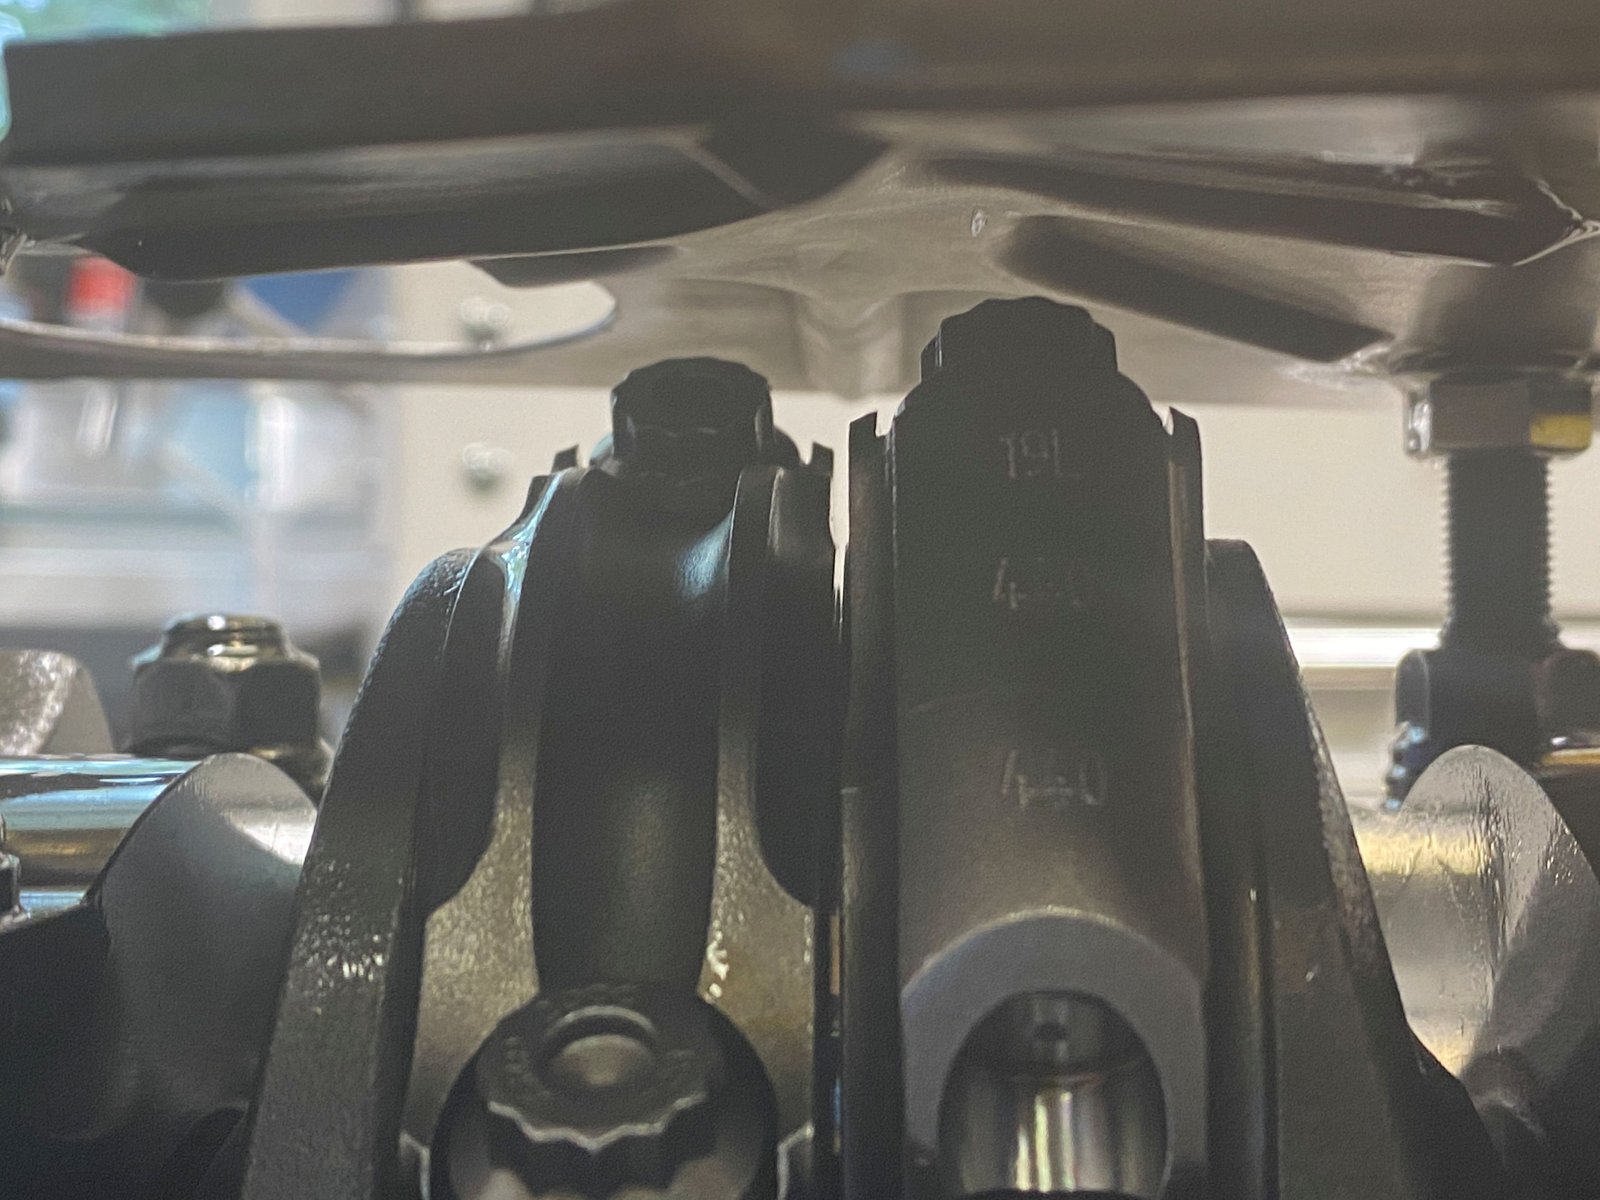
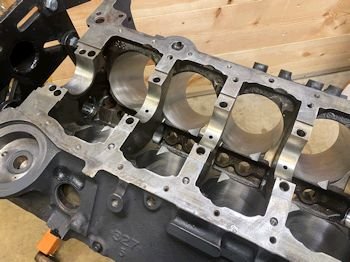
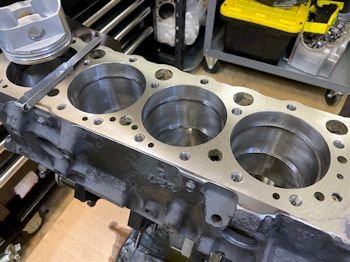
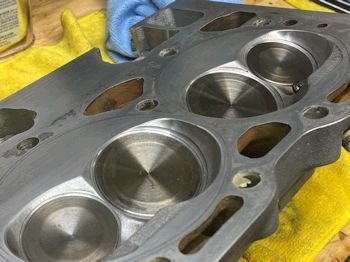
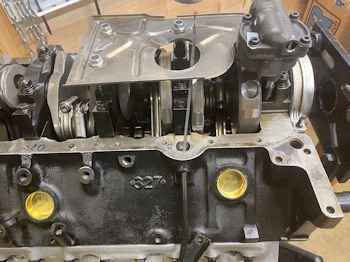
Back to the new short block: Pistons are in the hole
0.015" and the deck is super square.
|
Here are the galley plugs. These go behind the timing
gear and so it's good to plug the plug before you forget.
Out-a-sight Out-a-mind |
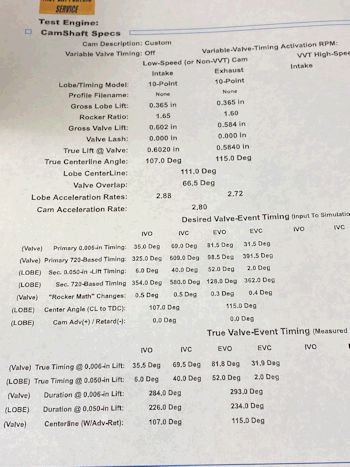
This is the Dennis Staff designed camshaft. Street, heavy car,
heads flow 258cfm intake at .600" and 214cfm exhaust at
.600".
|
 |

|
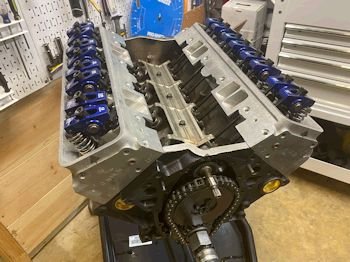
New Cloyes Extreme timing set. This replaces a stock timing
set. Even the water pump drive gear gets changed. |

|

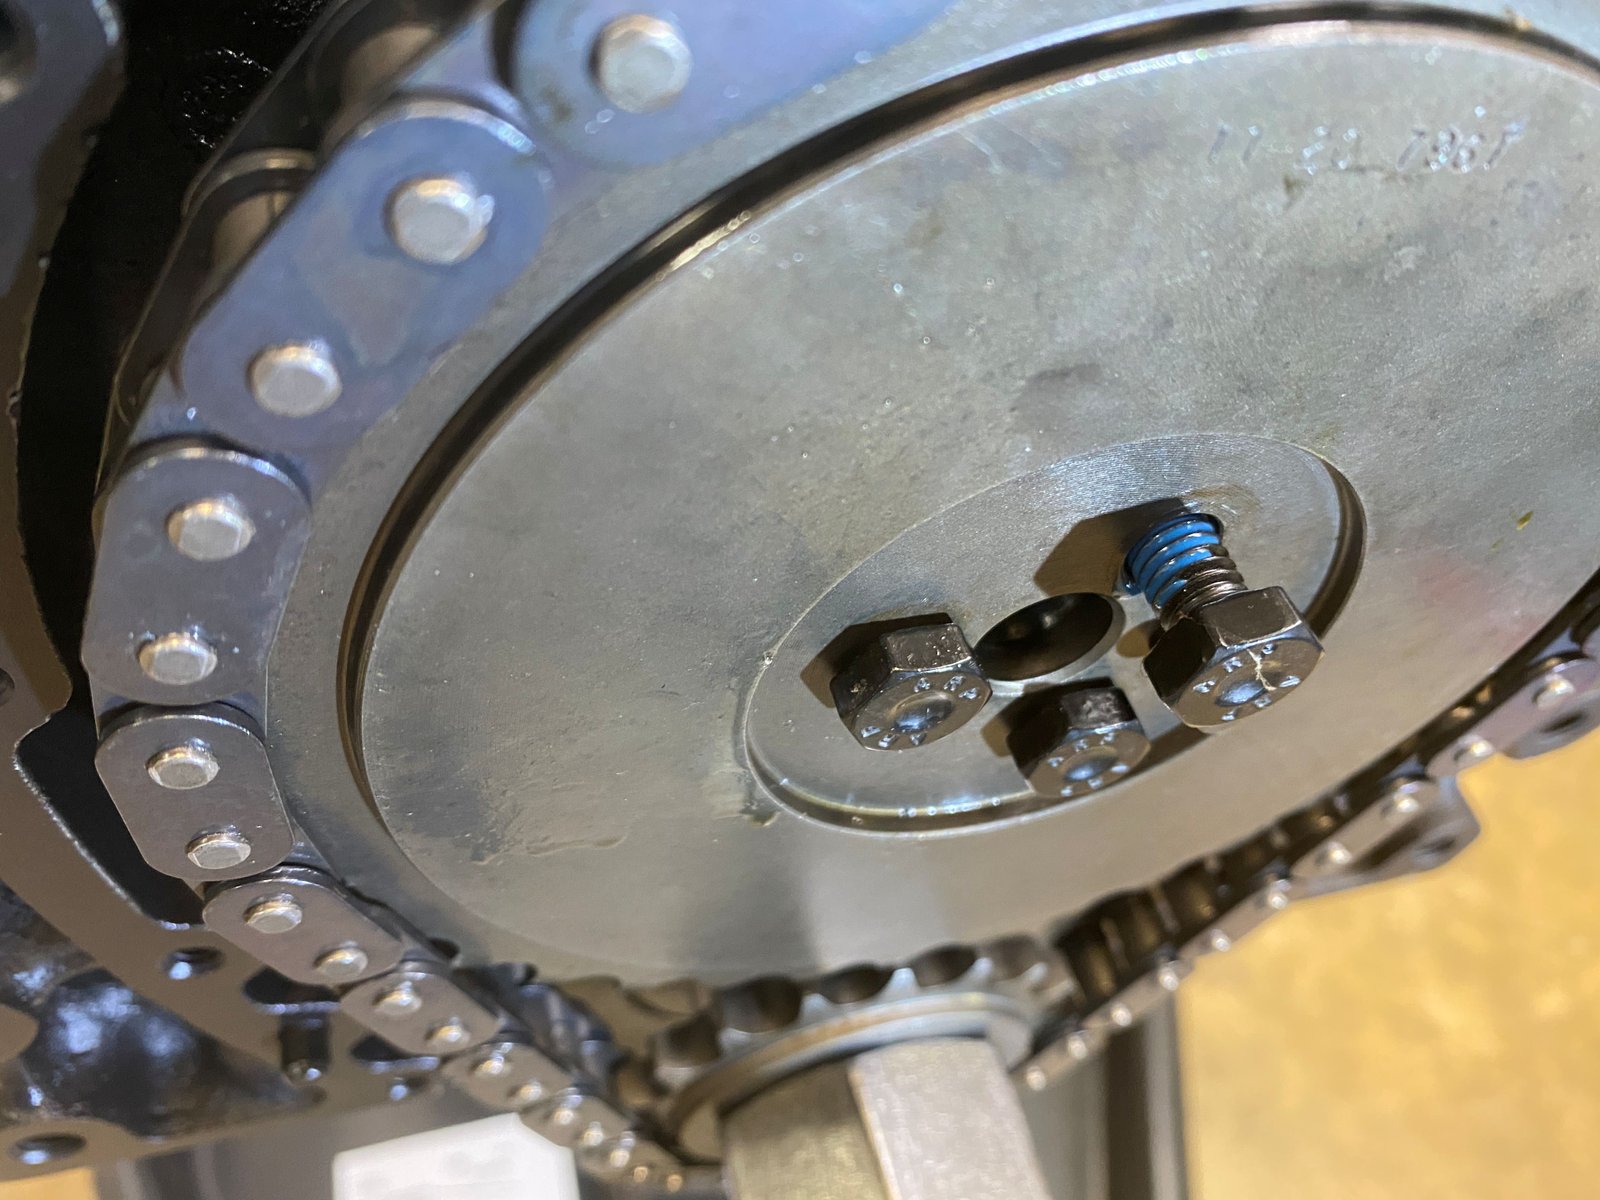
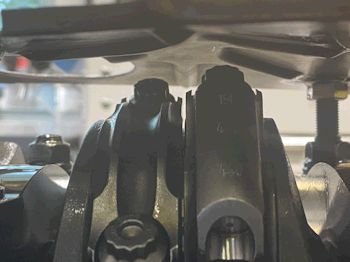
Camshaft degree check. 107 intake centerline with crank
sprocket at [0]. The is exact with the cam card. See
above. |
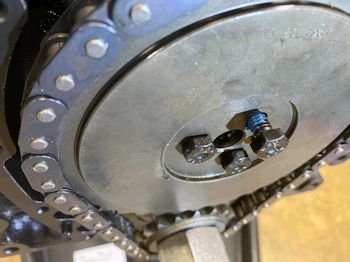
Now I can Locktite the cam bolts after knowing the cam is good.
|

Cleaned up all of the valve train parts that will be re-used. |

|
 |

|
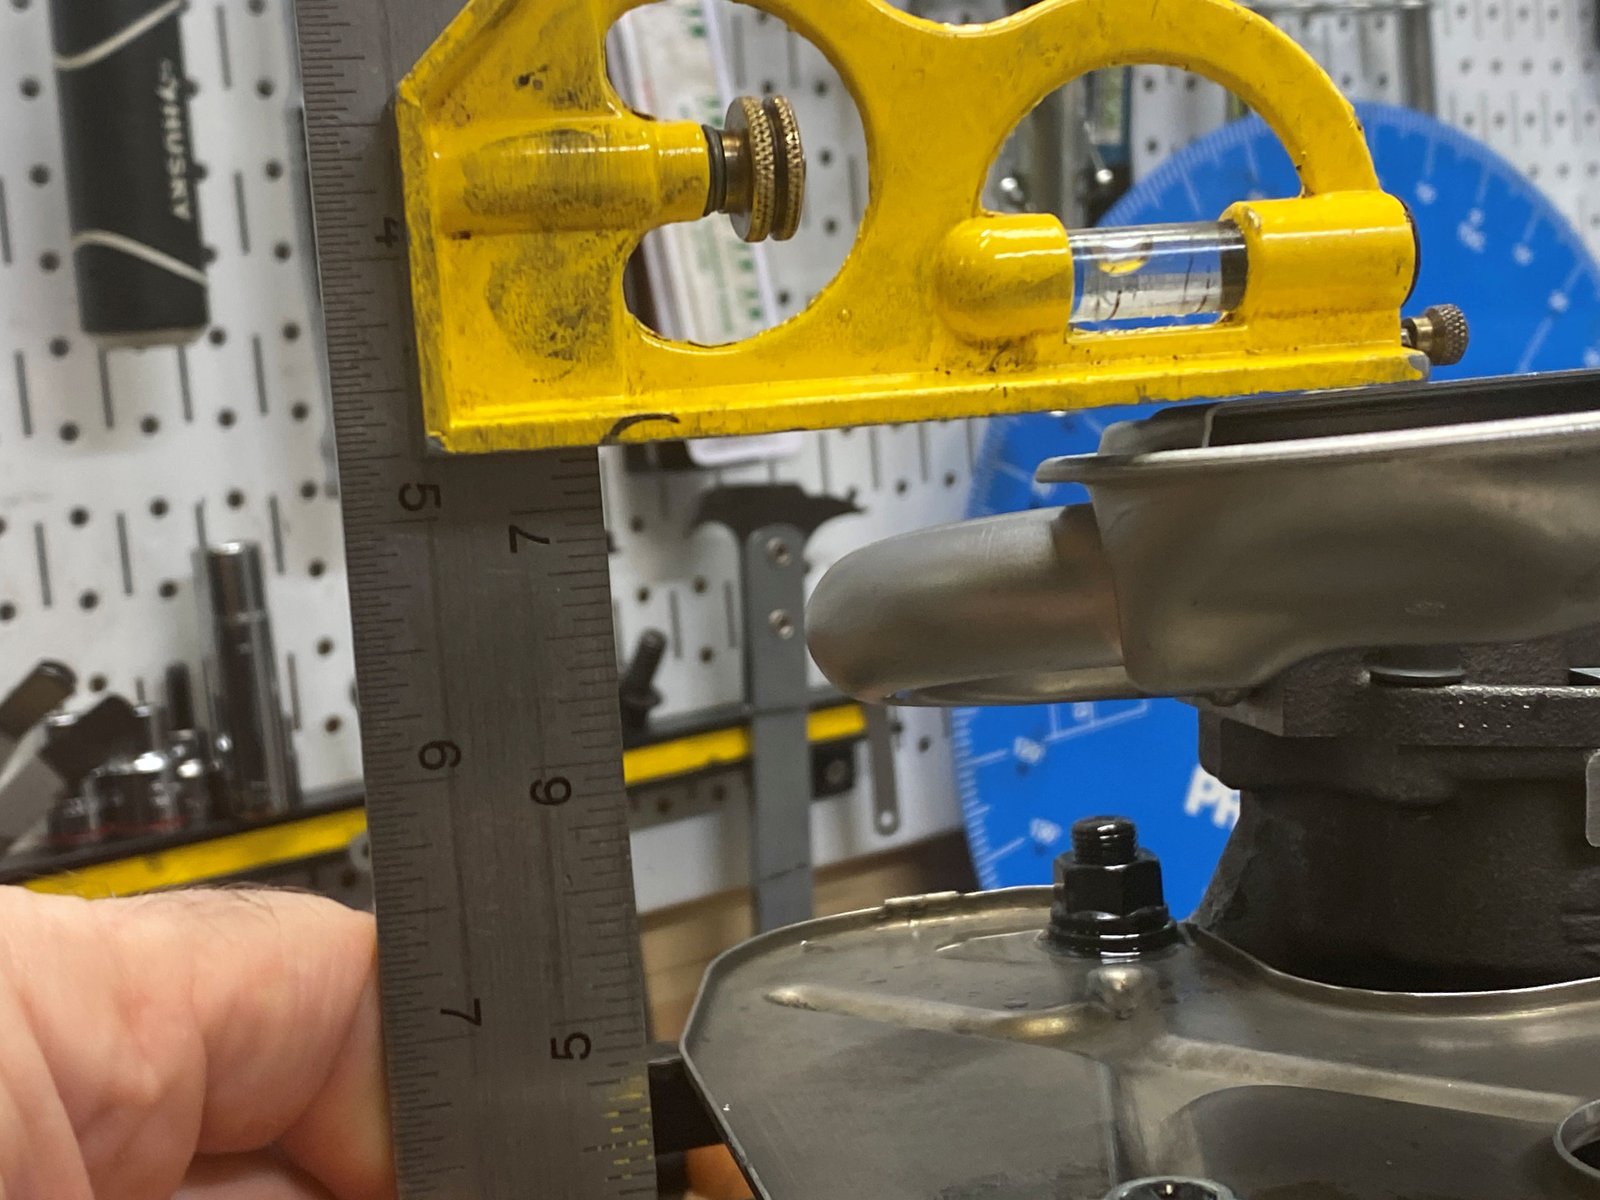
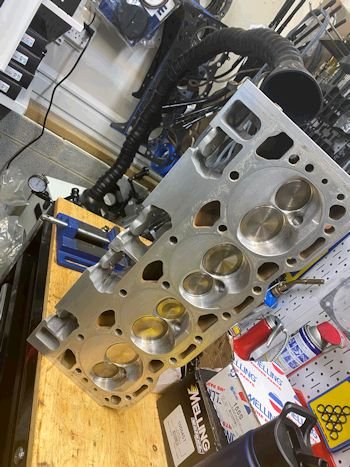
The head decking was minimum. Just enough to clean it
up. The heads were very straight and did not need a lot of
milling. |

|
 |
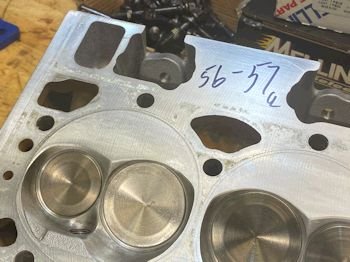
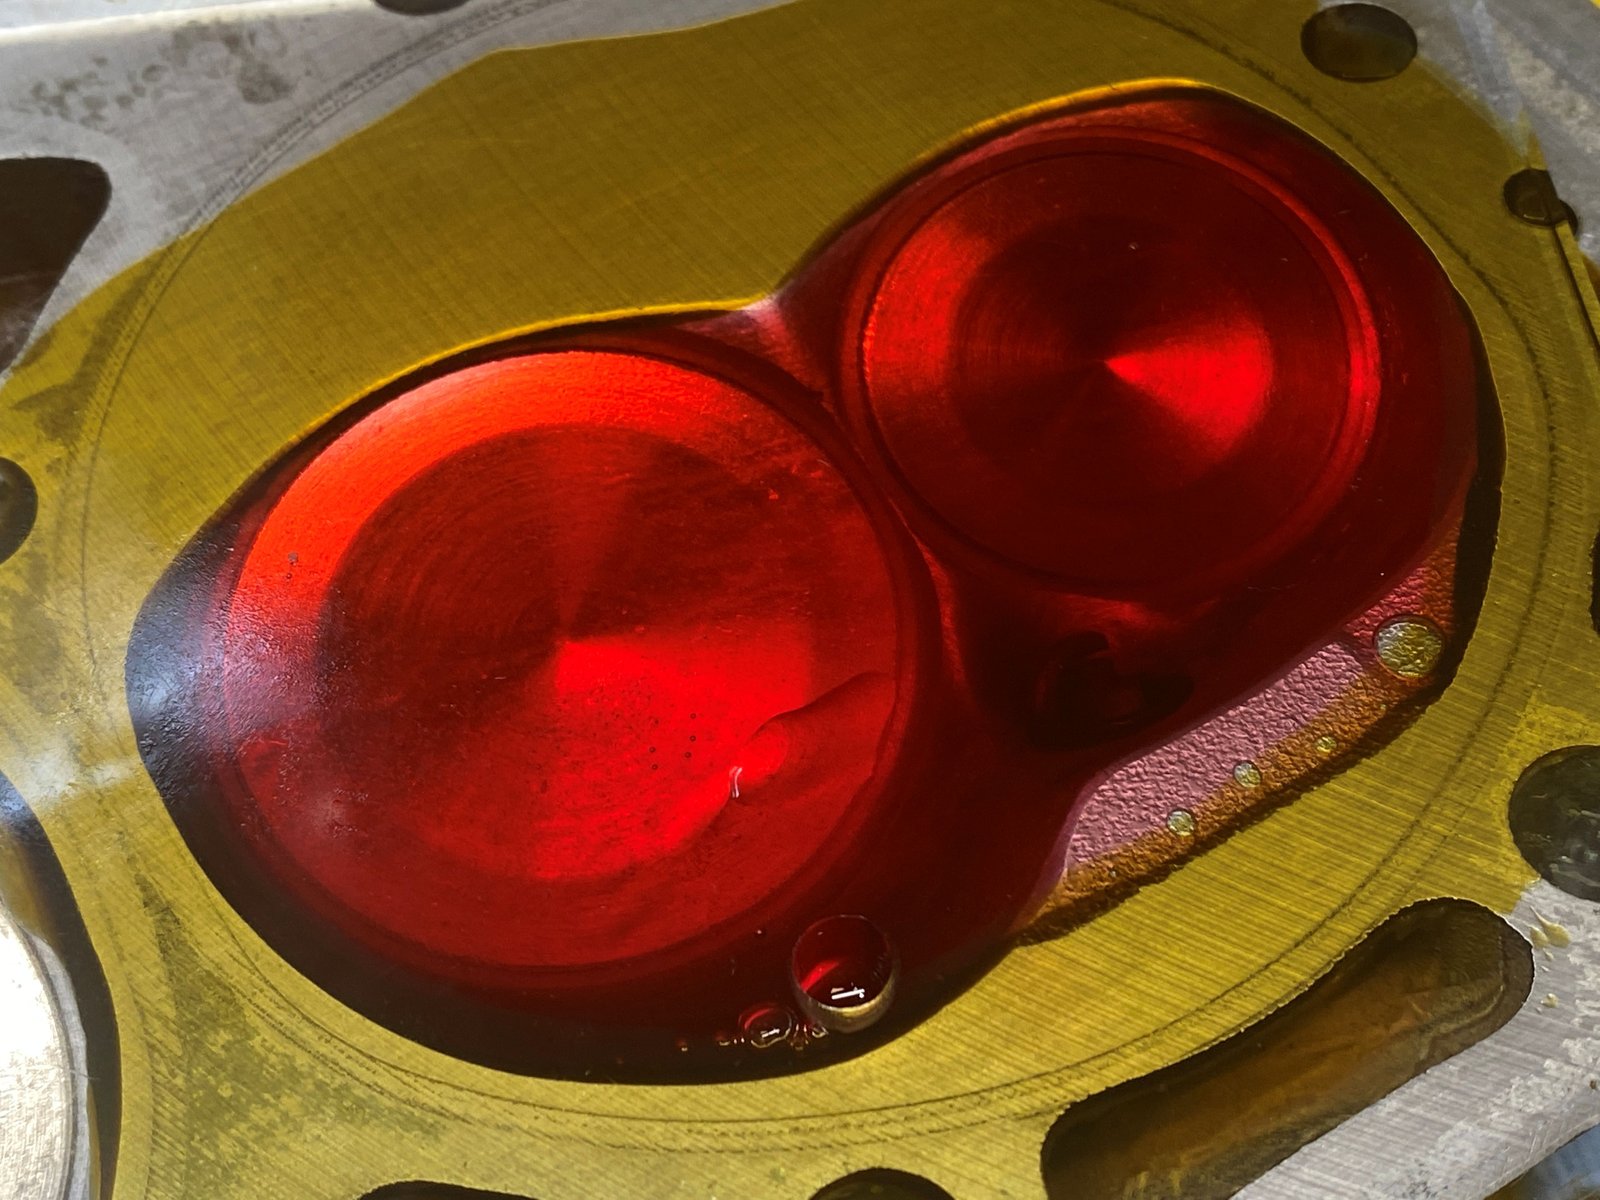
Chamber volume check.
|
With 56 cc heads and 8.5 cc head gasket I calculate 10.4
compression ratio. |
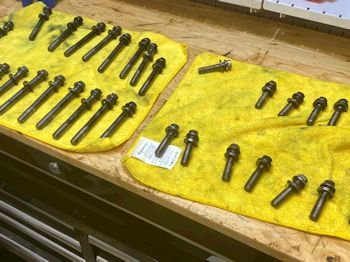
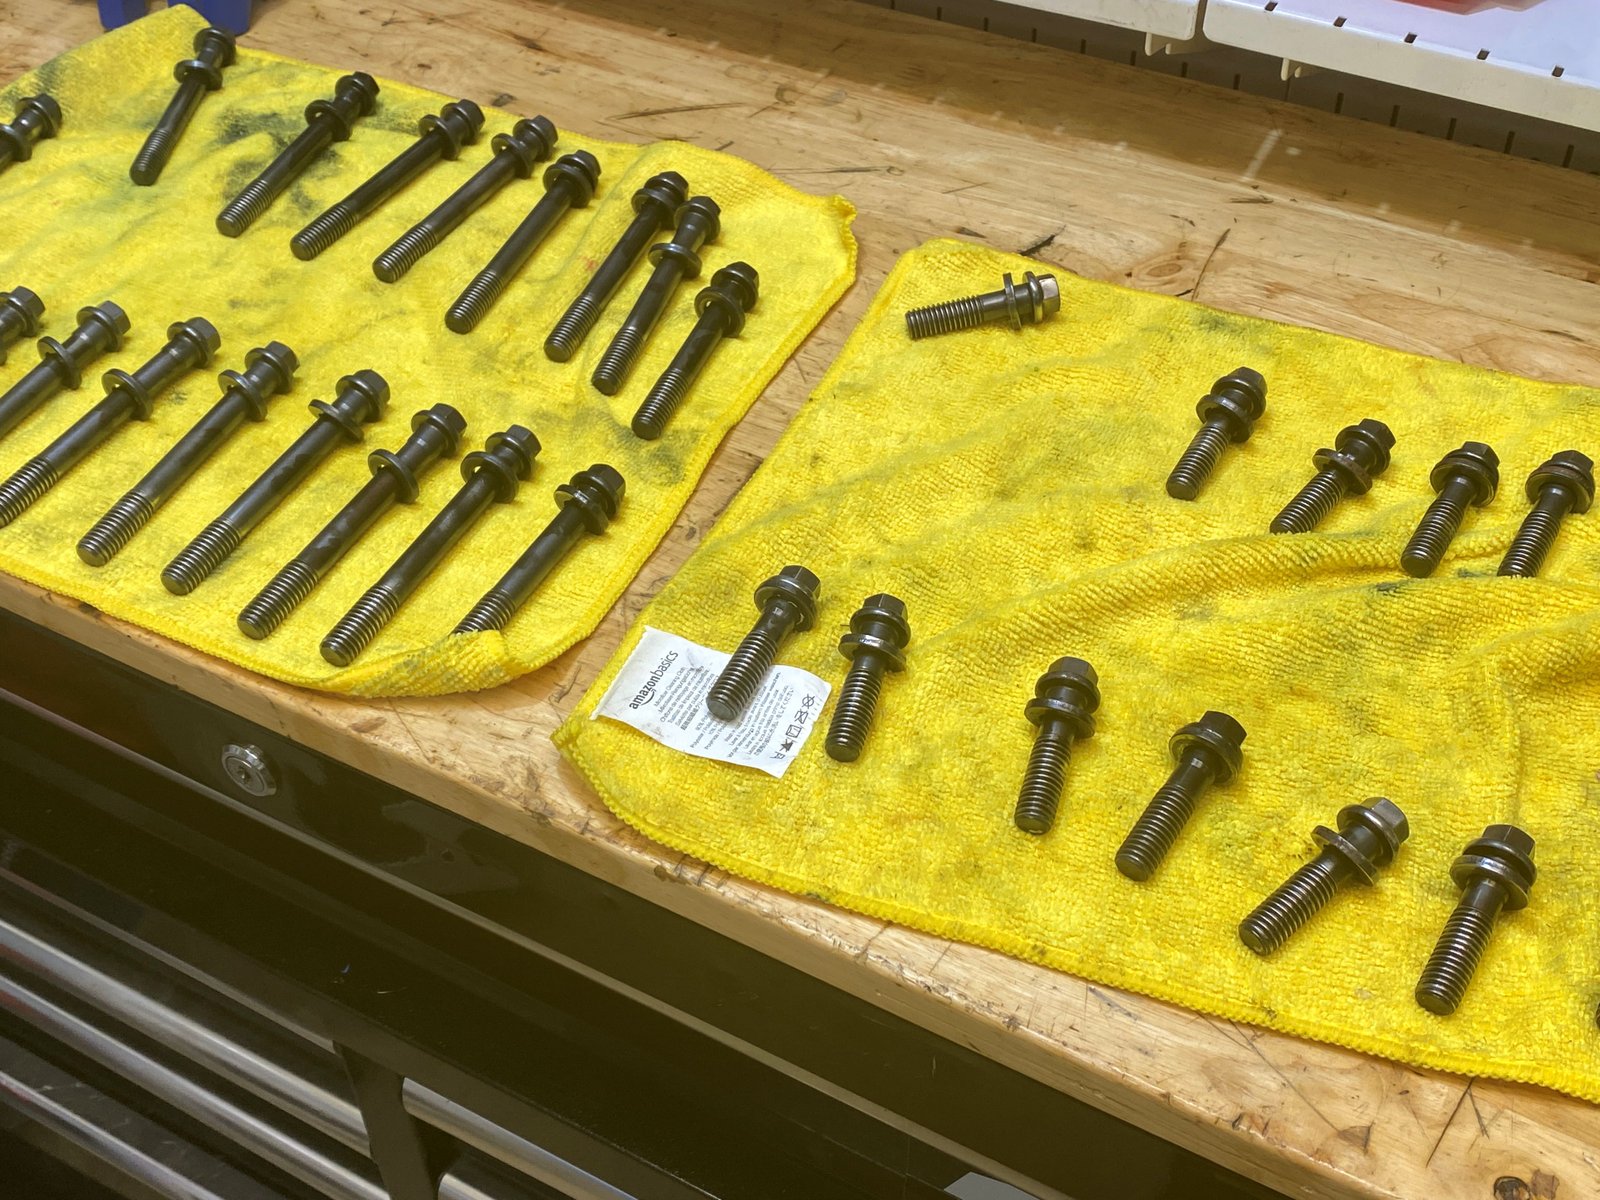
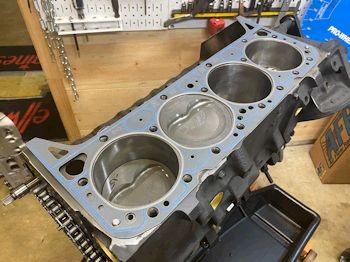
Re-using the owner's head bolts.
|
Thread sealant on. |

|
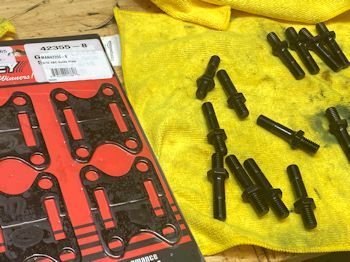
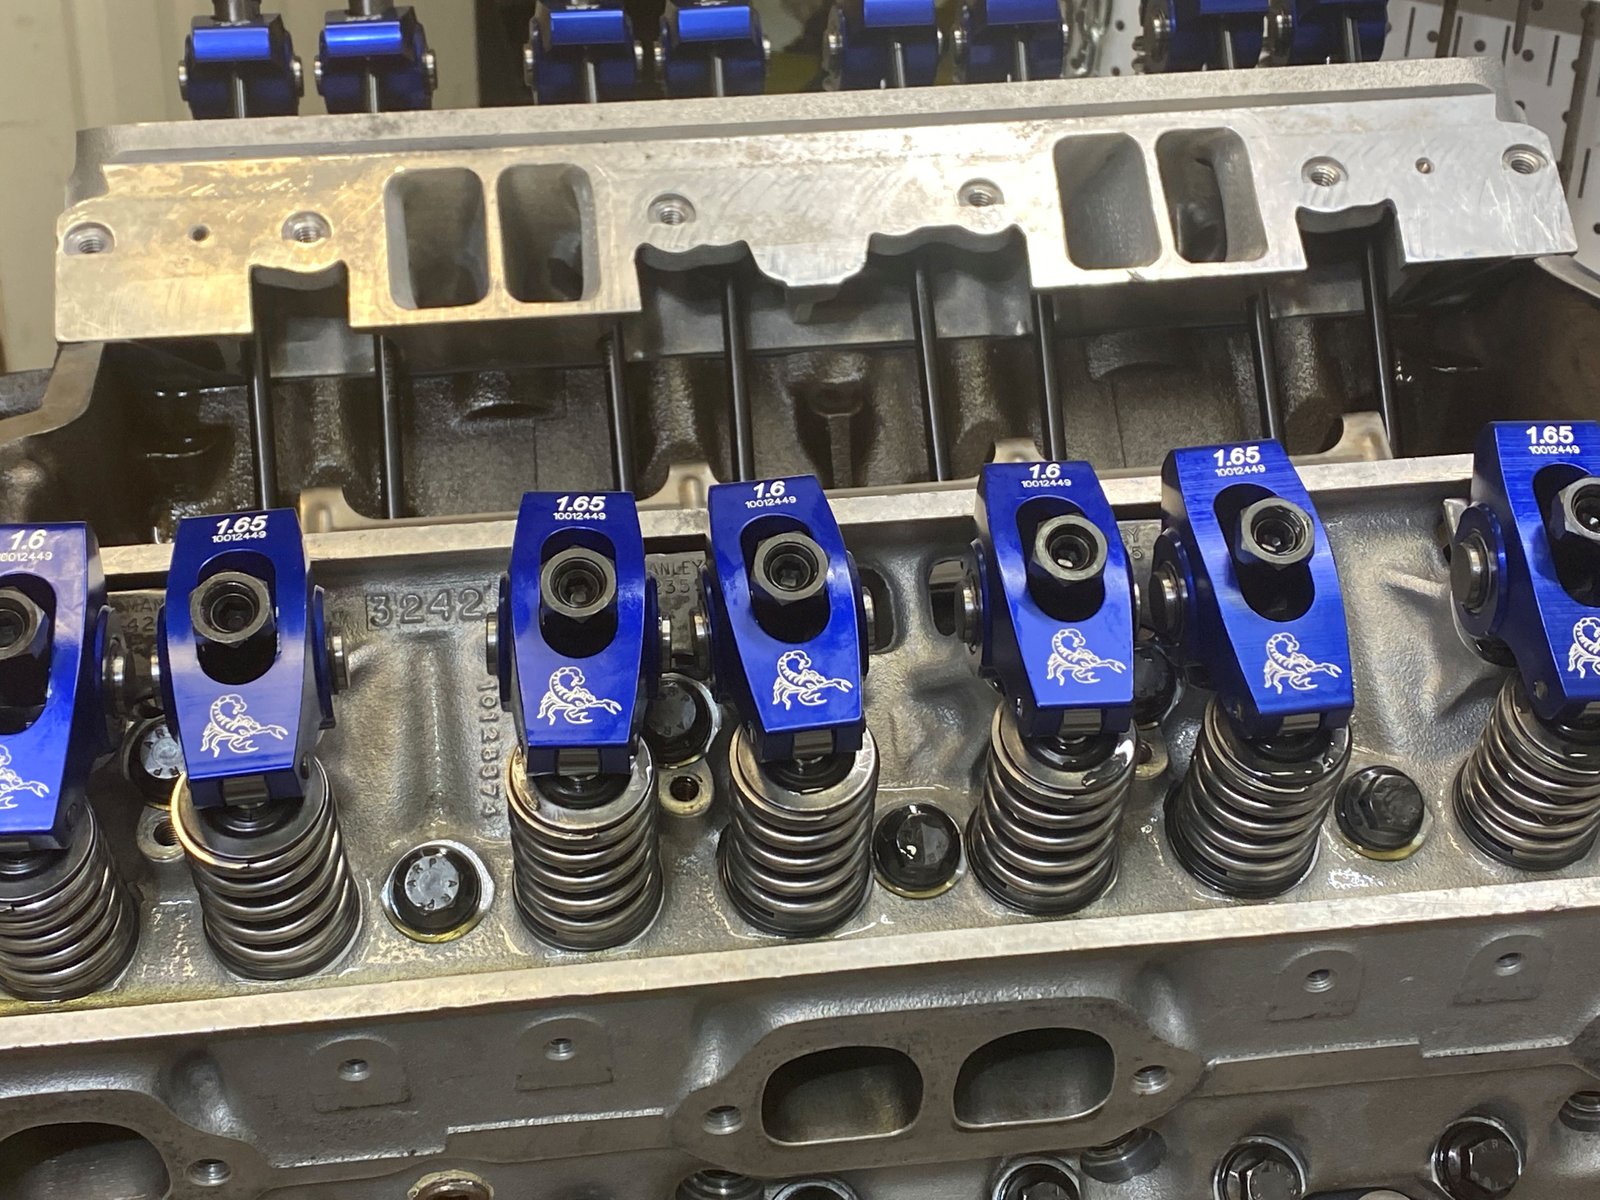
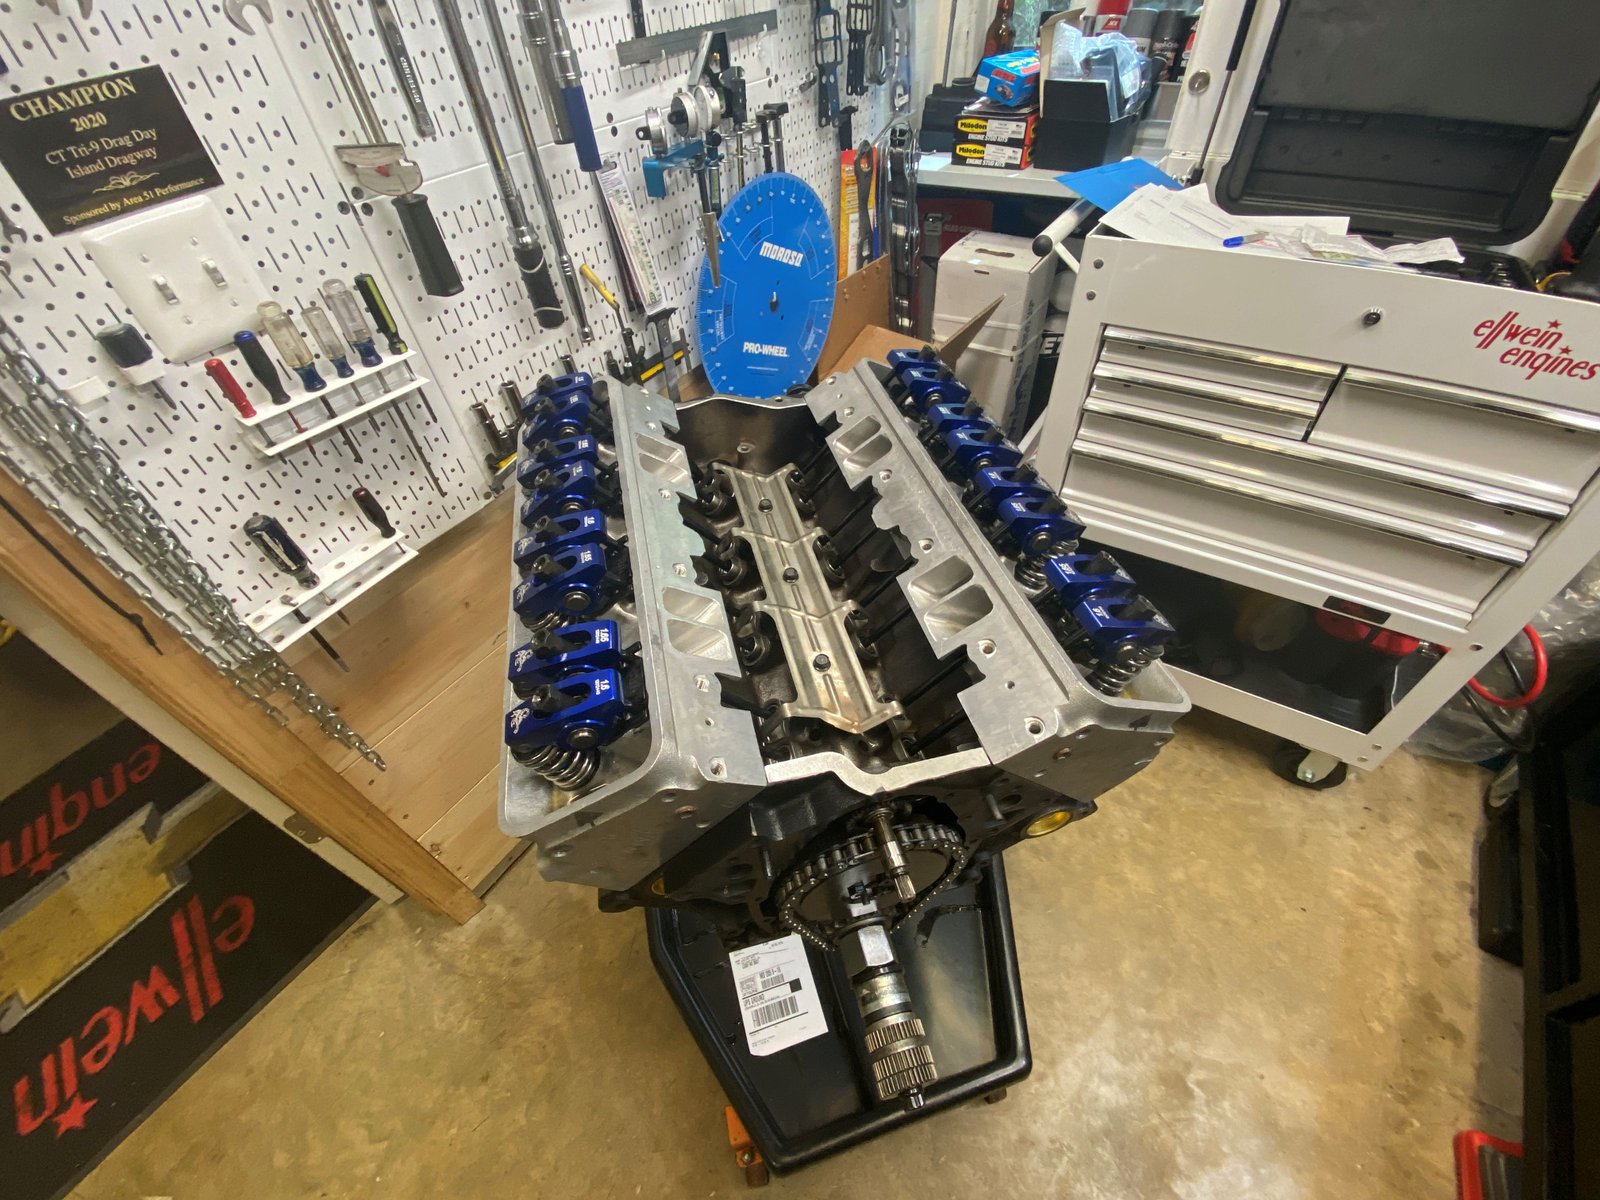
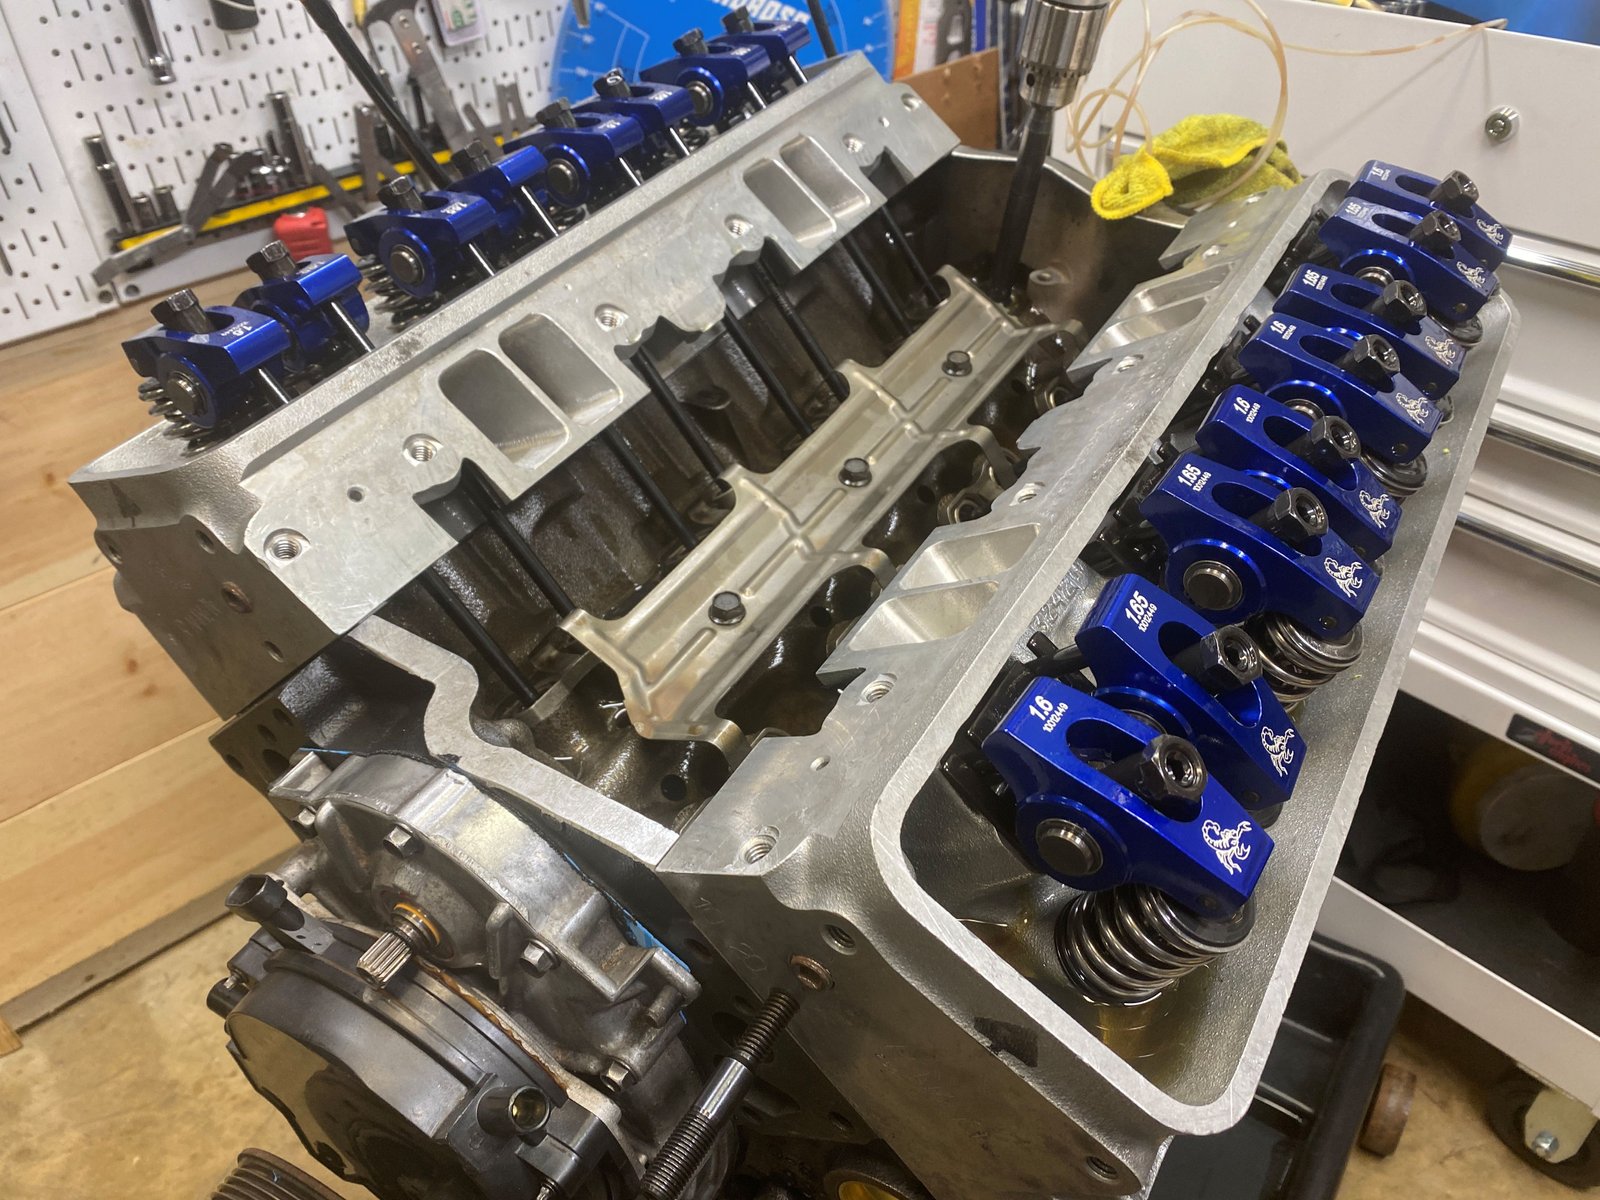
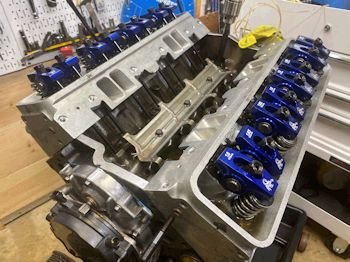
I have not found any other guide plate that lines up the rockers
on the LT1 valve tips better than these from Manley. |

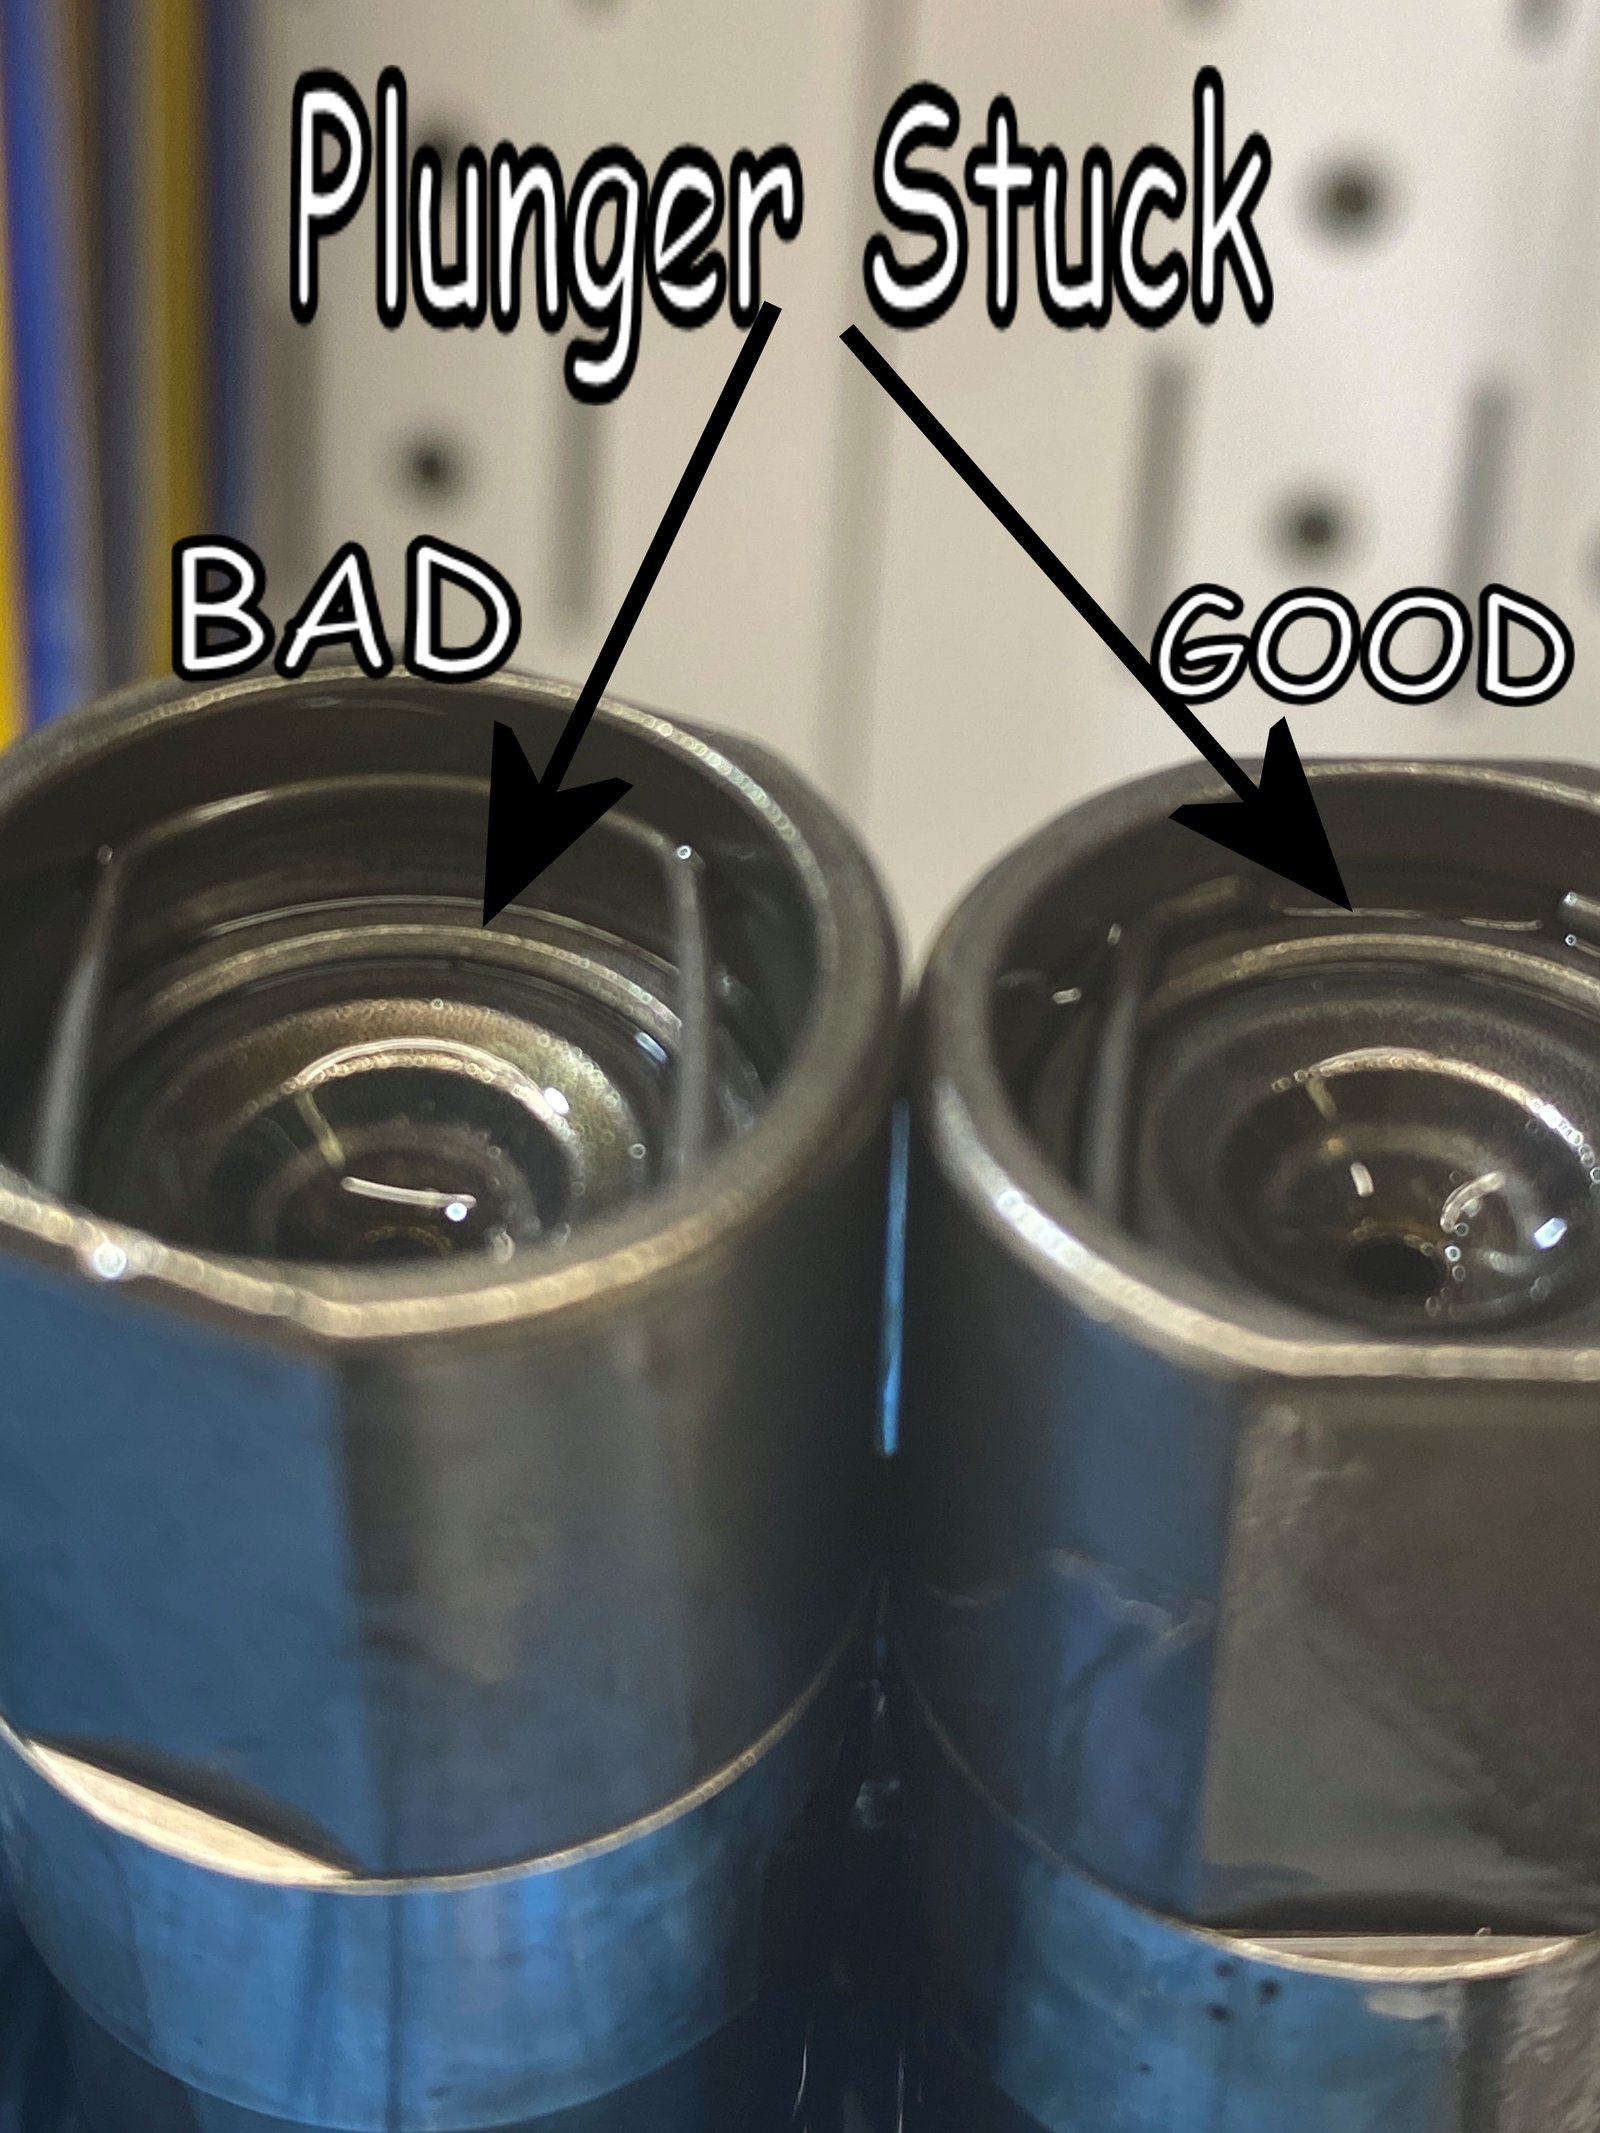
Rockers on. Pushrods 7.200"
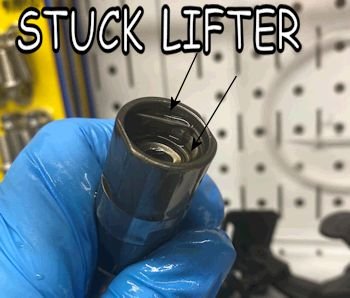
I found one lifter that had the plunger stuck. Replaced it
with a good used lifter.
|
 |

|
 |

Melling 10554ST oil pump with pickup at 1/2" clearance from
bottom of oil pan.
|
Windage tray bend away from the rod bolts. |
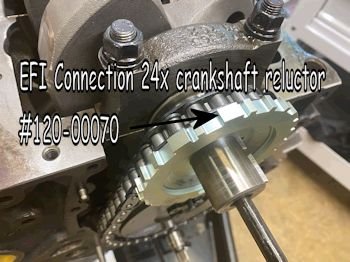
A gift from Ellwein Engines to the owner of this engine. If he
decides to go to the LS1 PCM in the future then he won't have to
pull the timing cover. He can just get the EFI connection cam
reluctor and sensors.
|
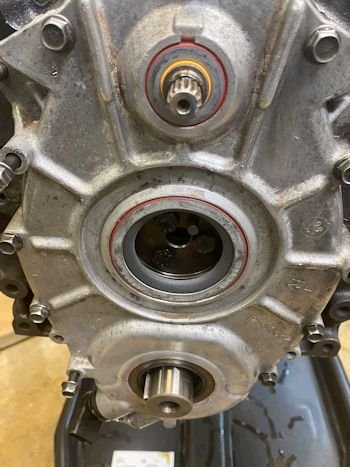
Timing cover cleaned up as much as possible. |
Rear main seal housing centered perfectly and new rear main seal.
|
Dip stick tube shortened and dip stick verified to be able to pass
through the windage tray hole. |

|
 |

|
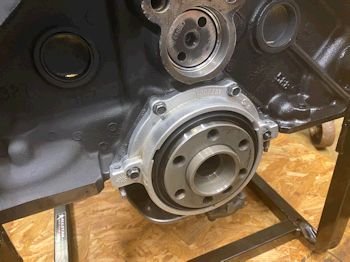
Stock crankshaft hub has been
installed. I notched the inside of the crankshaft hub to
allow it to engage the woodruff key for the crank timing gear
sprocket. |
OK! More discovery. During the oil pump spin to test the overall
pump/lifter/pushrod system and to verify oil pressure, (which is 70
psig), a pushrod came out of the lifter cup. At 1st I thought
that I did not adjust the lash properly. Turns out that
another lifter was "stuck".
|
 |
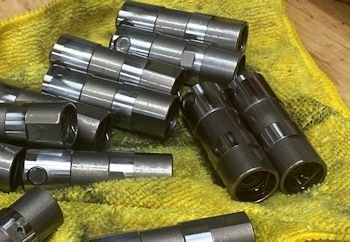
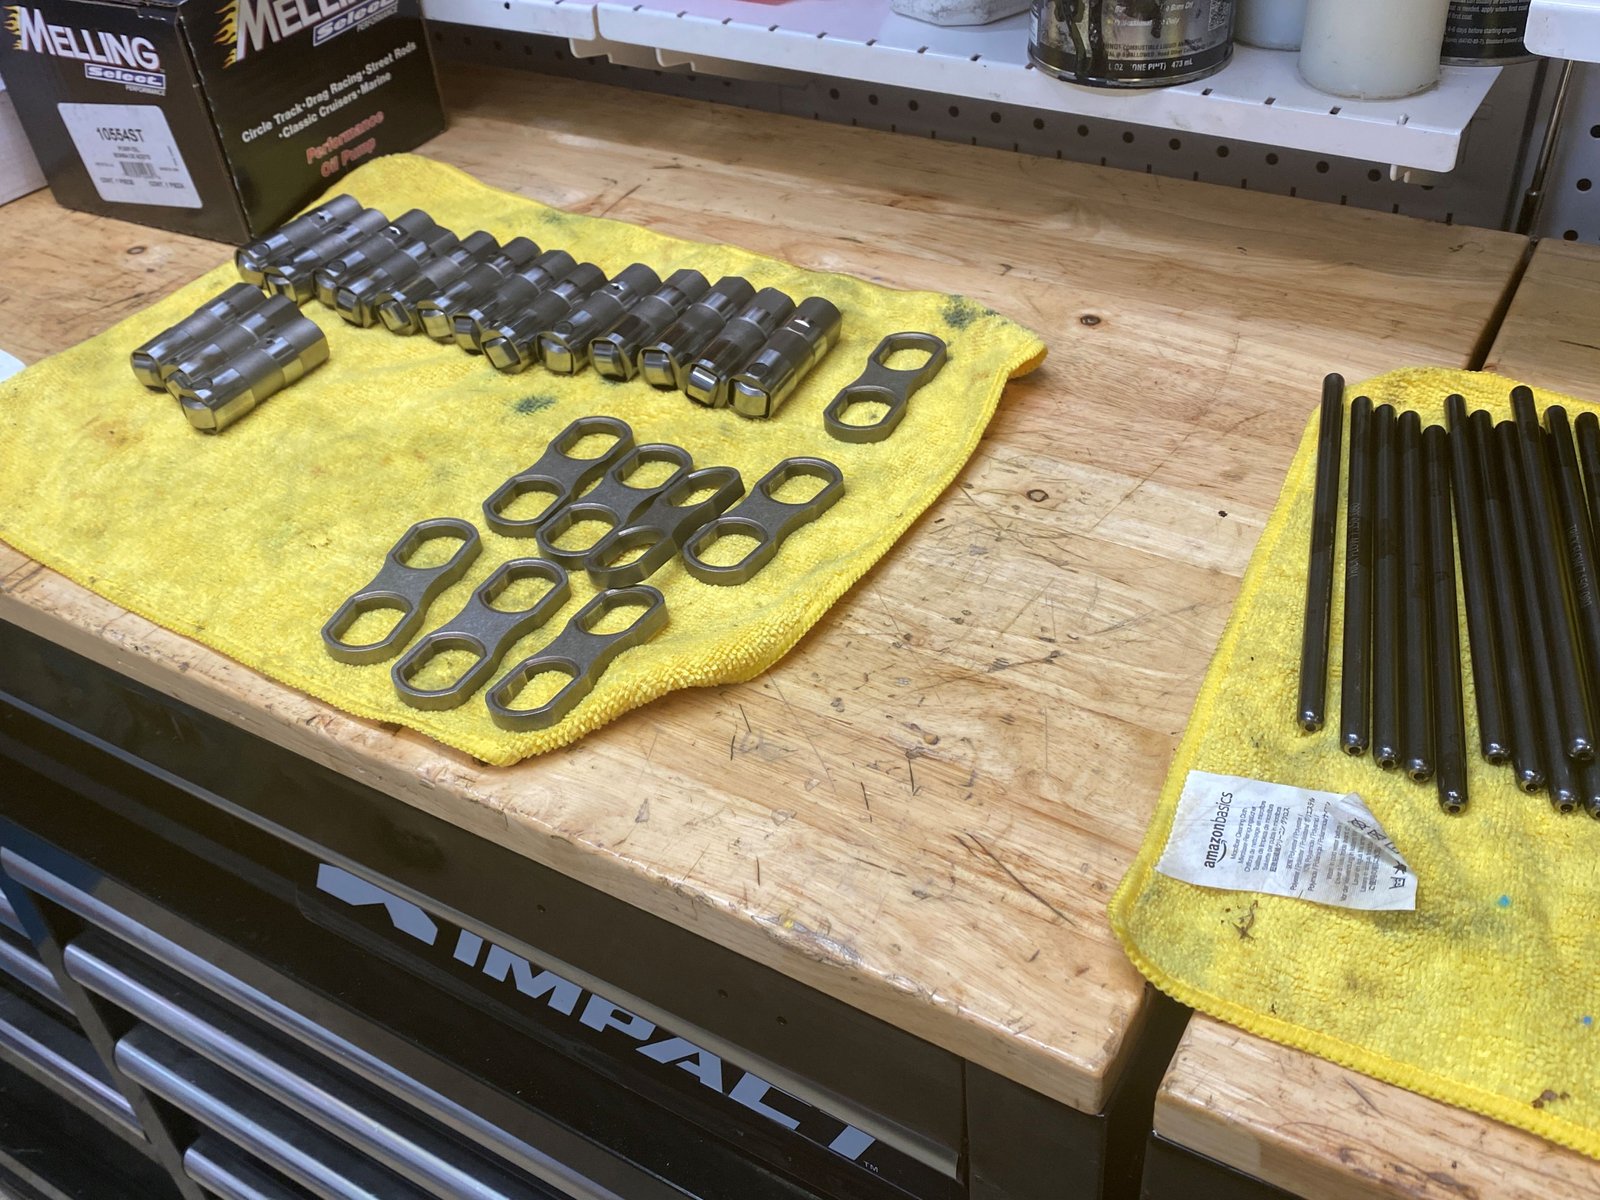
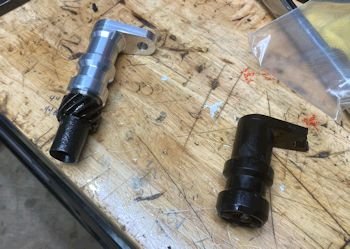
I replaced ALL of the lifters with a nice set of slightly used
Crower stock style lifters. The 2 stuck lifters from the oid
set are shown here among the "new" set.
|
Now all is good. |
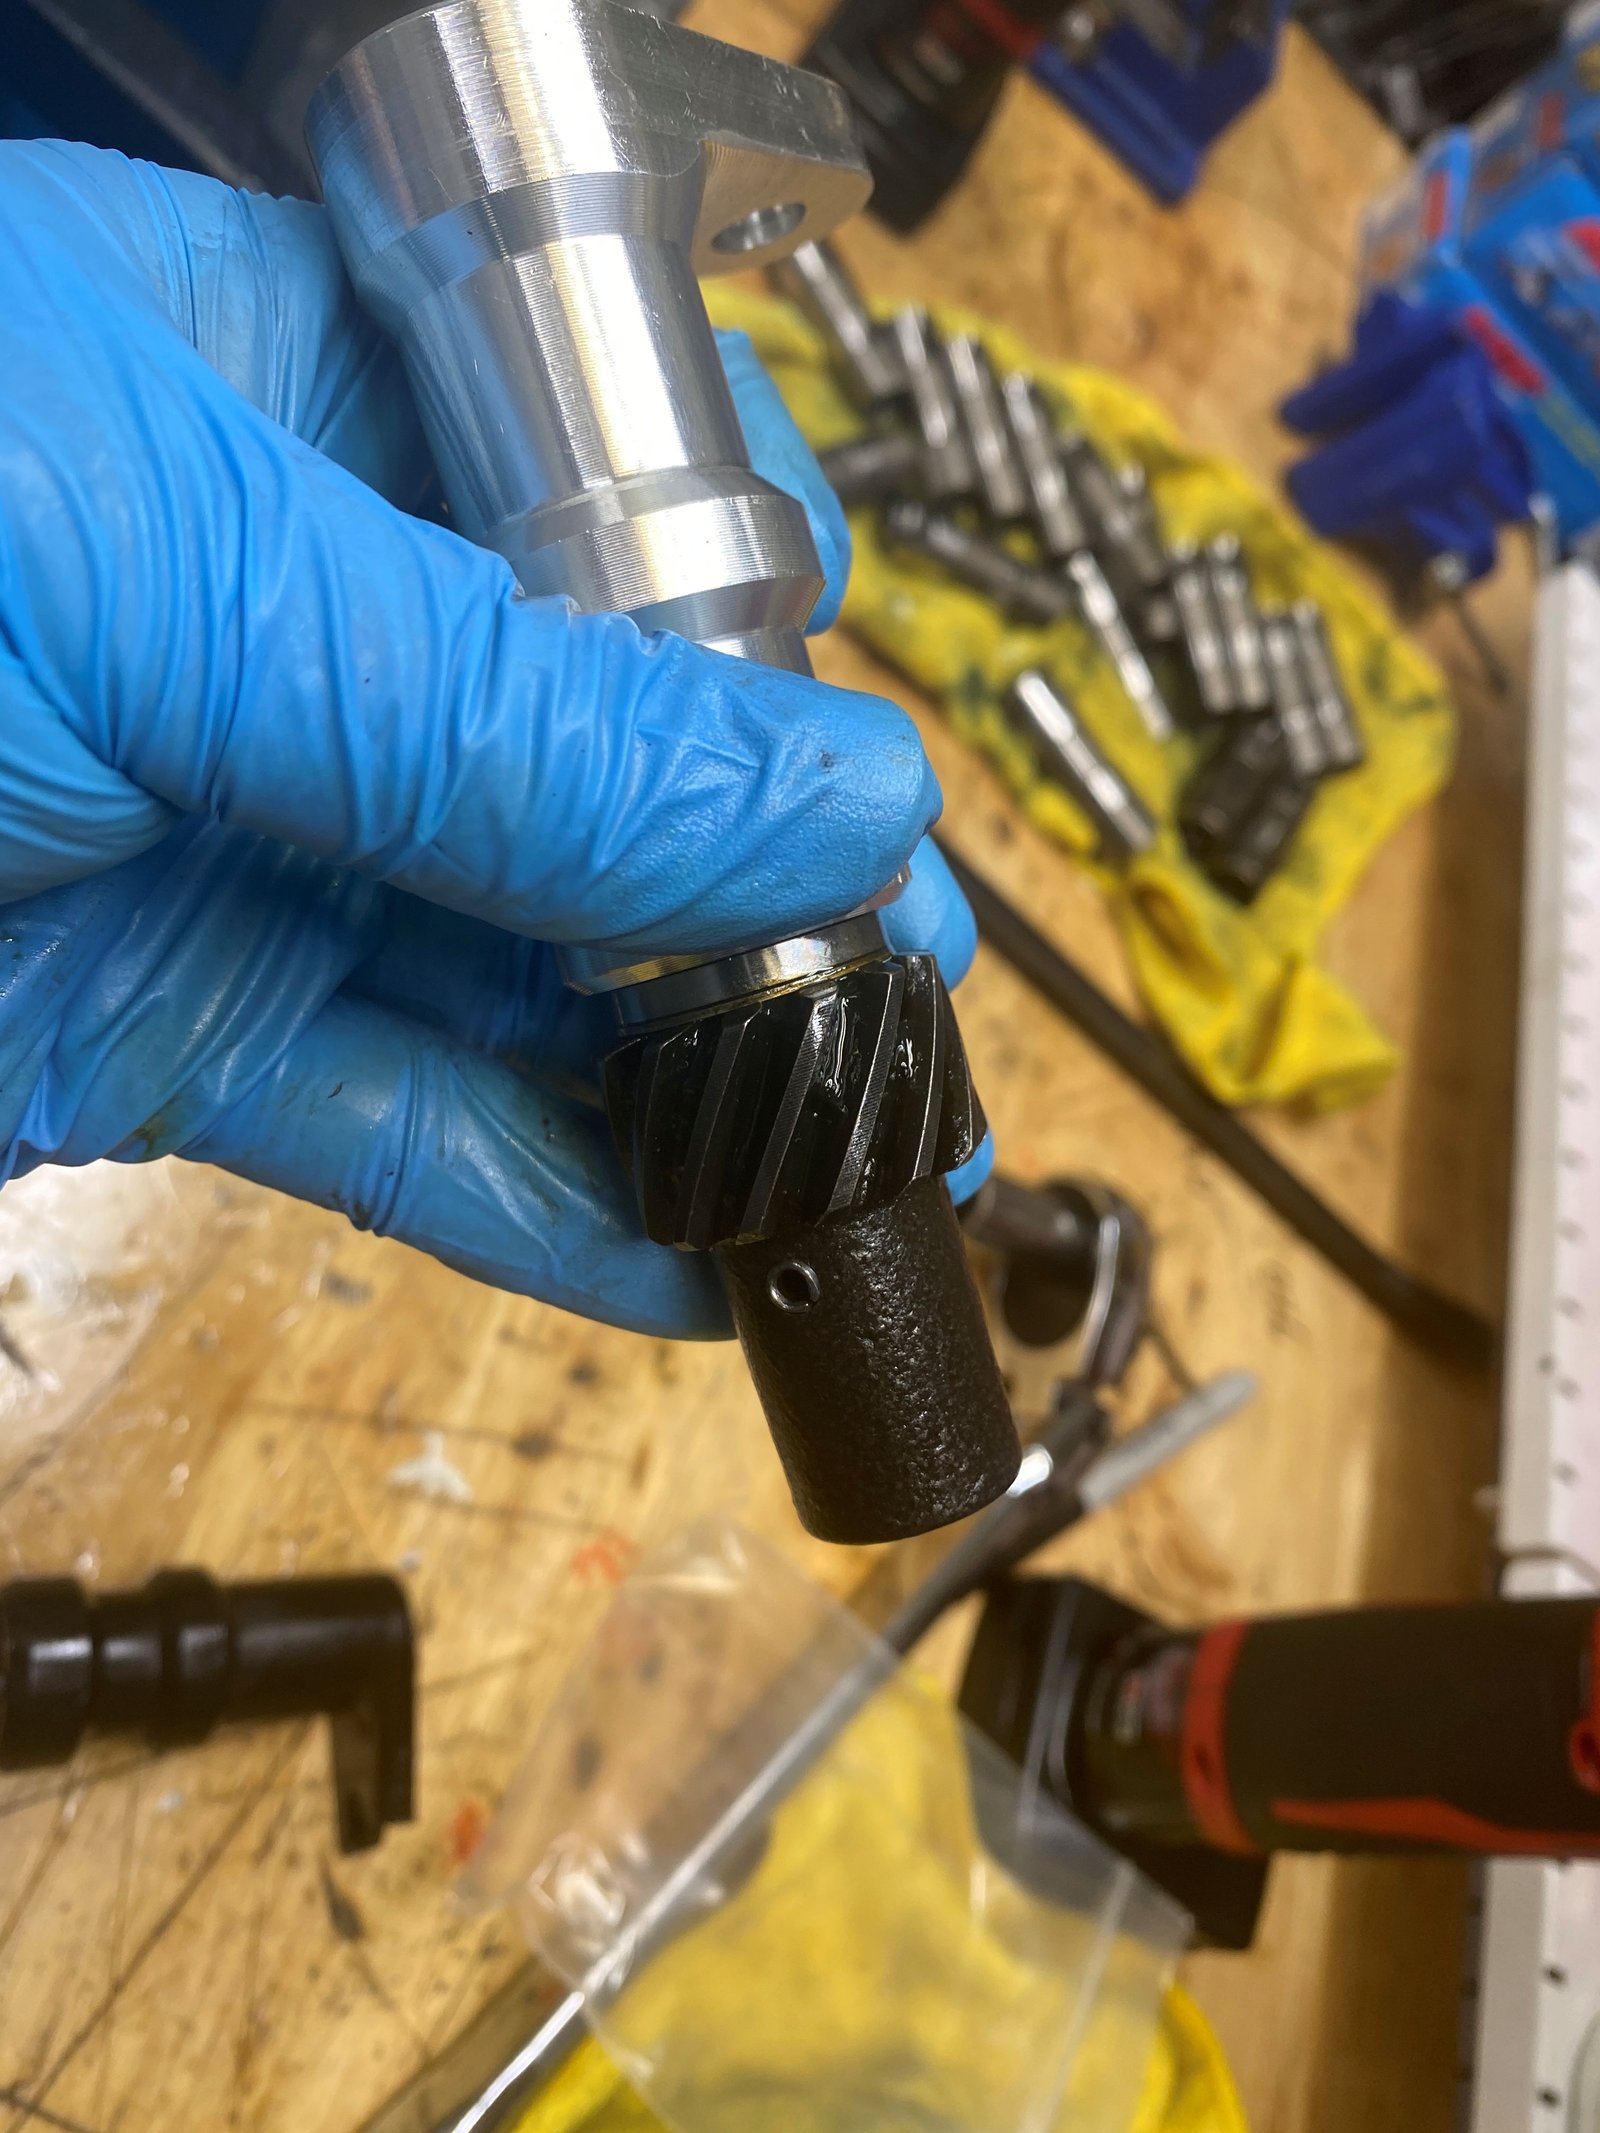
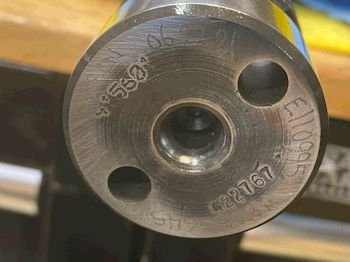
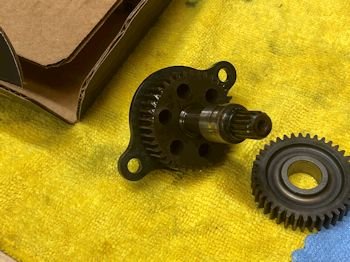
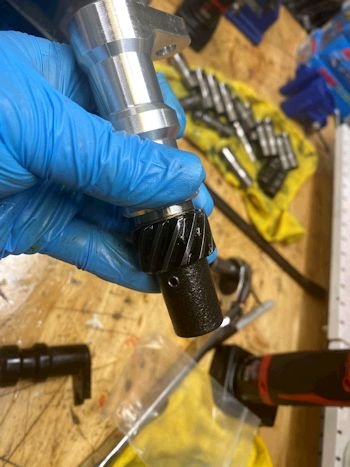
I did not have a good oil pump drive shaft core and so I'm
providing this duper quality Tick performance core.
|
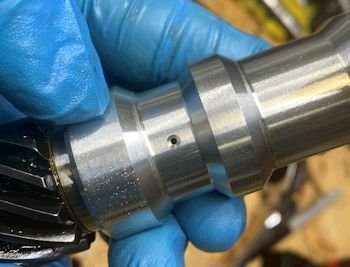
It even has an oil hole presumably to feed the gear teeth (?). |
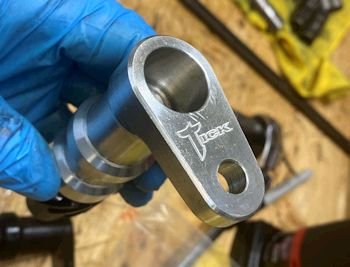
ALSO a new gear (of course) ------->
|
 |

|
 |

|
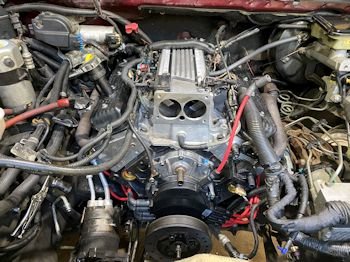
To the left: I took the
intake core plugs out to make sure it was clean. The idle
air circuit was pretty clean but the center core plug was gunked
up. I think that center port is for EGR.
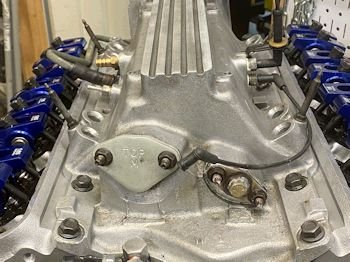
I cleaned up the intake manifold as best as possible and also
installed an EGR block off plate for a cleaner look. |
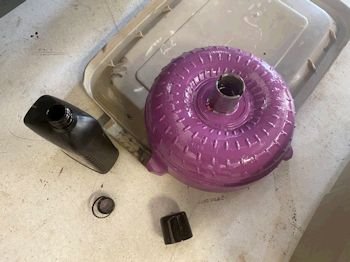
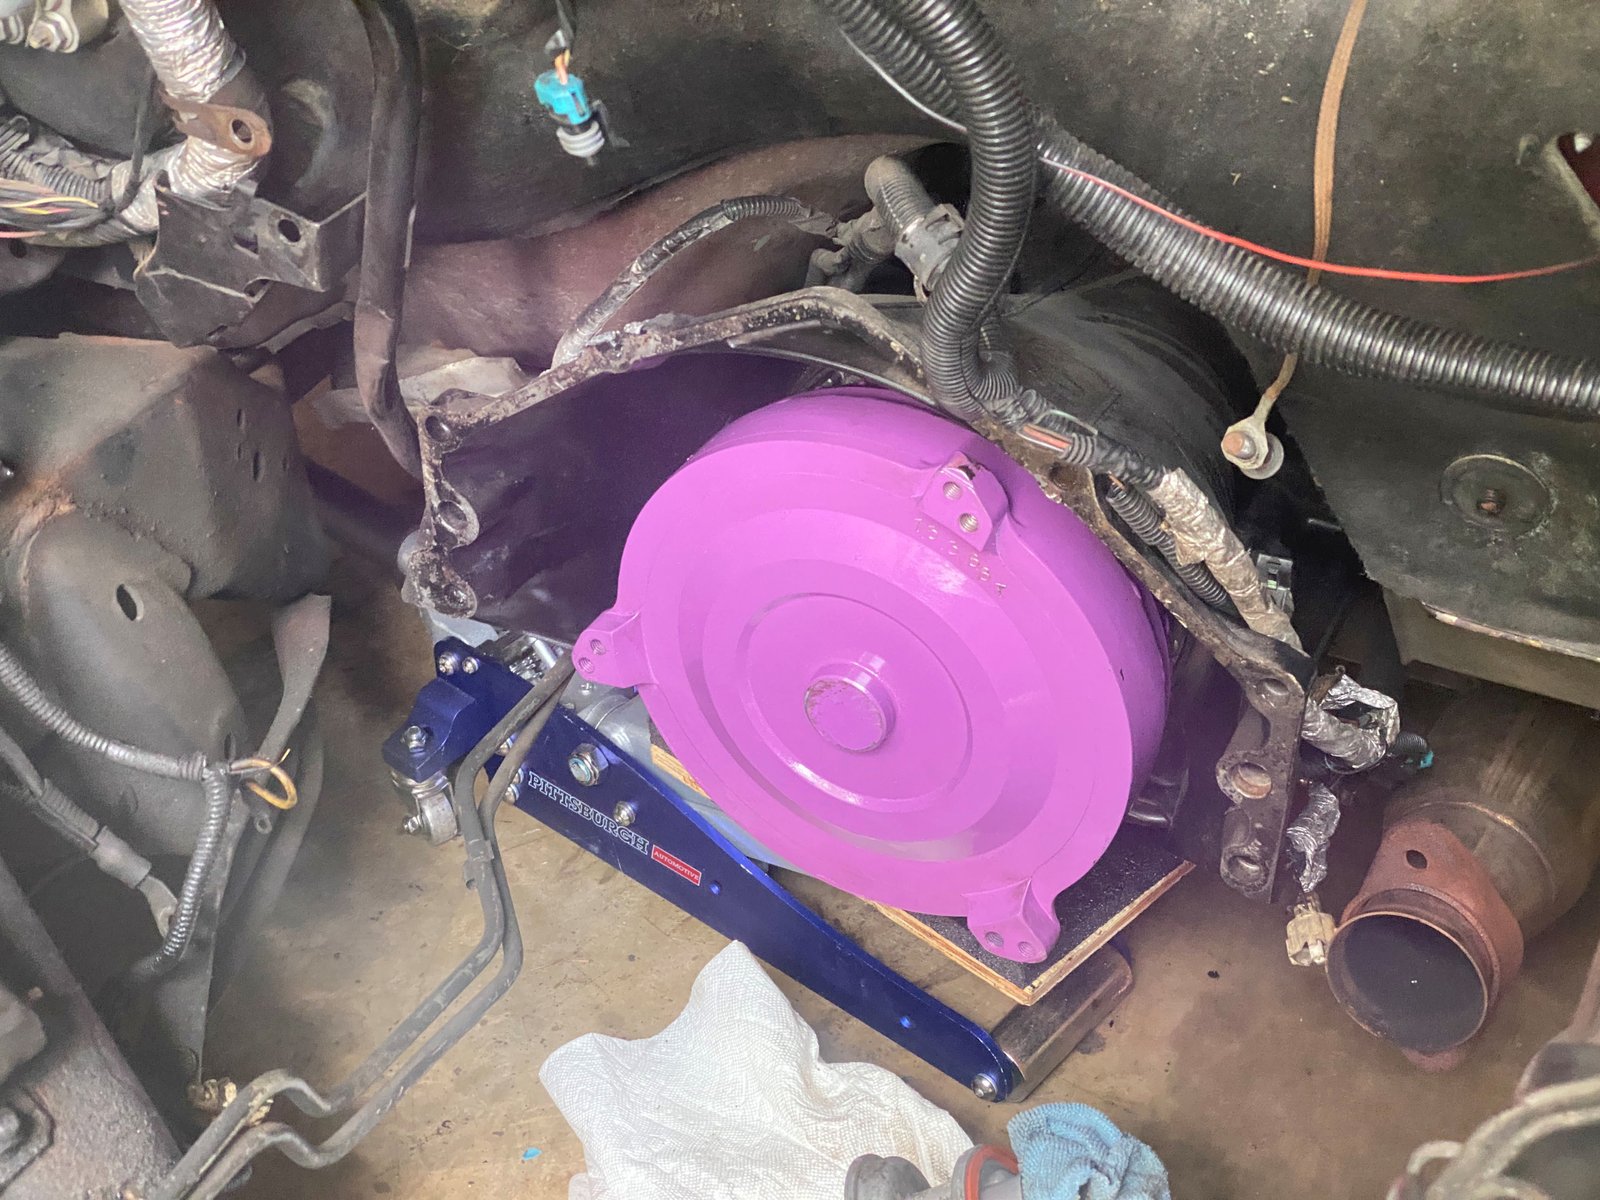
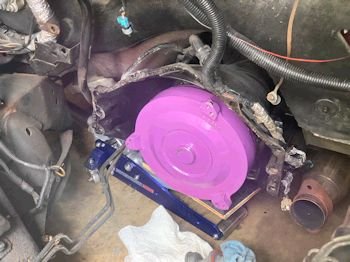
New/reburbished Vigilante torque converter. I put that whole
quart of oil in before installing on to the transmission.
|
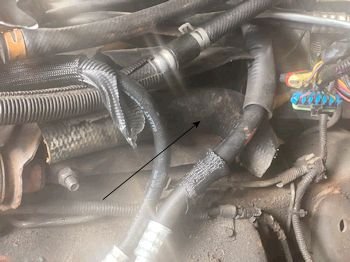
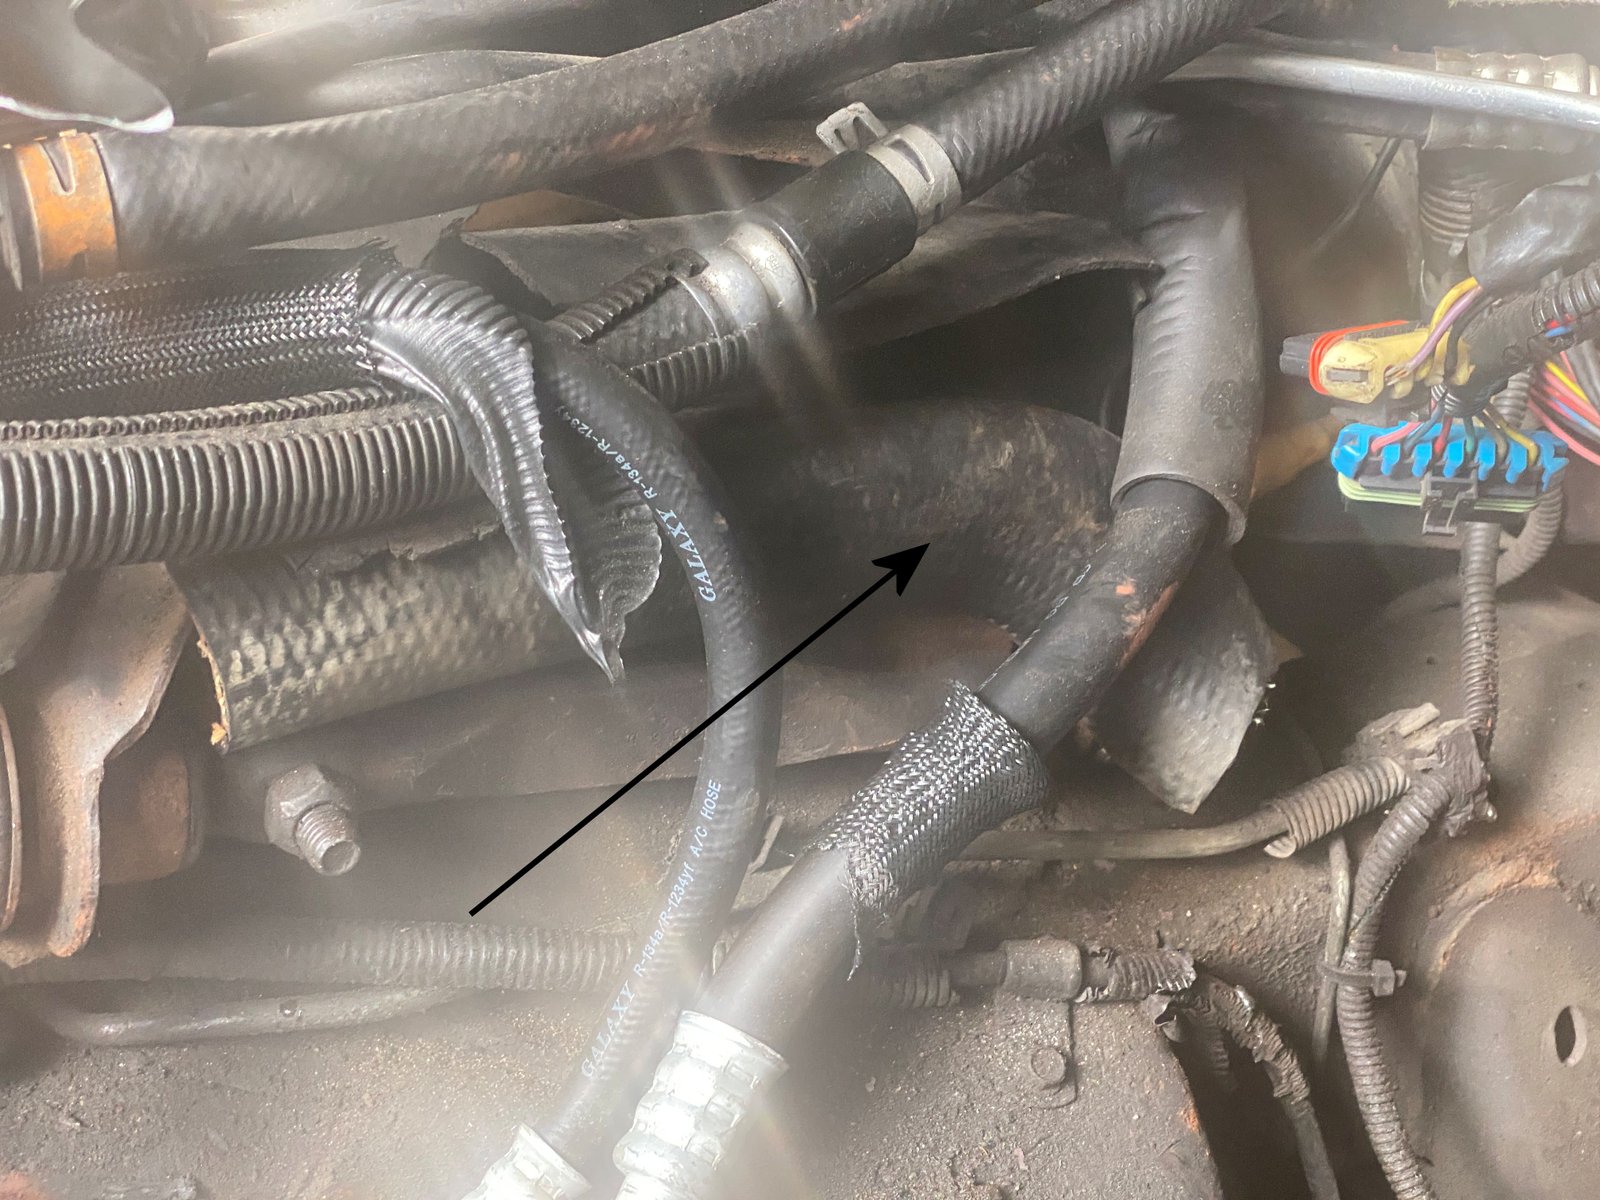
Split heater hose to protect the AC lines from the sharp
A-arm. |

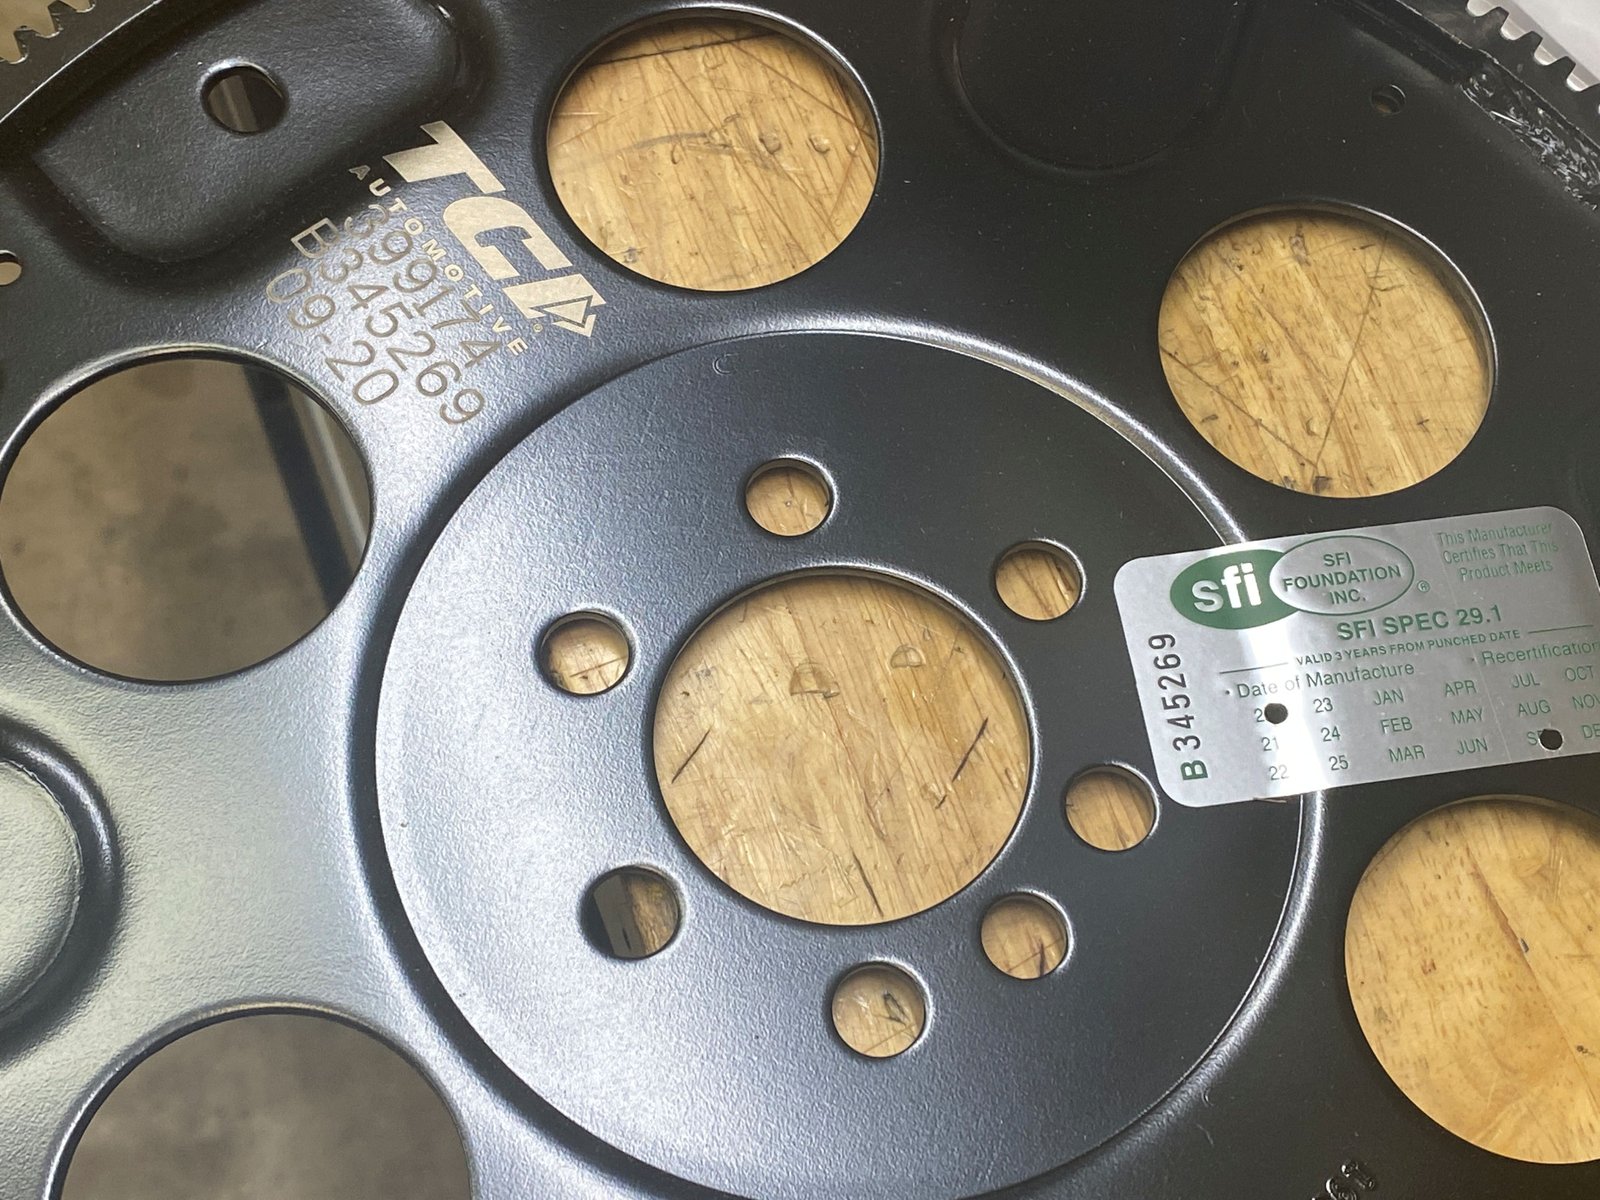
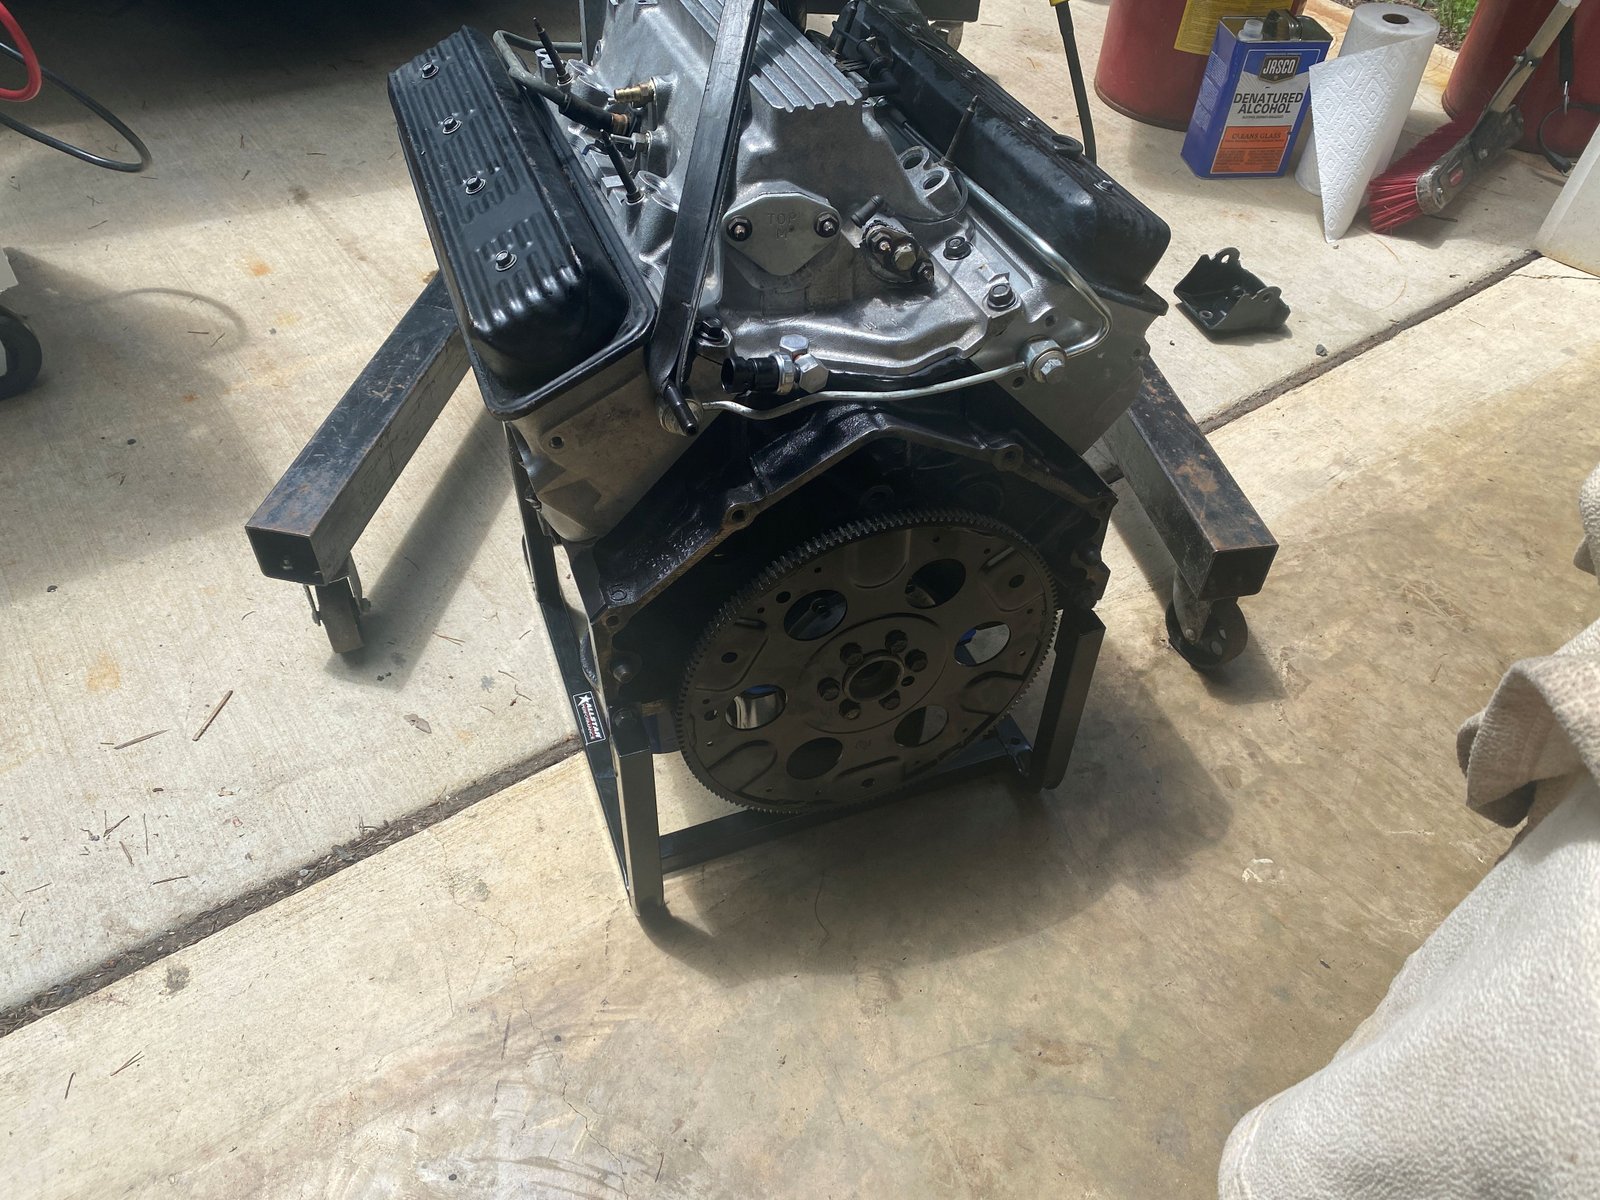
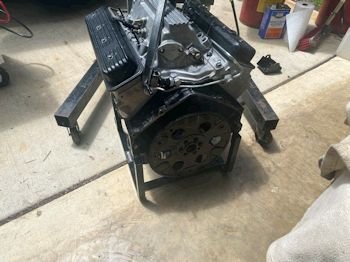
TCI neutral flexplate. You cannot re-use the stock
flexplate since it is for an external balance crank. This
engine is all internal balance.
|
 |

|
 |

|
That's it for now. |