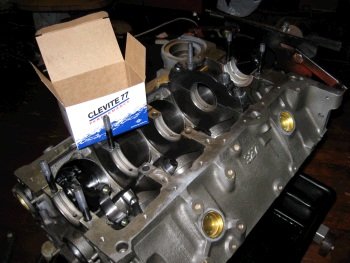
This project starts out like most of my other ERE projects, with a
fully machined block from Golen Engine Services. This one
was ordered a few months ago and has been in storage. I send
the Callies billet splayed main caps and ARP studs to Chad and he
has his crew machine them to fit and they also pre-clearance for
stroke. |
Now that I have more practice doing it, I will thread the front
oil galleries. |
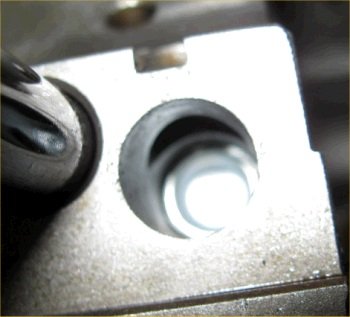
I make sure to put a plug into the rear main cap oil
gallery. This plug replaces the stock factory steel ball. |
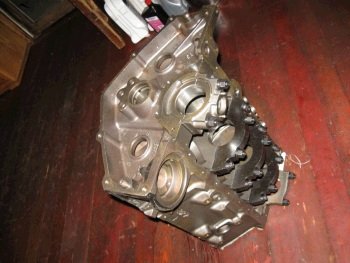
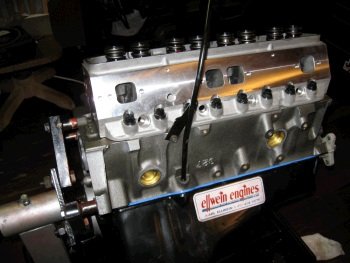
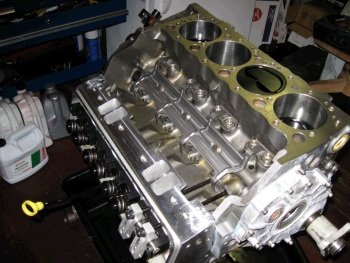
Now the block is cleaned and painted. |
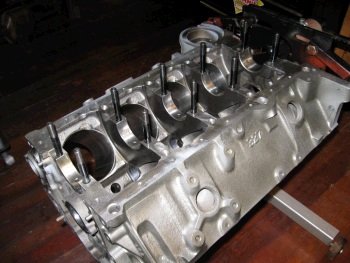
Here is another view. |
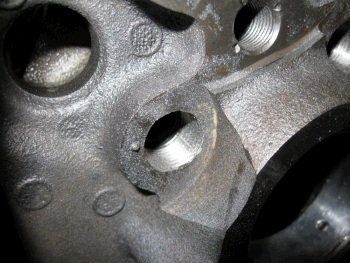
A view of the plugs in the front oil galleries. The
machinery gray paint splatter looks like metal dust. It's
not metal, it's paint. |
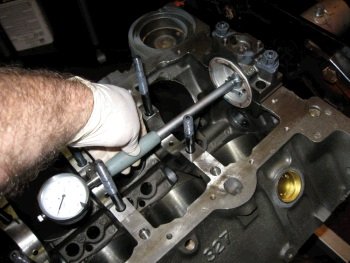
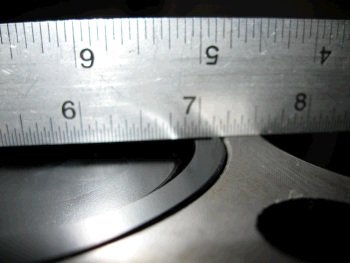
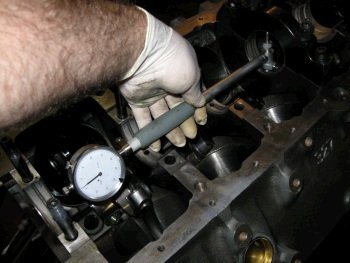
Measuring for main bearing clearance. Here I have .0027 at
the rear main #5 |
I need to order another set of .001" under bearings because
these standard size give me .0035" clearance and I want
.0025" ideal with .003" max. |
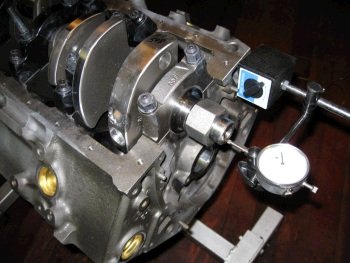
I have the crankshaft in with the current bearings just so I can
check things over. This is ok at .008" |
Now to the ring filing. I filed the 2nd ring to .024"
and the top ring to .020" for street performance, no nitrous. |
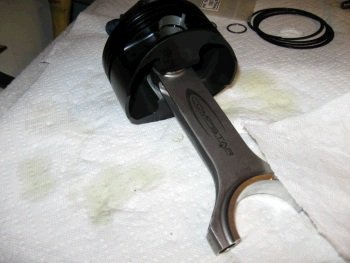
Assembly of rod and piston. Compstar 6" rod and custom
Ross piston with hard anodized black coating. |
The pin is held in place by double spiro-lox. |

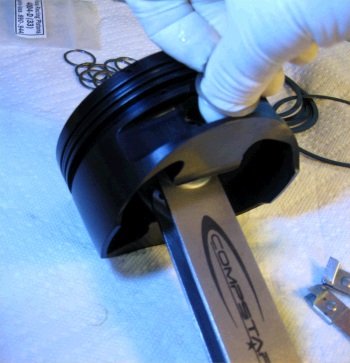
The top ring is harder than the 2nd ring. I double check
that the top ring is shiny on the side and the 2nd ring is dull. |
The pistons are "left-right" as in the intake valve
relief is bigger than the exhaust relief and so you have to make
sure the piston is in the proper cylinder. |
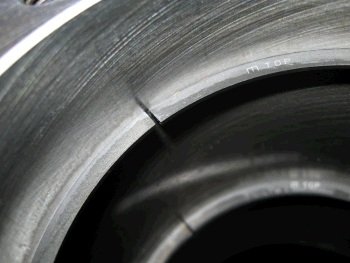
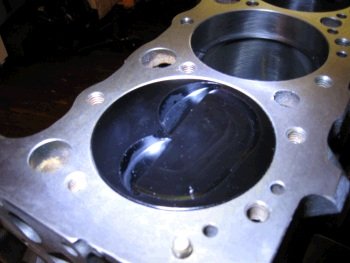
I measured for piston deck height and although this photo shows
the piston down in the hole a little bit, it was actually
.003" out of the hole. I'll use a FelPro 1074 head
gasket and that gives .036" for quench. |
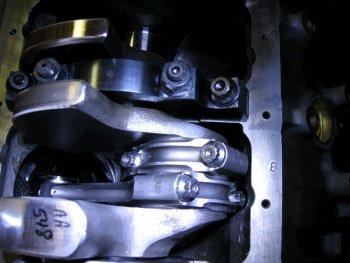
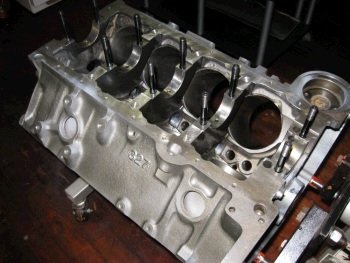
Rods #1 and #2 clear the block and the piston skirts clear the
crank counterweight. There is no cam installed yet but
usually there is no problem with Compstar rods clearing the
camshaft. We'll know for certain when that time comes. |
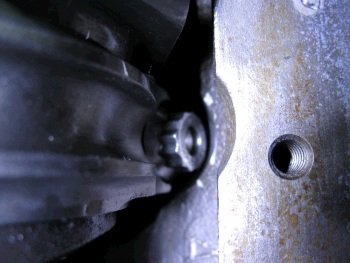
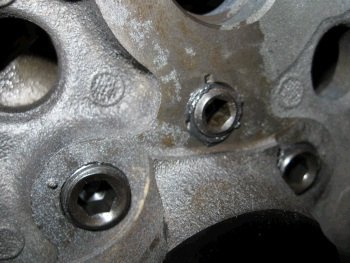
Here is a close up of the rod bolt clearance to block. |
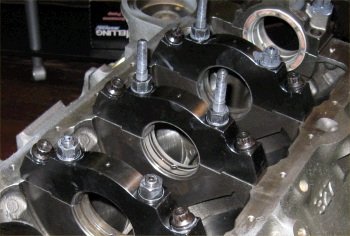
OK, now a few days later I have my .001 under bearings and all the
mains now have .001"/standard mix and .0025 to .003"
clearance, (except #5 thrust has .001"/.001" for
.003" clearance). The middle 3 caps have H-series due
to less flex on the caps. The #1 and #5 caps have P-series
due to softer stock caps. |
.0025" clearance. |
I re-measured thrust and it's .008". |
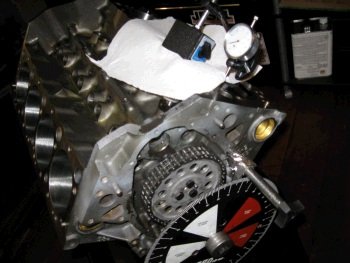
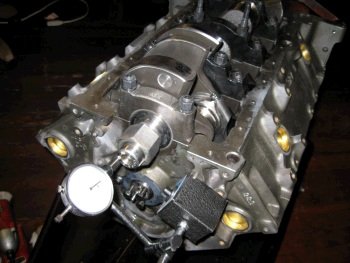
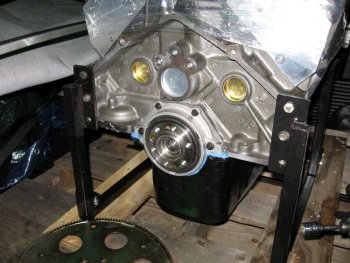
Now the camshaft is in and here is top-dead-center. |
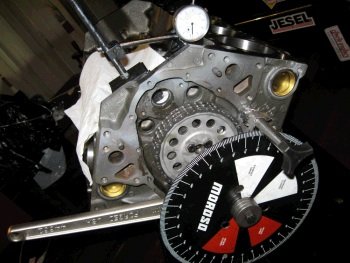
With the timing set at "zero", the cam is dead-nuts-on
to the cam card, (104 deg ICL). |
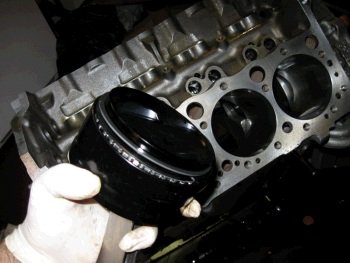
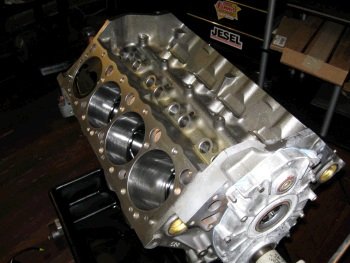
Now the rest of the pistons/rods go in. Piston held for a
pose. |
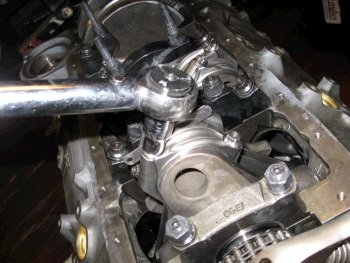
Rod side clearance is .016" to .018" and the rod bolts
are all torqued to Callies/Compstar spec. |
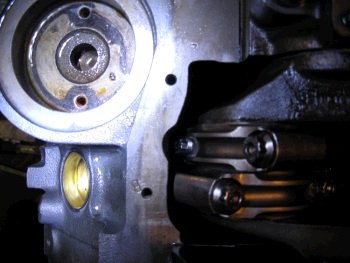
One last check to see if all the rod bolts clear the block.
All are good. |
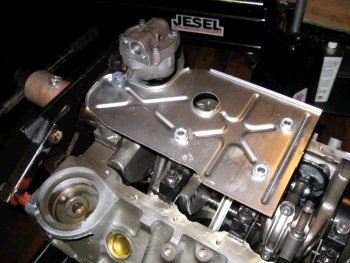
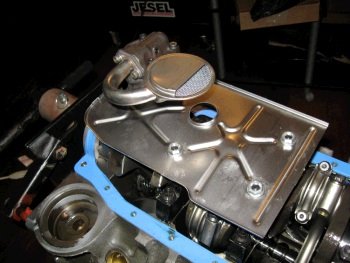
Here is the stock windage tray and also a nice Melling Select oil
pump, (10% more volume than stock). |

All Ellwein Engine short blocks receive brand new rear main seal
housings from GM. |
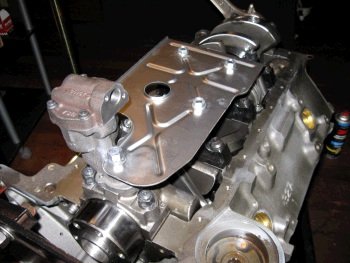
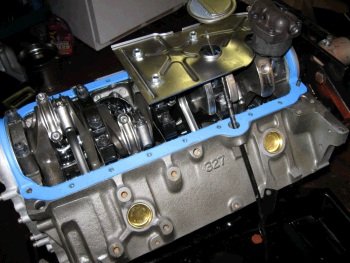
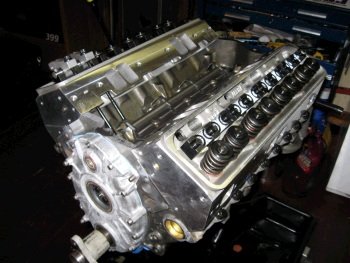
I threw in another photo of the bottom end. |
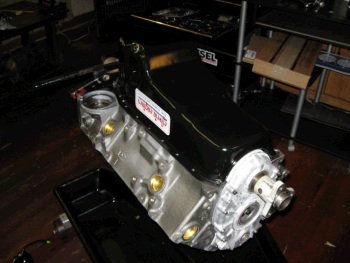
Oil pan on for dust cover. I need to go to the parts store
and to GM for oil pan bolts, timing cover bolts and oil dip stick
and dip stick tube. |
Soon you'll see the Dart heads and Probe shaft rockers setting on
this. |
The bolt-on oil pump pickup is measured to be about 3/8" from
the bottom of the oil pan. |
Here is the dip stick and dip stick tube messaged past the splayed
main cap. |
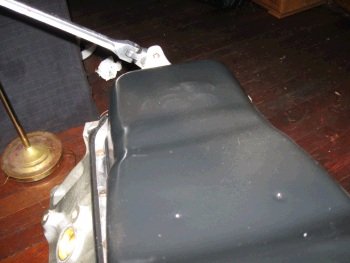
I wanted to show where the oil pan needs to be hammered to make
clearance for the #1 and #2 connecting rods. I bolted the
oil pan on and rotated the crank to make sure there was no
interference. I did have to take the pan off one time and
hammer more on the oil pan. A stock GM oil pan fits pretty
well for a 395cid stroker. This is the only area that needs
clearance. |

Now I need to get a head on and measure for pushrod length.
Here is the .039" thick FelPro 1074 head gasket. |
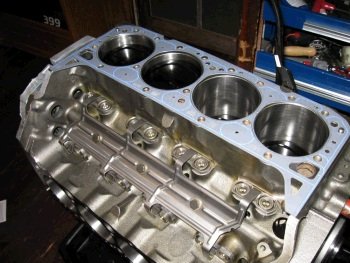
The pistons are .004" out of the hole and so there will be
.035" quench. |
Passenger side Dart head on. I am using ARP 12pt head bolts. |

GMPP hydraulic lifter kit. |
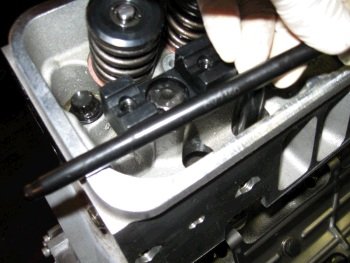
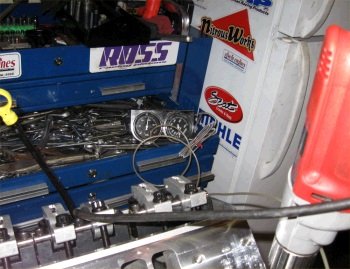
Testing pushrod length. This is a 7.150" pushrod.
It was too long. I have 7.050" in now and that seems to
be a pretty good length. For shaft rockers you really just
need a good fit for the adjusting nut. Geometry is not
affected by the pushrods. |
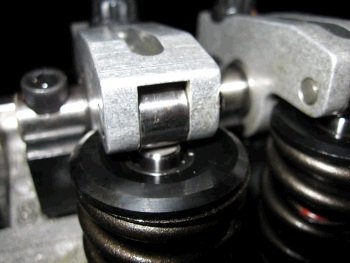
The Probe rockers fit right on dead center on the valve tip. |
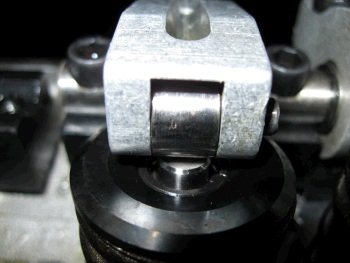
Nice fit. |
This is where I left the motor for the day. Have to have
supper with my wife. |
Now the driver's side head is on. |

Beginning to install the Probe shaft rocker stands and then the
rockers and then it will be time to run the oil pump to pre-lube
the motor. |
I'm getting 57psig on the gauge with my heavy duty 2500rpm
drill |
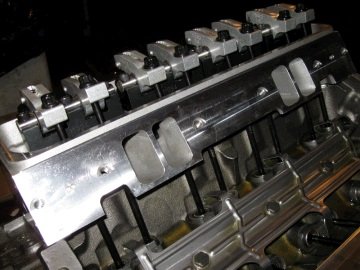
More photos of the heads and rockers. |

And the drivers side head. Notice the nice looking blue
anodized aluminum pipe plug. |
All ERE long blocks receive a brand new (from GM) oil pump drive
gear. |
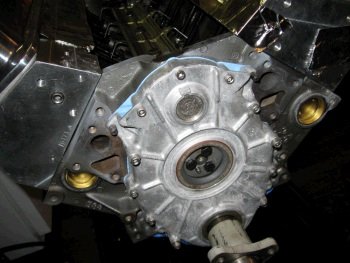
No water pump drive gear due to double roller timing set.
Here is the Kennedy 1/2 $ plug. |
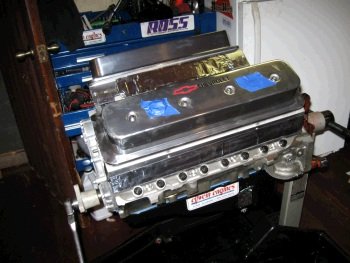
Here are the polished Pro From valve covers. |
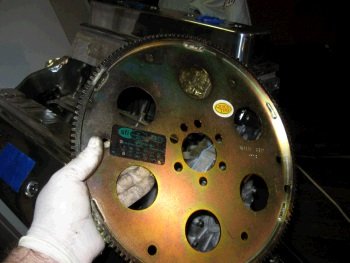
All short blocks and long blocks come with courtesy SFI rated,
Made-in-the-USA flexplates. |
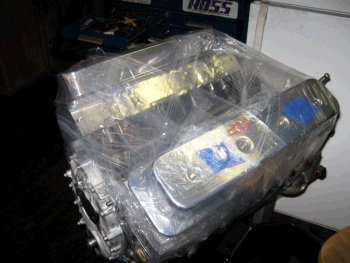
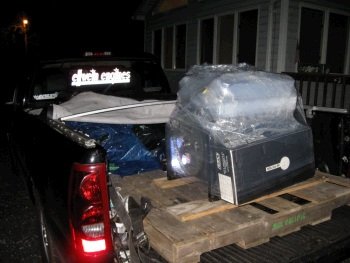
The motor is all wrapped up and ready for shipping. |
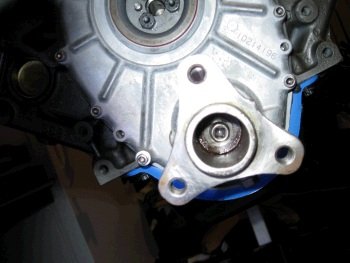
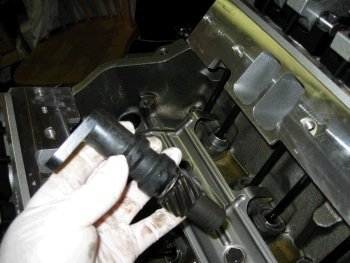
One glitch. See the socket extension in the center of the
hub, (where the hub bolt would be)....I got that socket extension
stuck in there when trying to pull the hub off. I finally
got the hub off but it took me 2 hours. I accidentally
installed a shorter style (96) hub without a reluctor or a
spacer. When using a double roller timing set you need to
delete the crank reluctor. Well...when you delete the crank
reluctor you either need to add a spacer or use a 94/95 hub in
place of the 96 hub. |
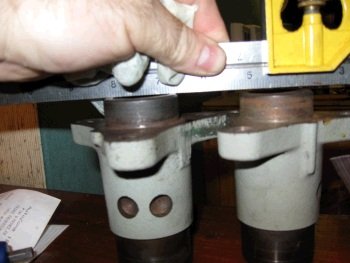
This shows my mistake and the difference in a 95 (left) and 96
(right) hub. The 96 is shorter. I pulled off the wrong
one, (right), and installed the correct one, (left). |
The longer hub is now on and I'm starting the packaging and
wrapping process. |
Motor is on shipping stand and pallet. Now I will install
the SFI rated flexplate. |
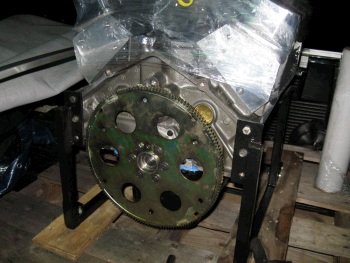
Flexplate on. Bolts torque and locktite'ed |
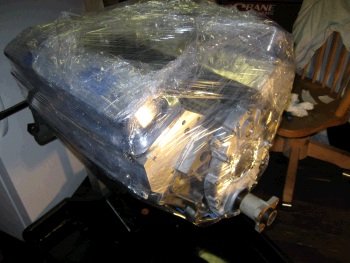
I wrapped up some of the empty parts boxes and the dipstick tube
and dipstick. |
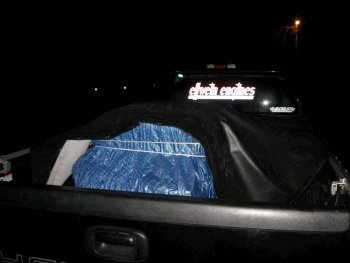
Motor wrapped and ready to be transported to the trucking company. |


