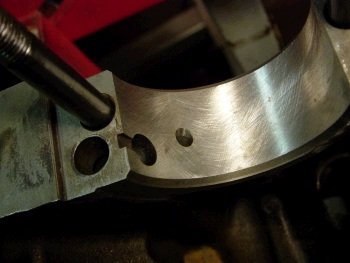
The rear main oil hole never lines up with the Clevite H-series
bearings. I widen it a little bit but not too much....(I
worry about making a low pressure area). |
I try to get the bearing hole wider, (the left side of this hole). |
McKeown Motorsports Engineering did the block machine work,
(square deck, bore/hone, machine and hone for splayed caps). |
Main clearance is .0025, .0025, .0025, .003, .003" (#1 to #5) |
|
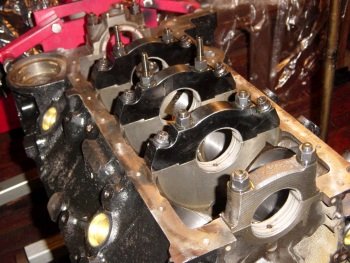
Mains are torqued at 80ft-lb with oil on the studs and 65ft-lb on
the outer bolts.
|
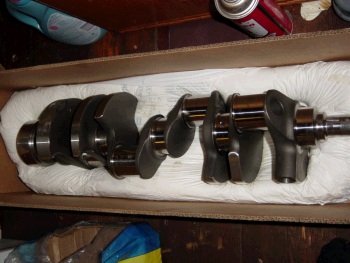
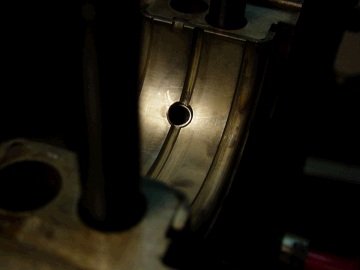
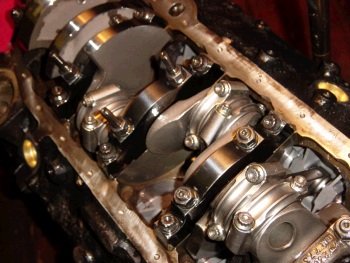
This Callies Compstar crank is a repaired crank. The thrust
surface was repaired and the mains are at .010". The
rod journals are standard. |
The crankshaft spins nicely and the thrust is .009" |
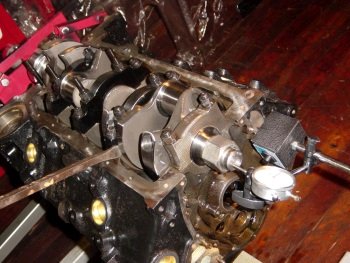
Here she is turned upright. McKeown did a good job on the
machine work, (they have a state of the art CNC work station to
bore and square deck the block), but they did not media clean the
block so the old cooked-on oil is still stuck on the areas not
machined. |
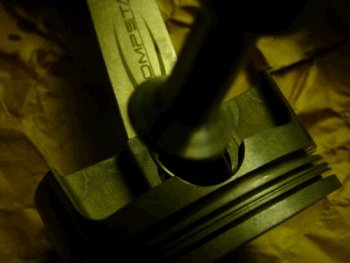
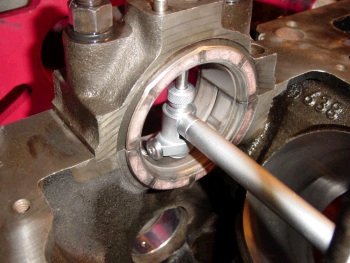
Now I'm using my Charlesworth wire lock installation tool for the
first time. |
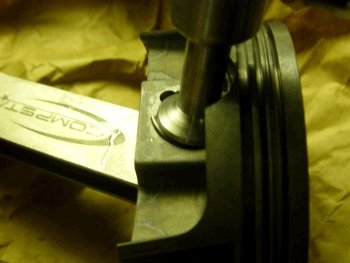
This tool makes the wire slide in like a knife through butter. |
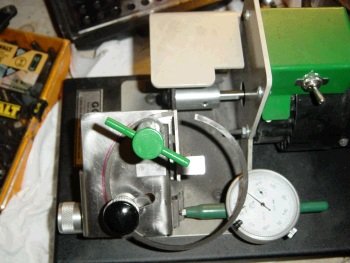
More tool worship. This ring file tool makes for extremely
accurate and flat and bur-free ring gaps. |
Top ring at .025" This feeler is .024 at the tip and
then .026" at the thicker part. The feeler slips in at
.024" and stops at .026" so I know I have
.025". The important thing is to have no burs and to
have the gap ends flat. That has taken a few years of
practice to get the right technique. |
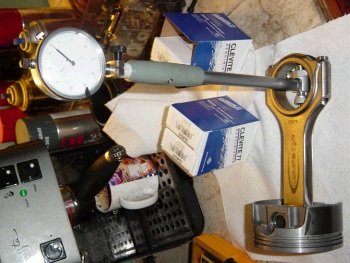
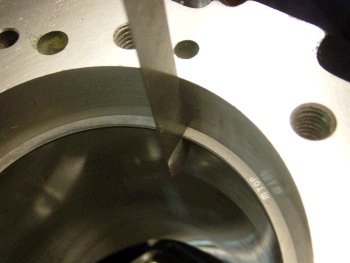
Tool time. The crank rod journals were polished and are a
tiny teeny bit smaller than standard, (.0005").
So standard rod bearings give .0032". I went with
.001"/std. mix and that gives 0.0027". |
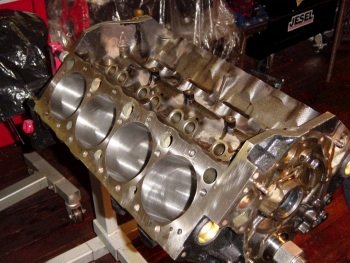
This is #2 piston and I rotated the assembly and the rods have
good clearance with the block. All the others have to be
checked of course. |
All pistons/rods in and rod bolts torqued to 75ft-lb as per
Callies instructions. One rod bolt, (#6 rod), comes a tick
too close to the block so at this point I'll just buff down the
bolt head for more clearance. This was the 1st program
attempt at McKeown for LT1 SBC stroker clearance on their CNC
machine and my job was to report for future
corrections/adjustments. |
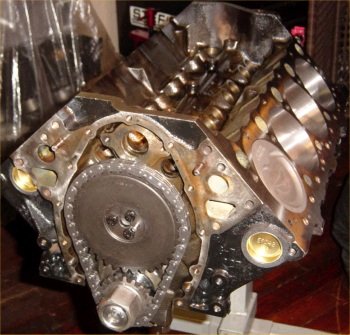
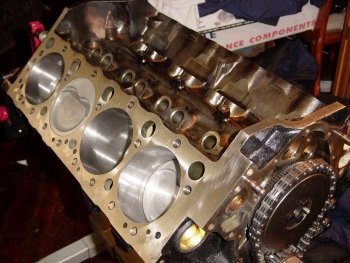
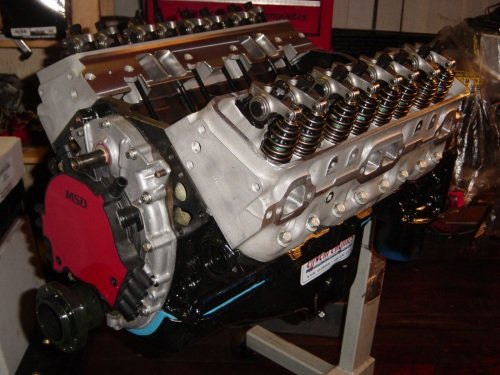
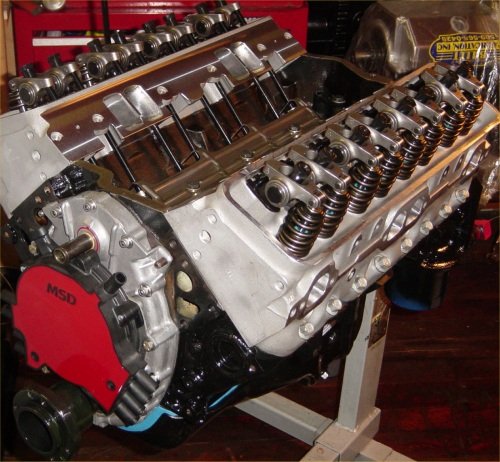
Brand new Cloyes stock timing set. |
The pistons are at .004" and the deck is square. |
RuSSty has a custom Advanced Induction camshaft. One thing I
like about Ai cams is that they are billet and induction hardened
and they have the "Everwear" distributor gear, (oil pump
drive gear). The cam is at 107.5 deg intake centerline and
the cam-card specifies 108 deg and that is dang near dead-nuts-on. |
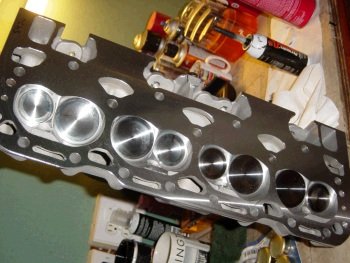
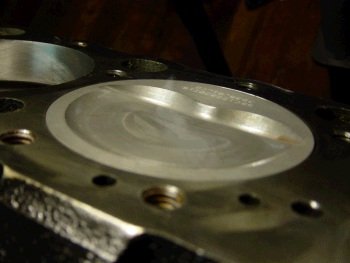
I just have to show this work of art. The deck is what
catches my eye. Ai's machine shop tooling does the duty and
also the edges get hand de-burred. The combustion chambers
are measured 54.3cc by Ai. |
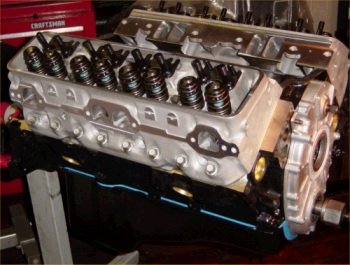
One head is on and here is the passenger side FelPro 1074 head
gasket waiting for a head. I use new GMPP head bolts here
and they are torqued to 65ft-lb, (a little oil is squirted under
the head of the bolt before torquing). |
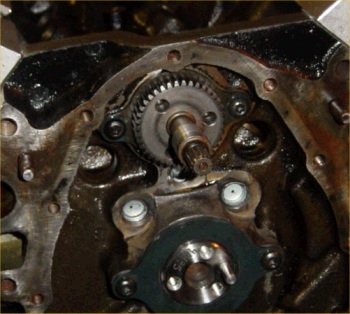
Photo here to show the water pump drive gear and the small holes
drilled into the oil gallery plugs for timing chain cooling, (A
few days when pre-lubing the engine I discovered the the holes I
made caused oil pressure to be too low for my taste so I put plugs
in with no holes.) |

Windage tray bent up to clear the rods. |
Yes this block needs paint. That's next on my to-do list. |
I measured for pushrod length and 7.100" seems like a good compromise. |

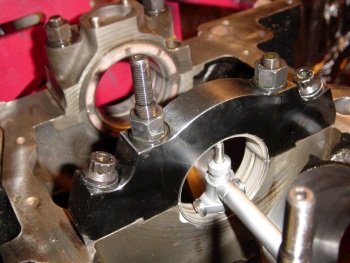
Showing how I buff down the outer main cap bolt and also slightly
bend the stock dipstick tube to fit around the main cap. |

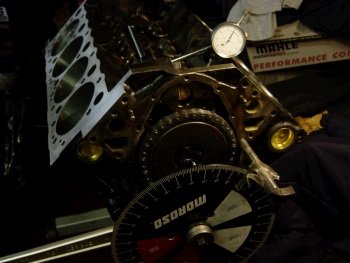
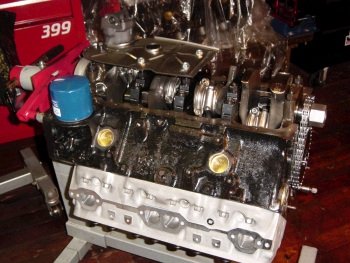
Now the timing cover and oil pan is on and it's time to pre-lube
the engine and see how much pressure I can make with a 2500rpm
drill. |
The guage in the background is showing around 58psig. |
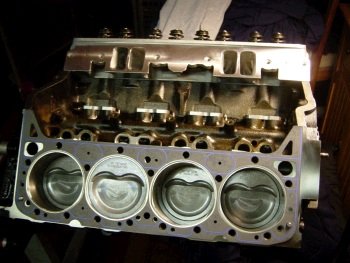
It took a while but finally all the lifters and pushrods filled
with oil and dribbled out the top of the rockers. This photo
is taken before painting the block. Block paint photos in a
few days.... |
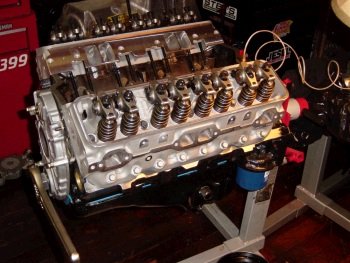
Final assembly photo. The oil
pan is a used part but it looks good with an ERE decal. Then
I coat the ATI damper hub with grease because it will rust at the
1st thought of getting wet. I leave the ATI damper shell off for
shipping just to minimize chances of dings. |
 |


